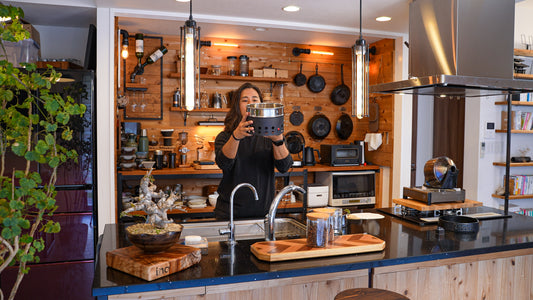
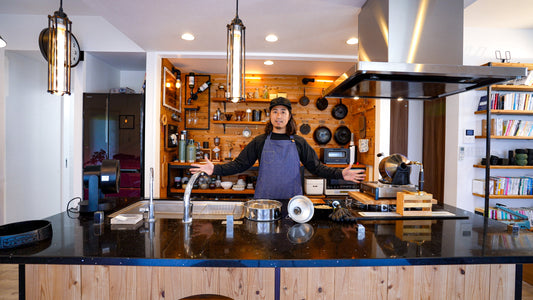
In this article I will introduce my usual roasting environment.
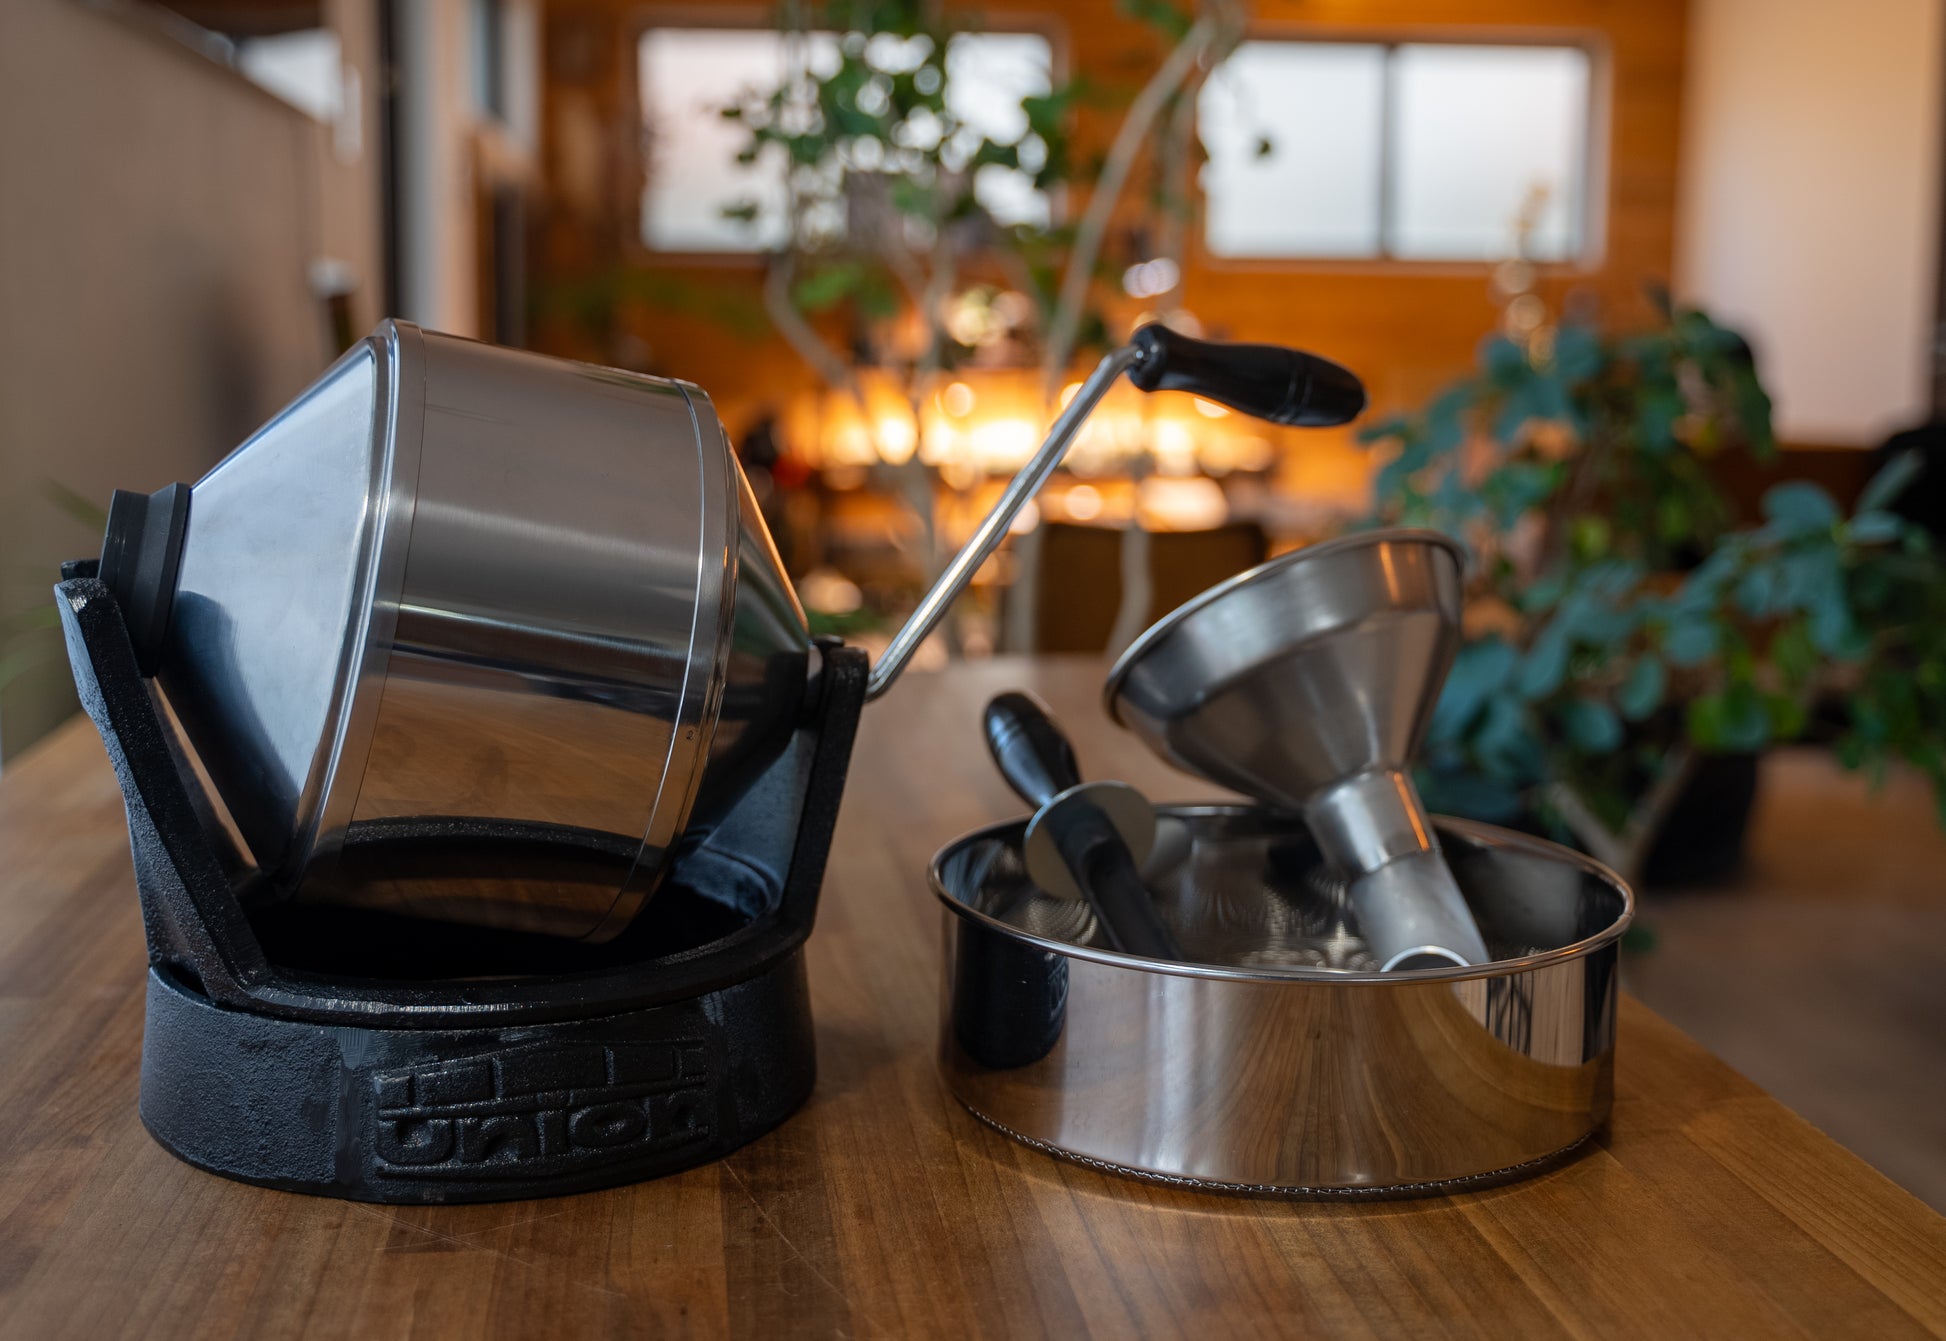
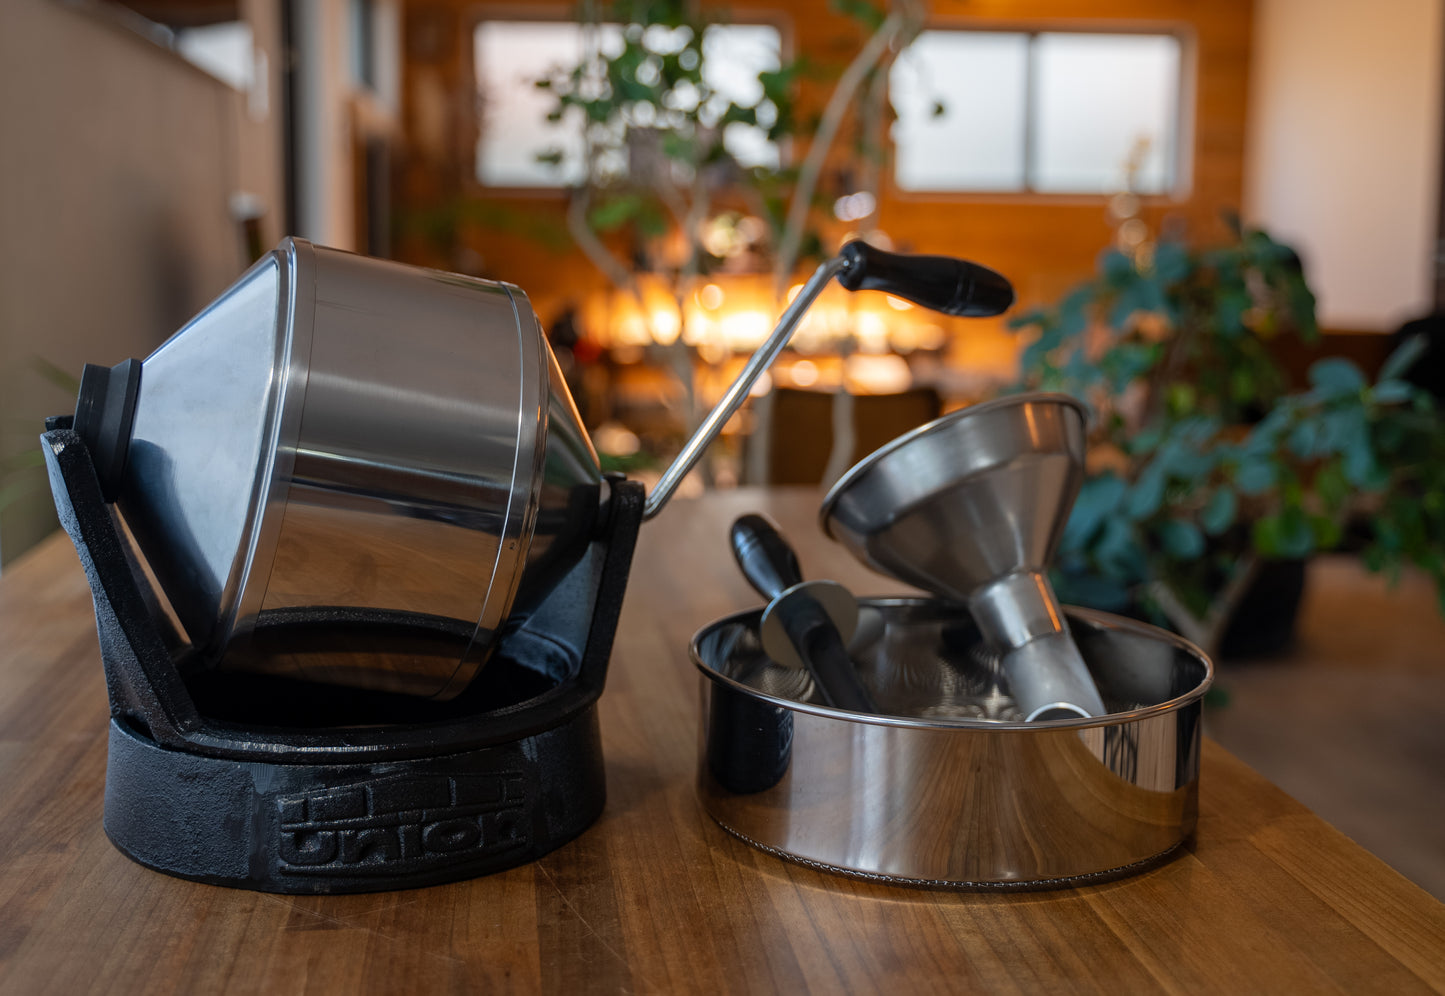
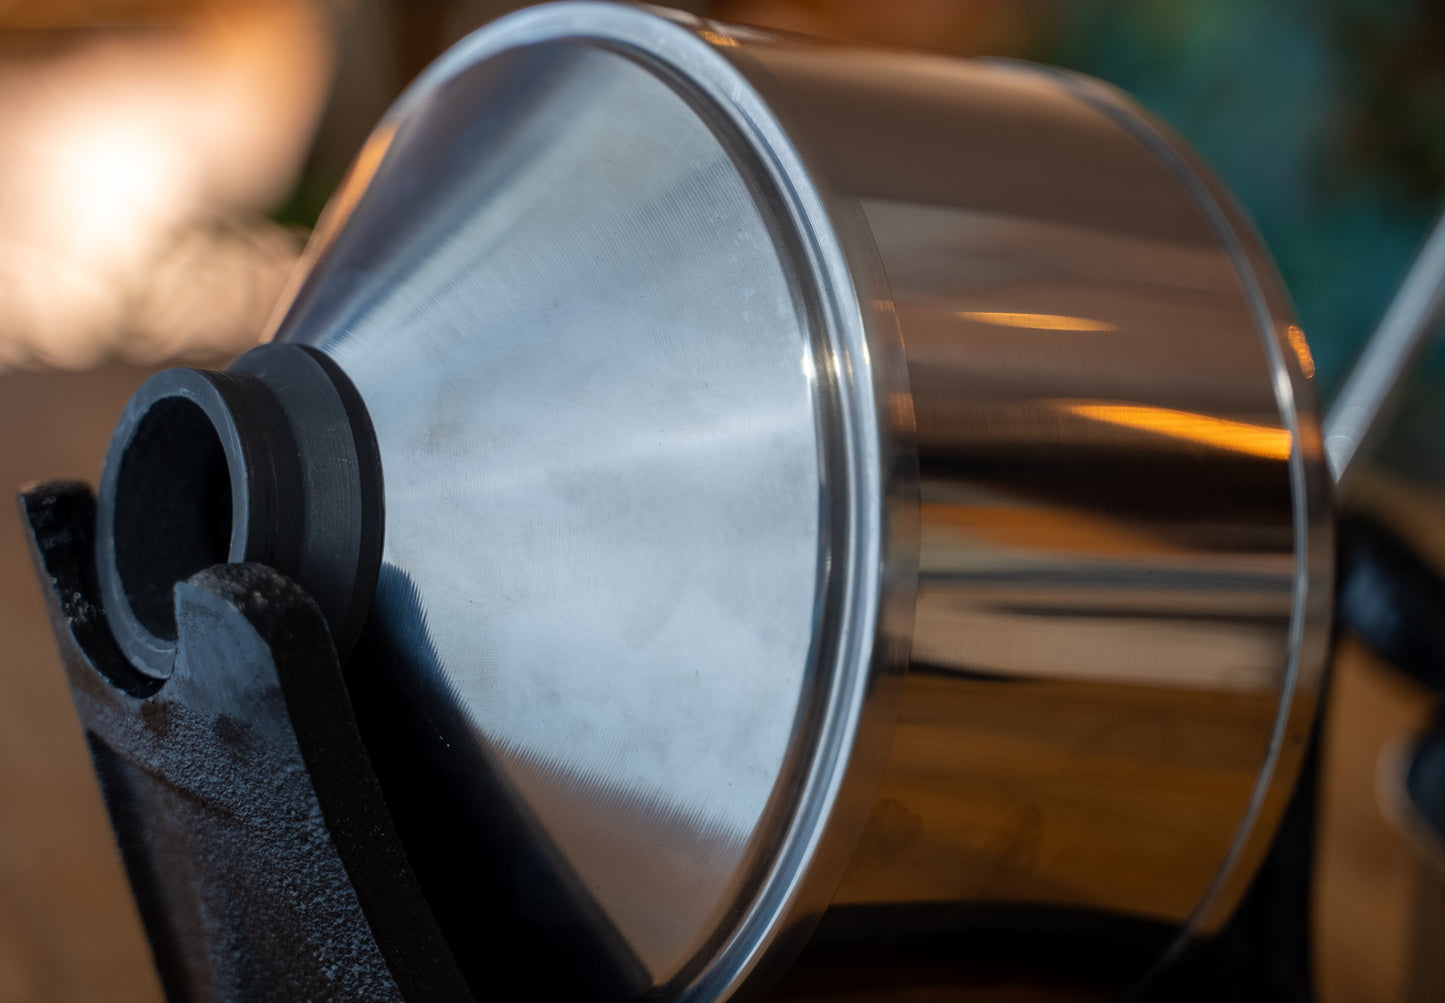
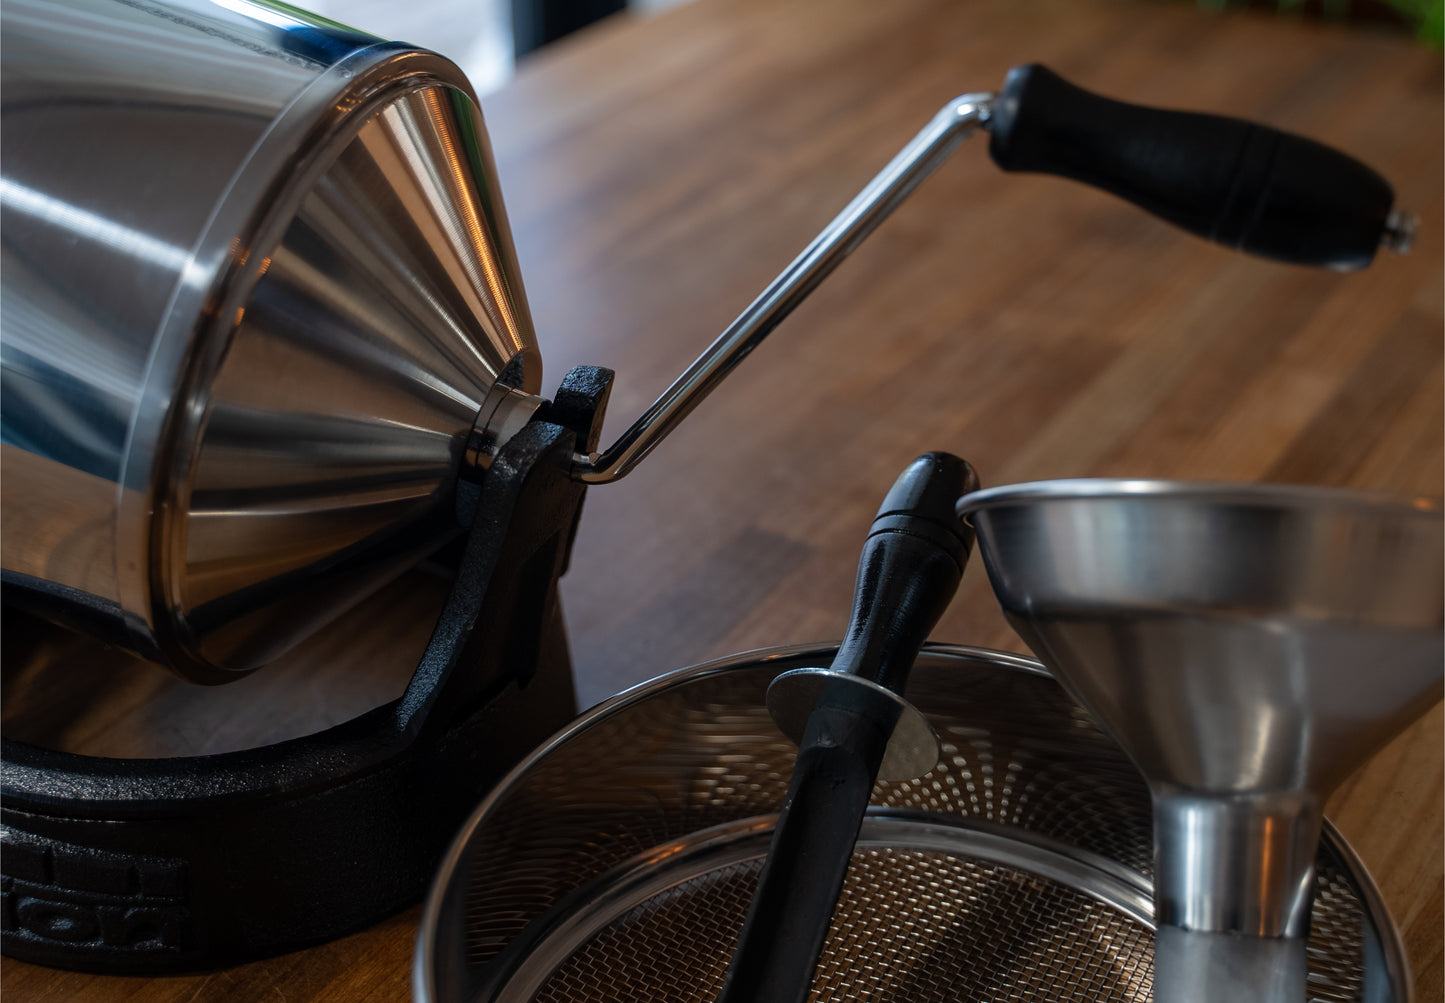
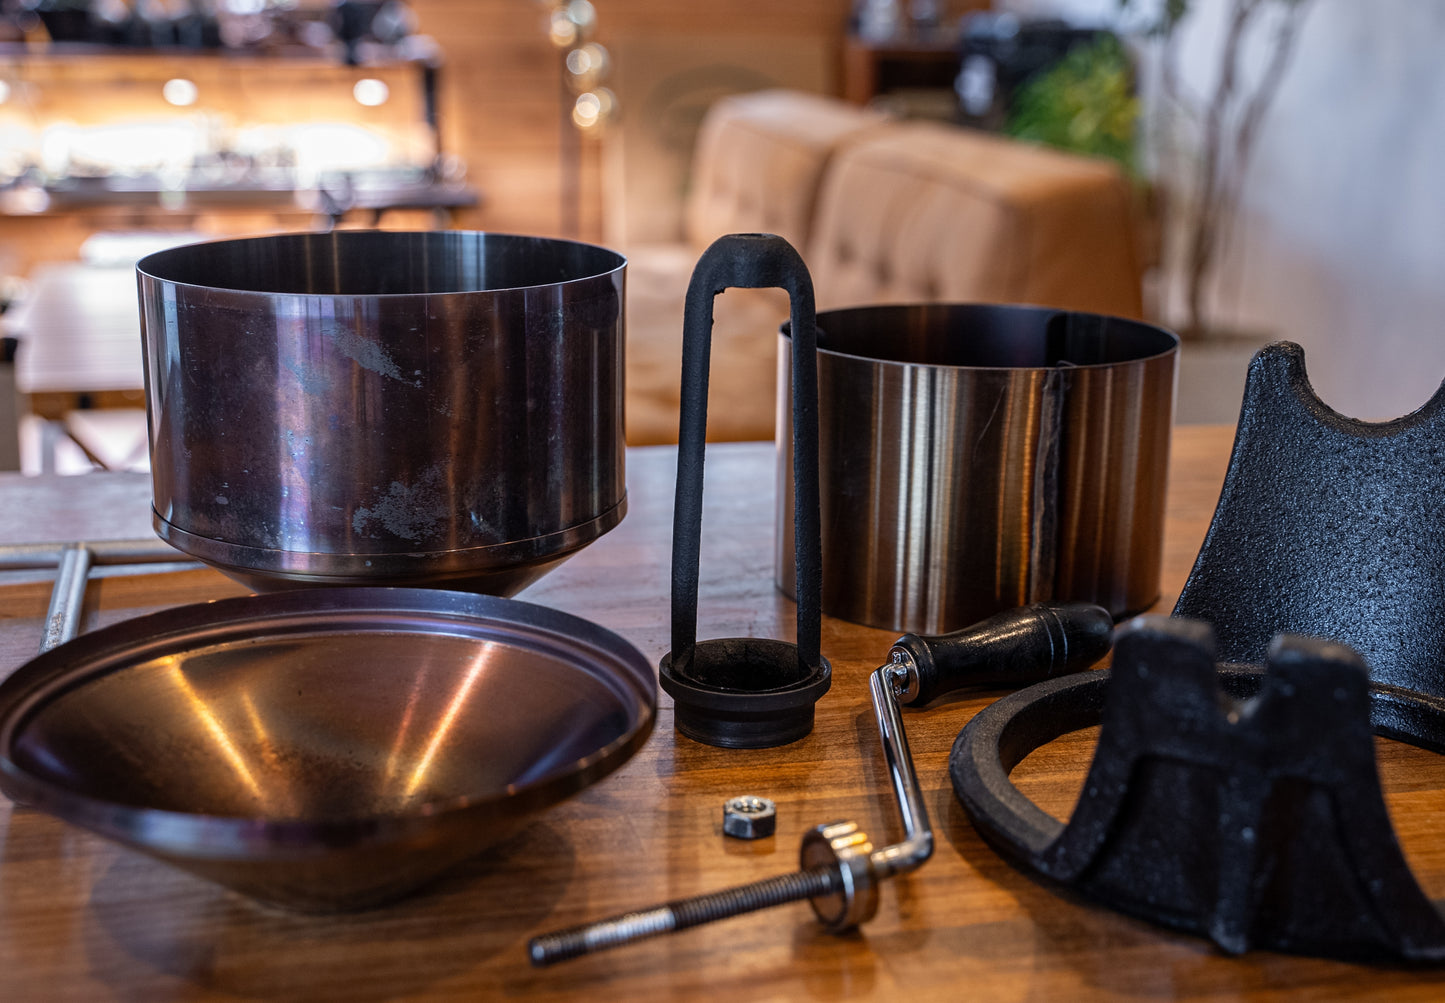
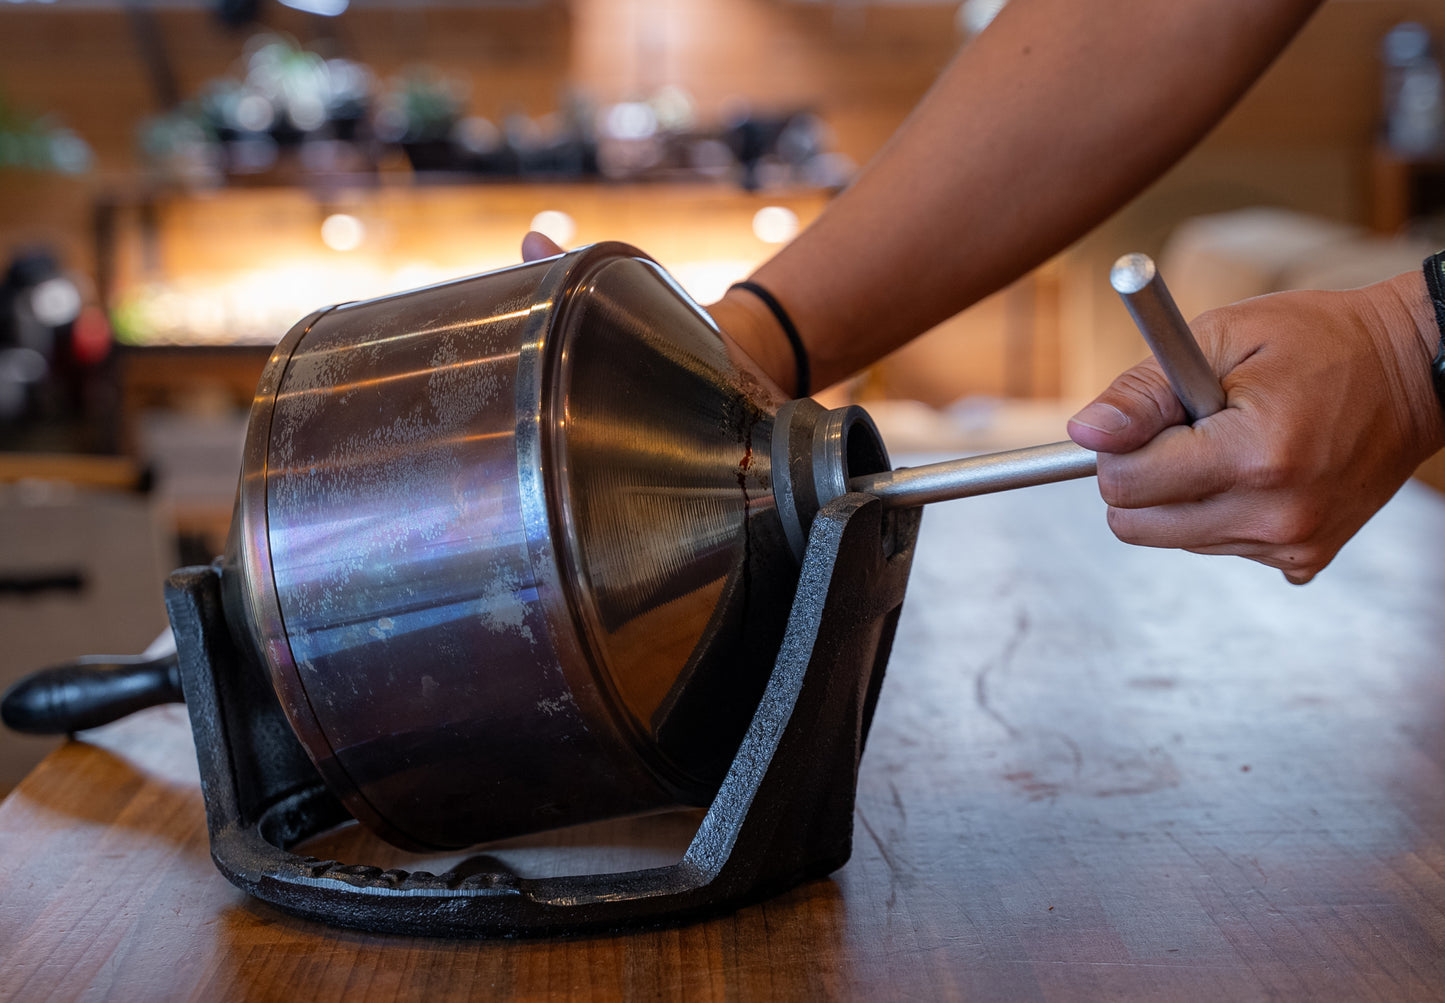
My usual roasting machine is a Union sample roaster

Please refer to other articles about roasting machines.
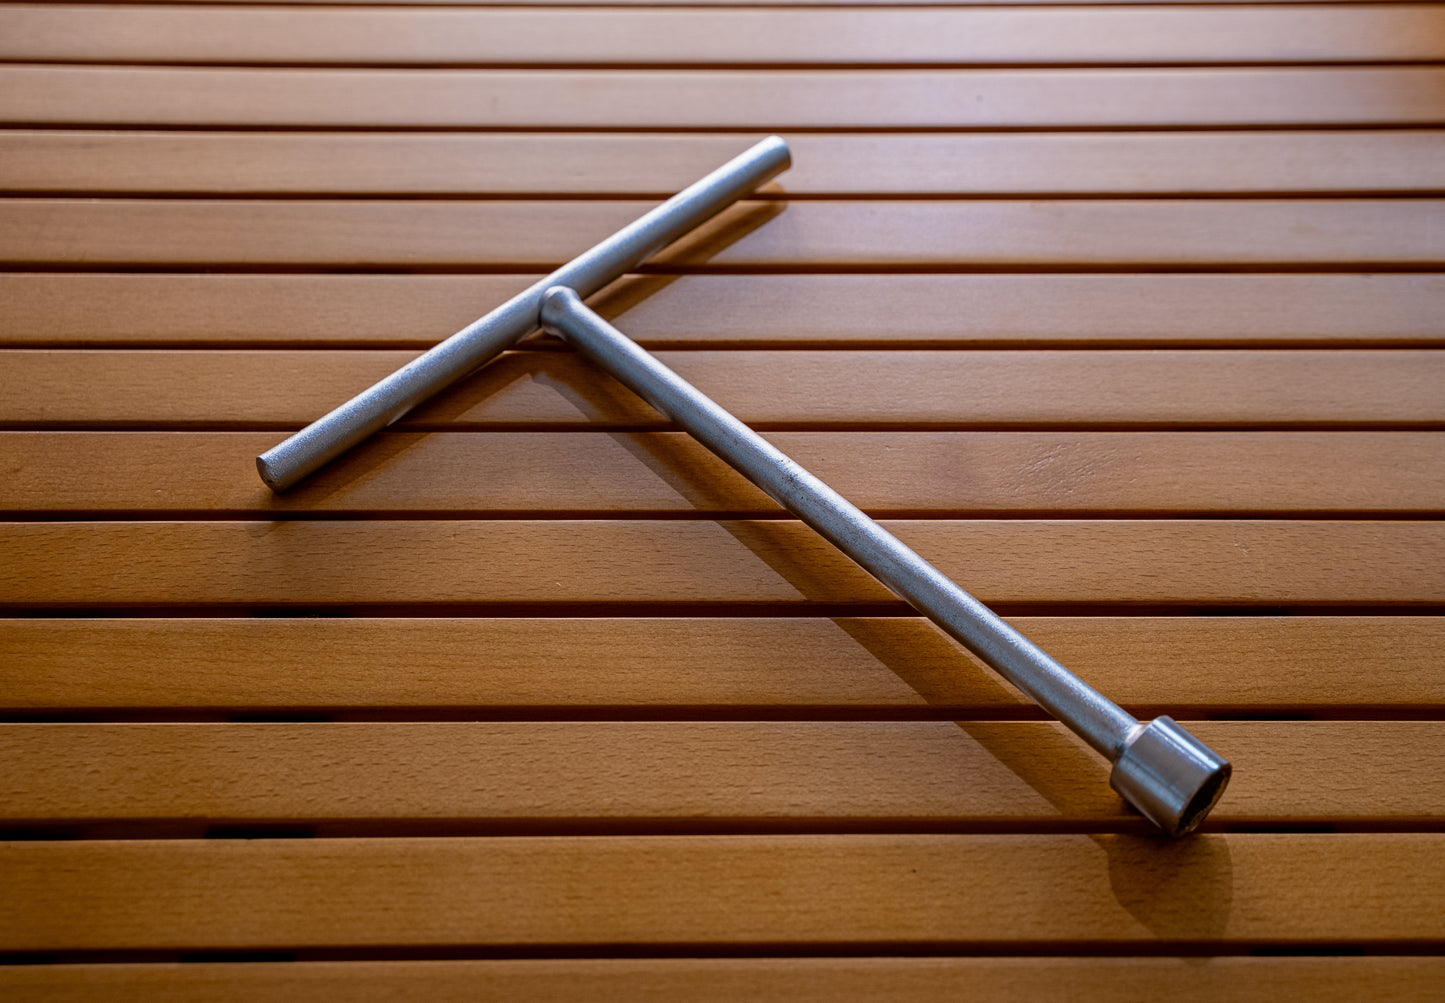
・Sample roaster and its accessories
・Tools for starting home roasting with a sample roaster
・Basic roasting method
And now, I would like to briefly introduce my roasting environment.
Step 1: Set the roasting machine on the stove
First, let me start with the gas stove environment

The sample roaster can be used with either a household kitchen stove or a portable stove.
Either can be used

Among them, I use a portable stove.
The reason why I use a portable stove is
"Because the kitchen stove was not suitable for roasting."
There are three reasons for that.
The first reason is
"A highly functional kitchen stove is not suitable for roasting.

Modern kitchen stoves are equipped with "safety features.
If the stove is used continuously and stays hot for a certain period of time, it will
If the stove is kept hot for a certain period of time, it will automatically turn off the heat or turn off the flame.
Roasting requires a very high temperature.
If the heat is automatically reduced by the safety function, roasting will not be done properly.
The second reason is
The base of the sample roaster does not match the size of the kitchen stove.

The size of the base of the roaster is approximately 22 cm in diameter.
The size of a kitchen stove varies from manufacturer to manufacturer,
In my case, the size did not fit.
The third reason is
The handle cannot be rotated when the roaster is placed on a kitchen stove.

Thus, if the stove is deep enough, the handle will come in contact with it.
It cannot be turned well.
It depends on the stove manufacturer and specifications,
If you want to use a kitchen stove, you should check the three points beforehand.
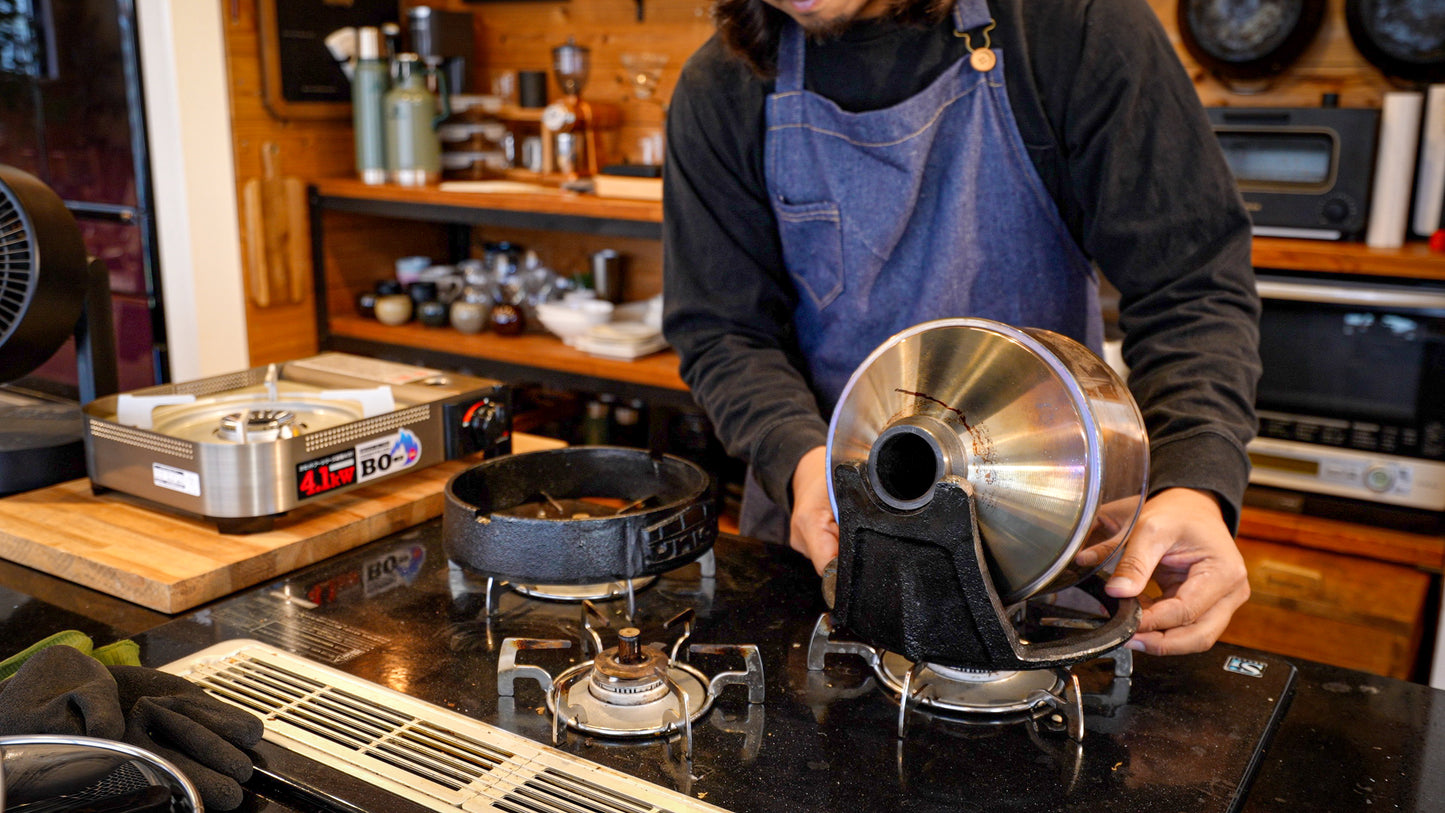
For those three reasons, I use a cassette stove

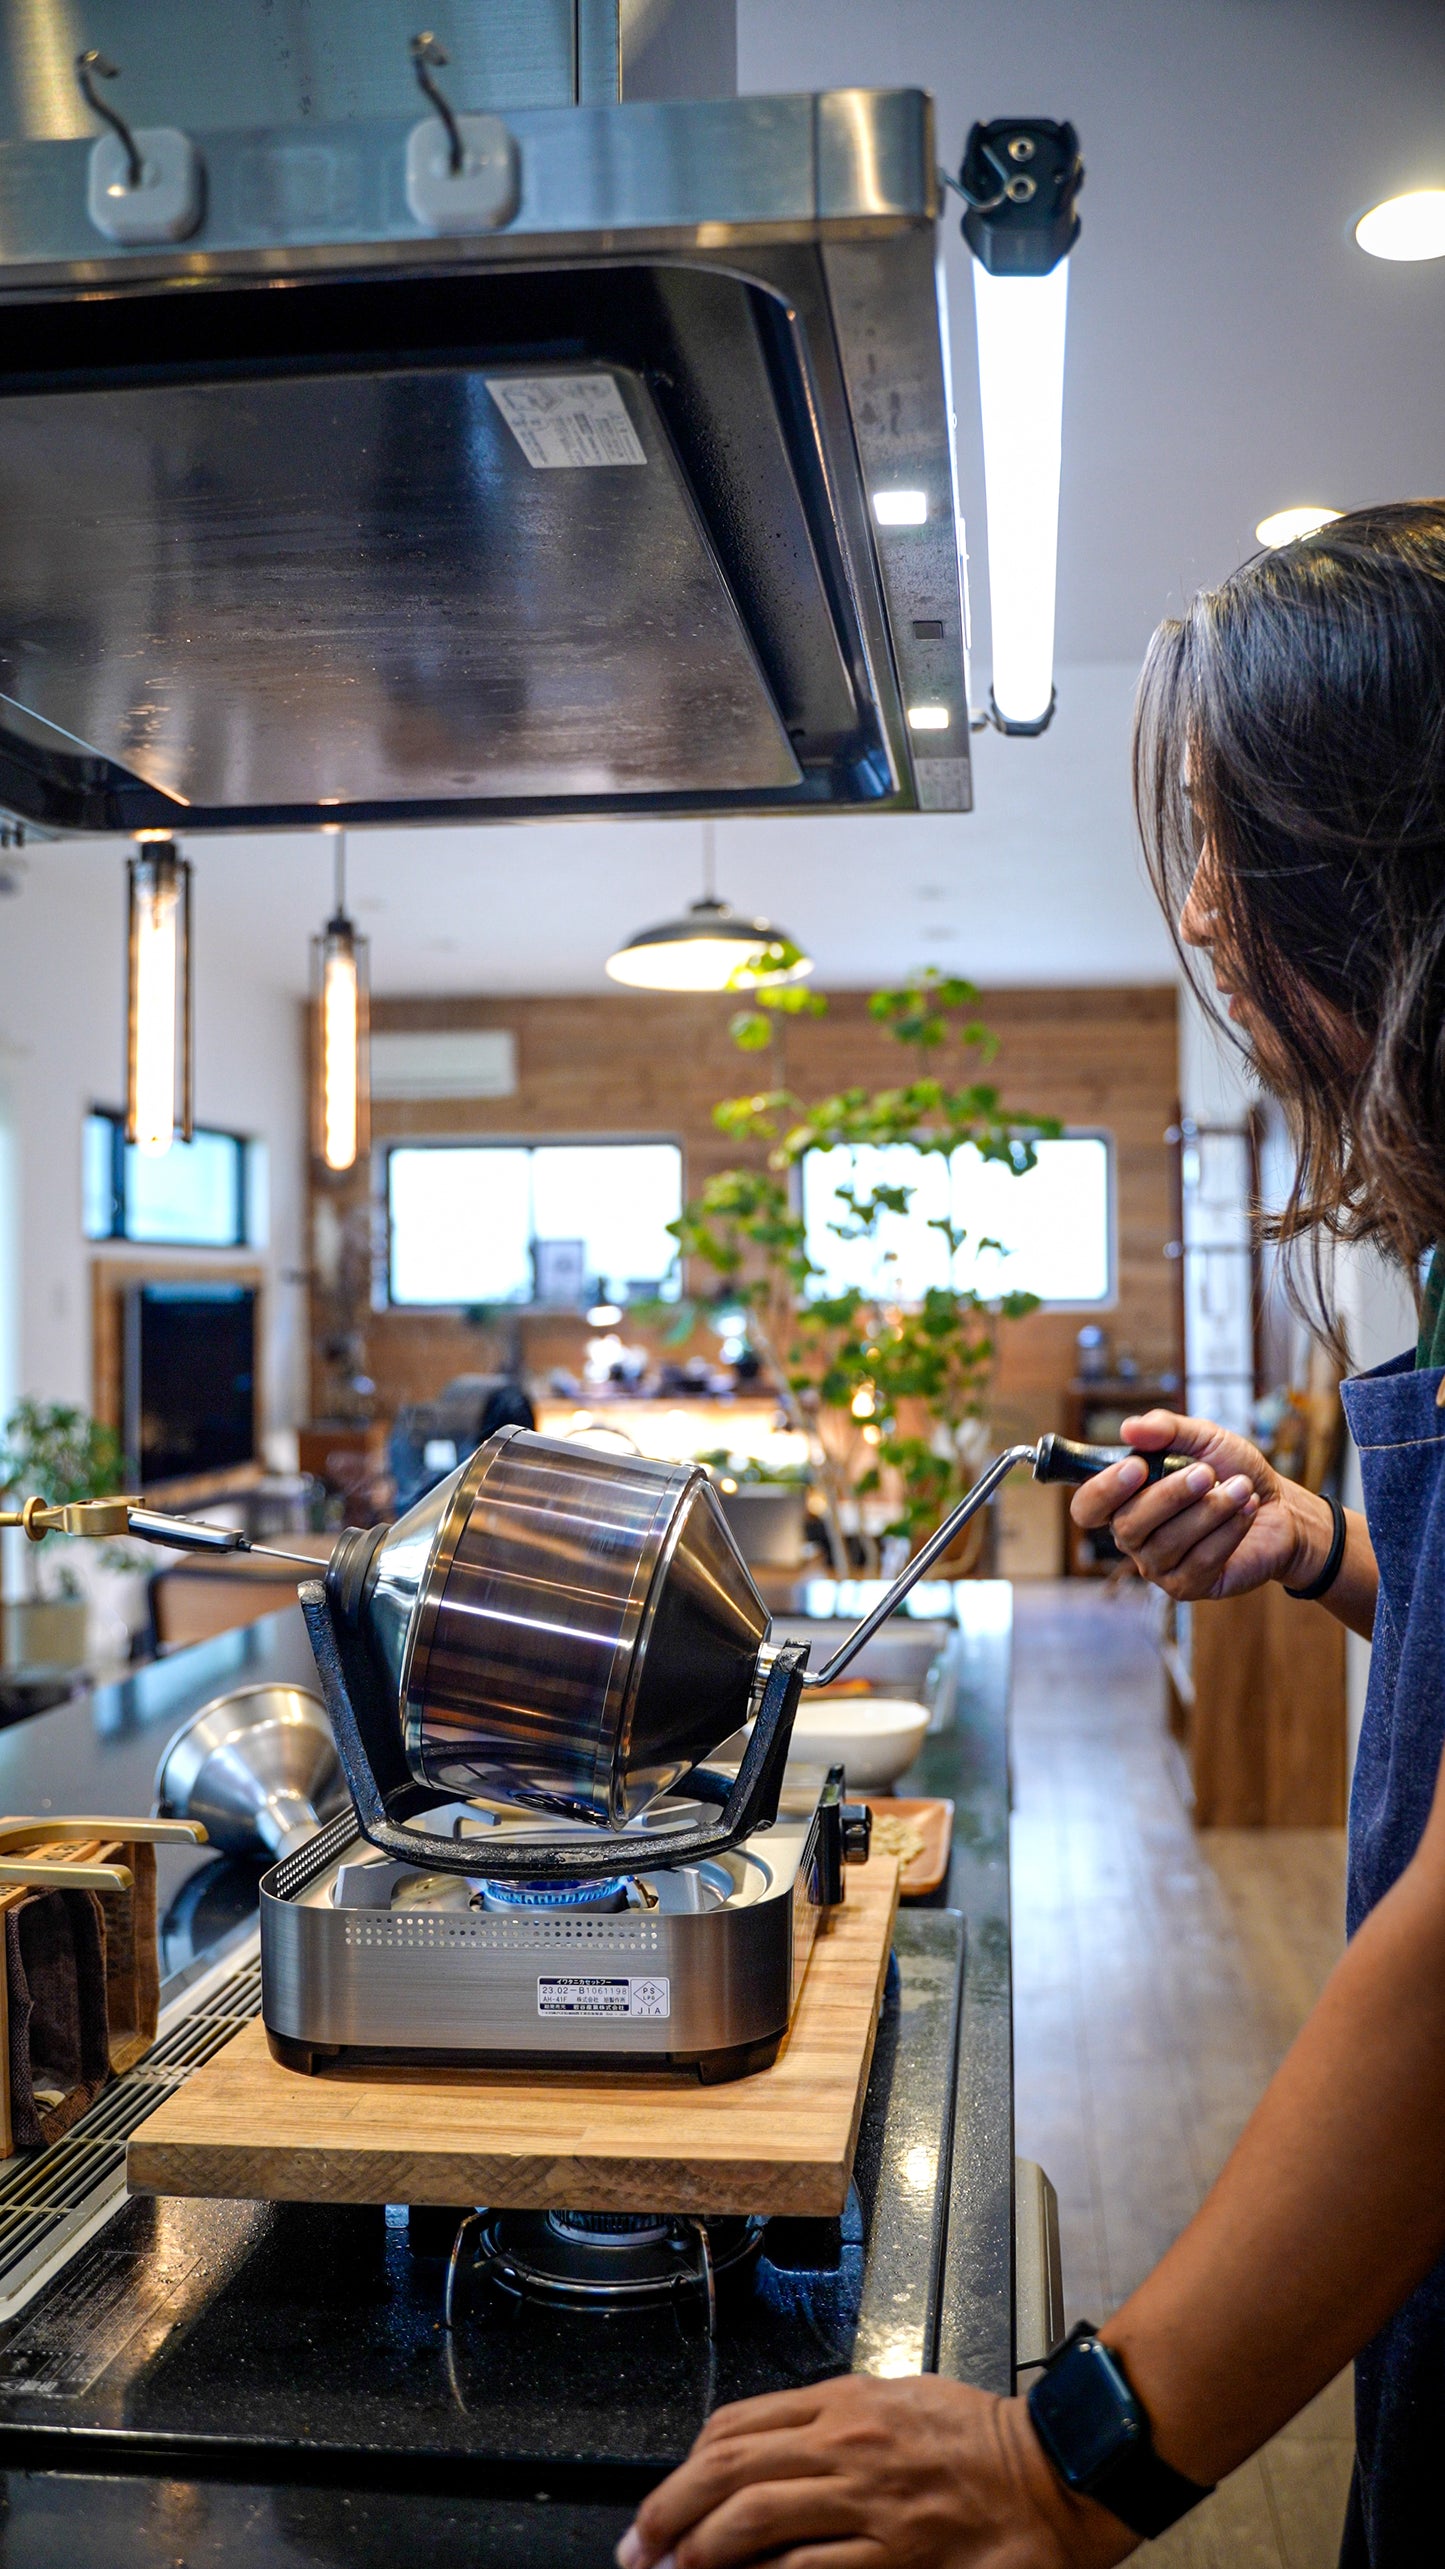
The kitchen exhaust fan is used, so put a board on top of the kitchen stove,
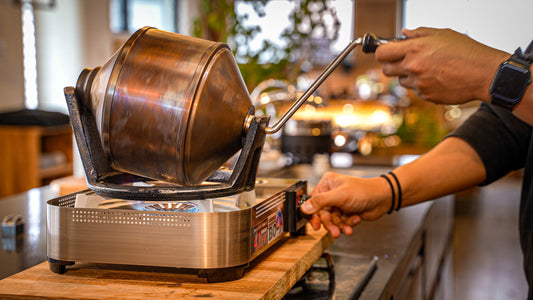
I place the cassette stove on top of the kitchen stove and roast

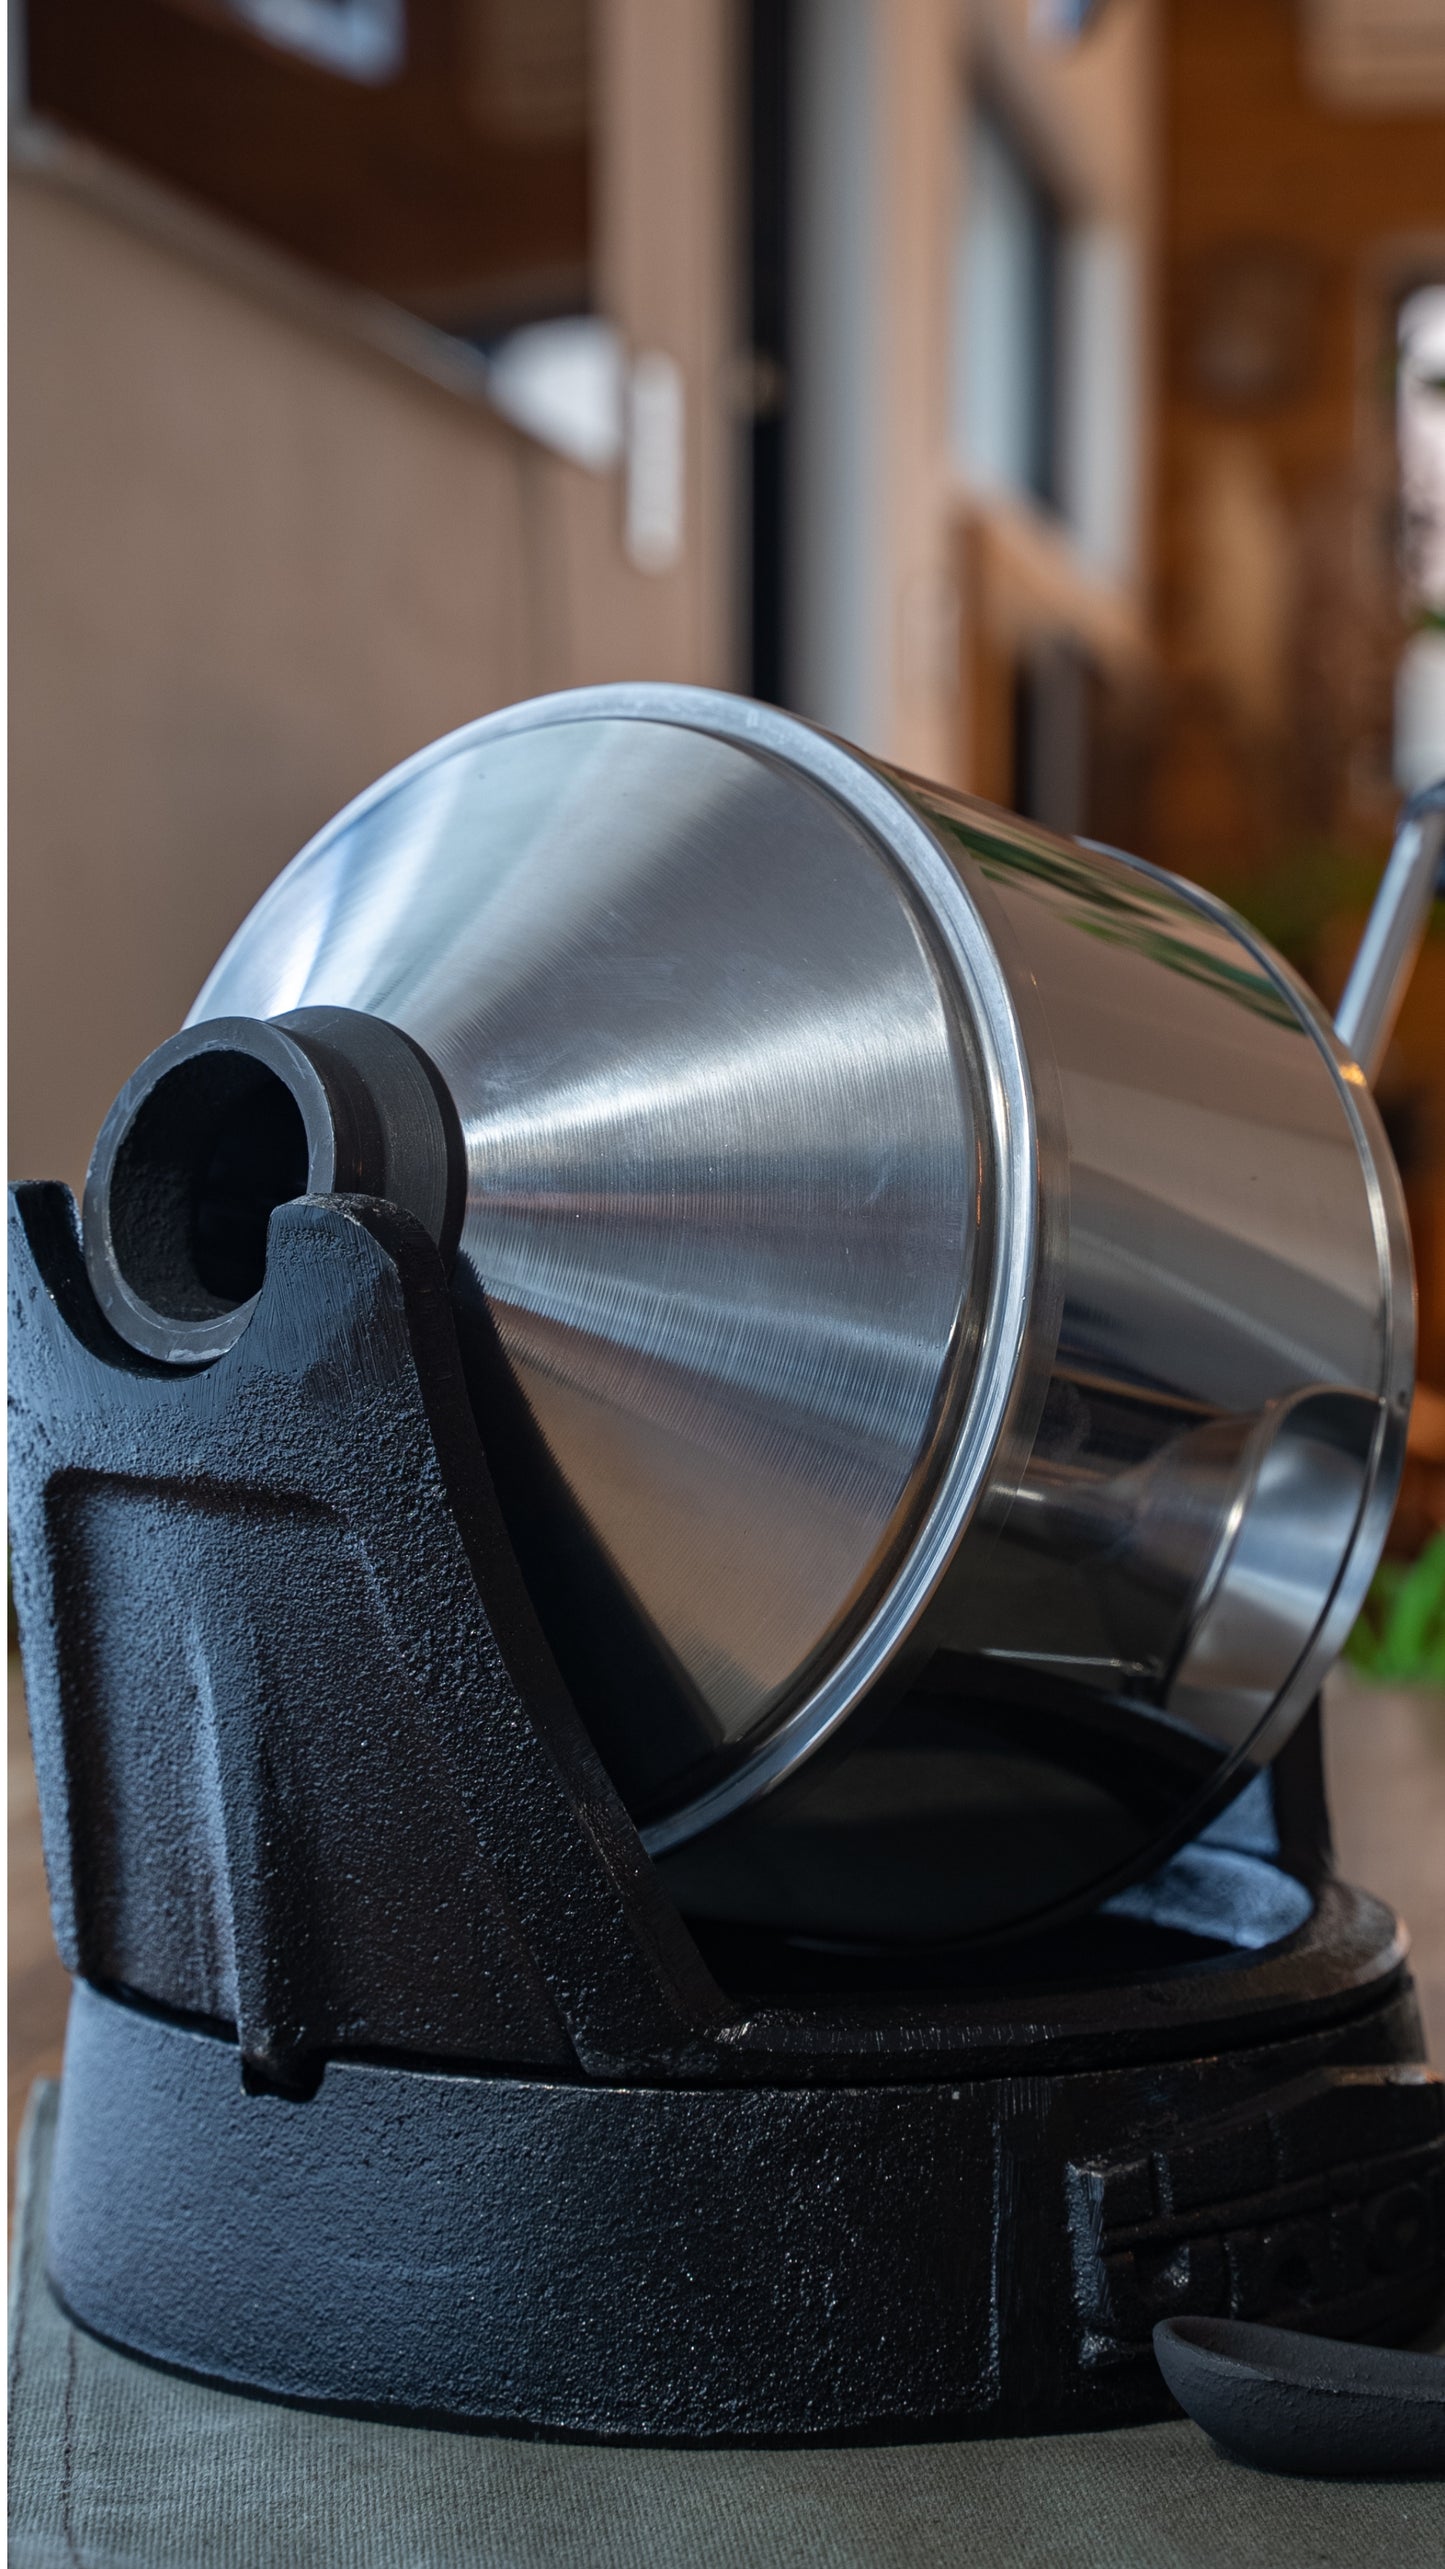
The base of the sample roaster is about 5 cm high.
Normally, the roaster is placed on this base,
However, when the roaster is 5 cm higher, it is further away from the heat source and does not provide enough heat.

Therefore, I remove the lower base and use it as shown in the photo above.
Step2: Installing the thermometer

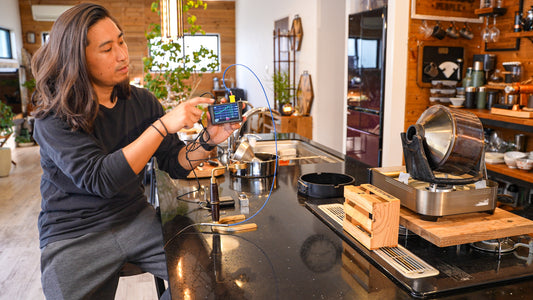
Next, a thermometer is installed to control the temperature.

It is difficult to insert the thermometer every time when measuring.
It also takes time to measure.
Therefore, the thermometer can be left plugged in at all times.

It is high enough to reach the opening of the roasting machine,
I use a wooden box and stand to adjust the height.
This way, I can always measure the temperature during the roasting process.

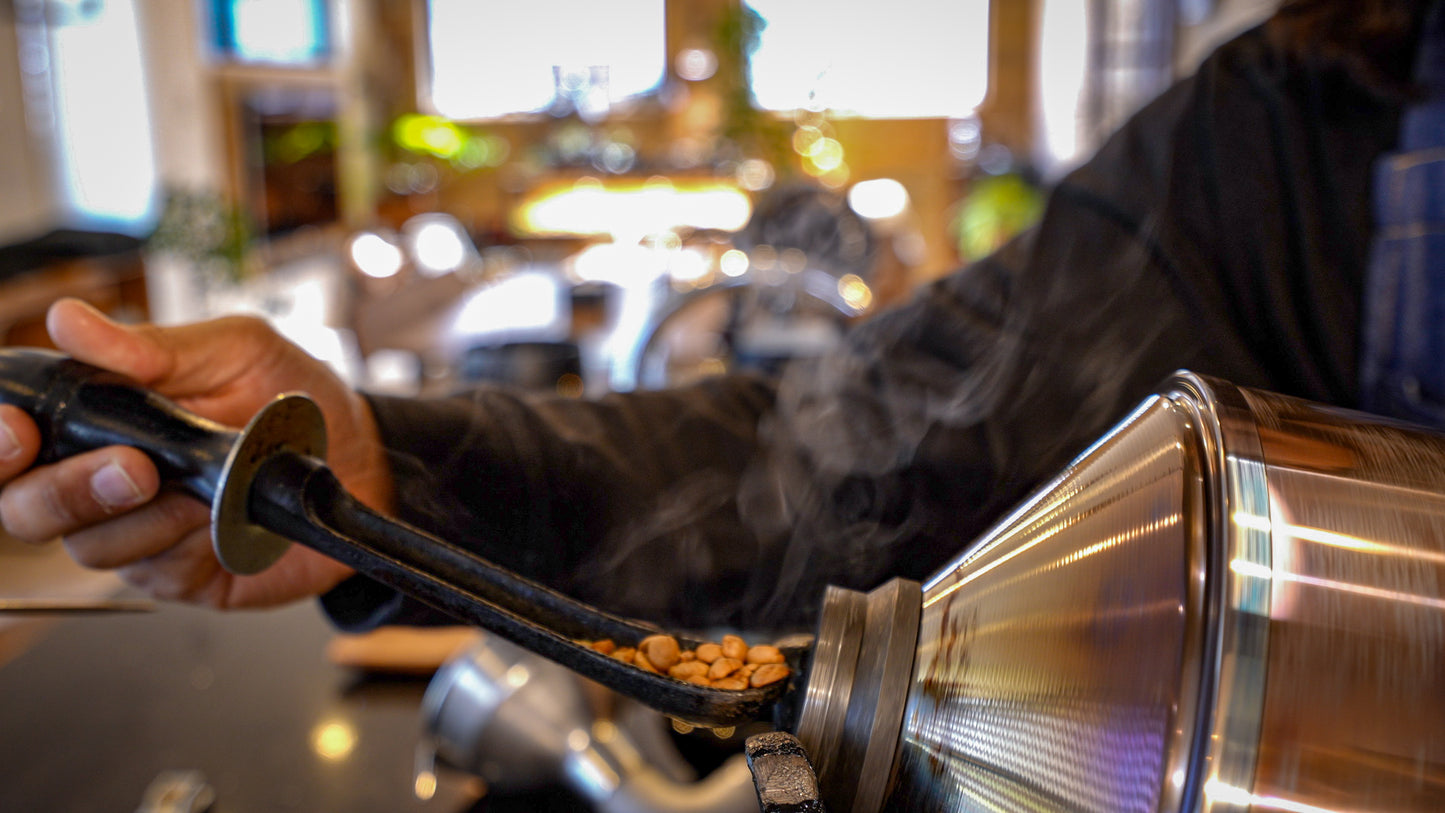
If the thermometer is plugged into the roaster, the test spoon will not fit.
Therefore, when we want to check the beans, we remove the thermometer
Check with a test spoon. Then, the thermometer is inserted again.
This is the environment in which the roasting machine is used.
Step3: Install the cooling fan

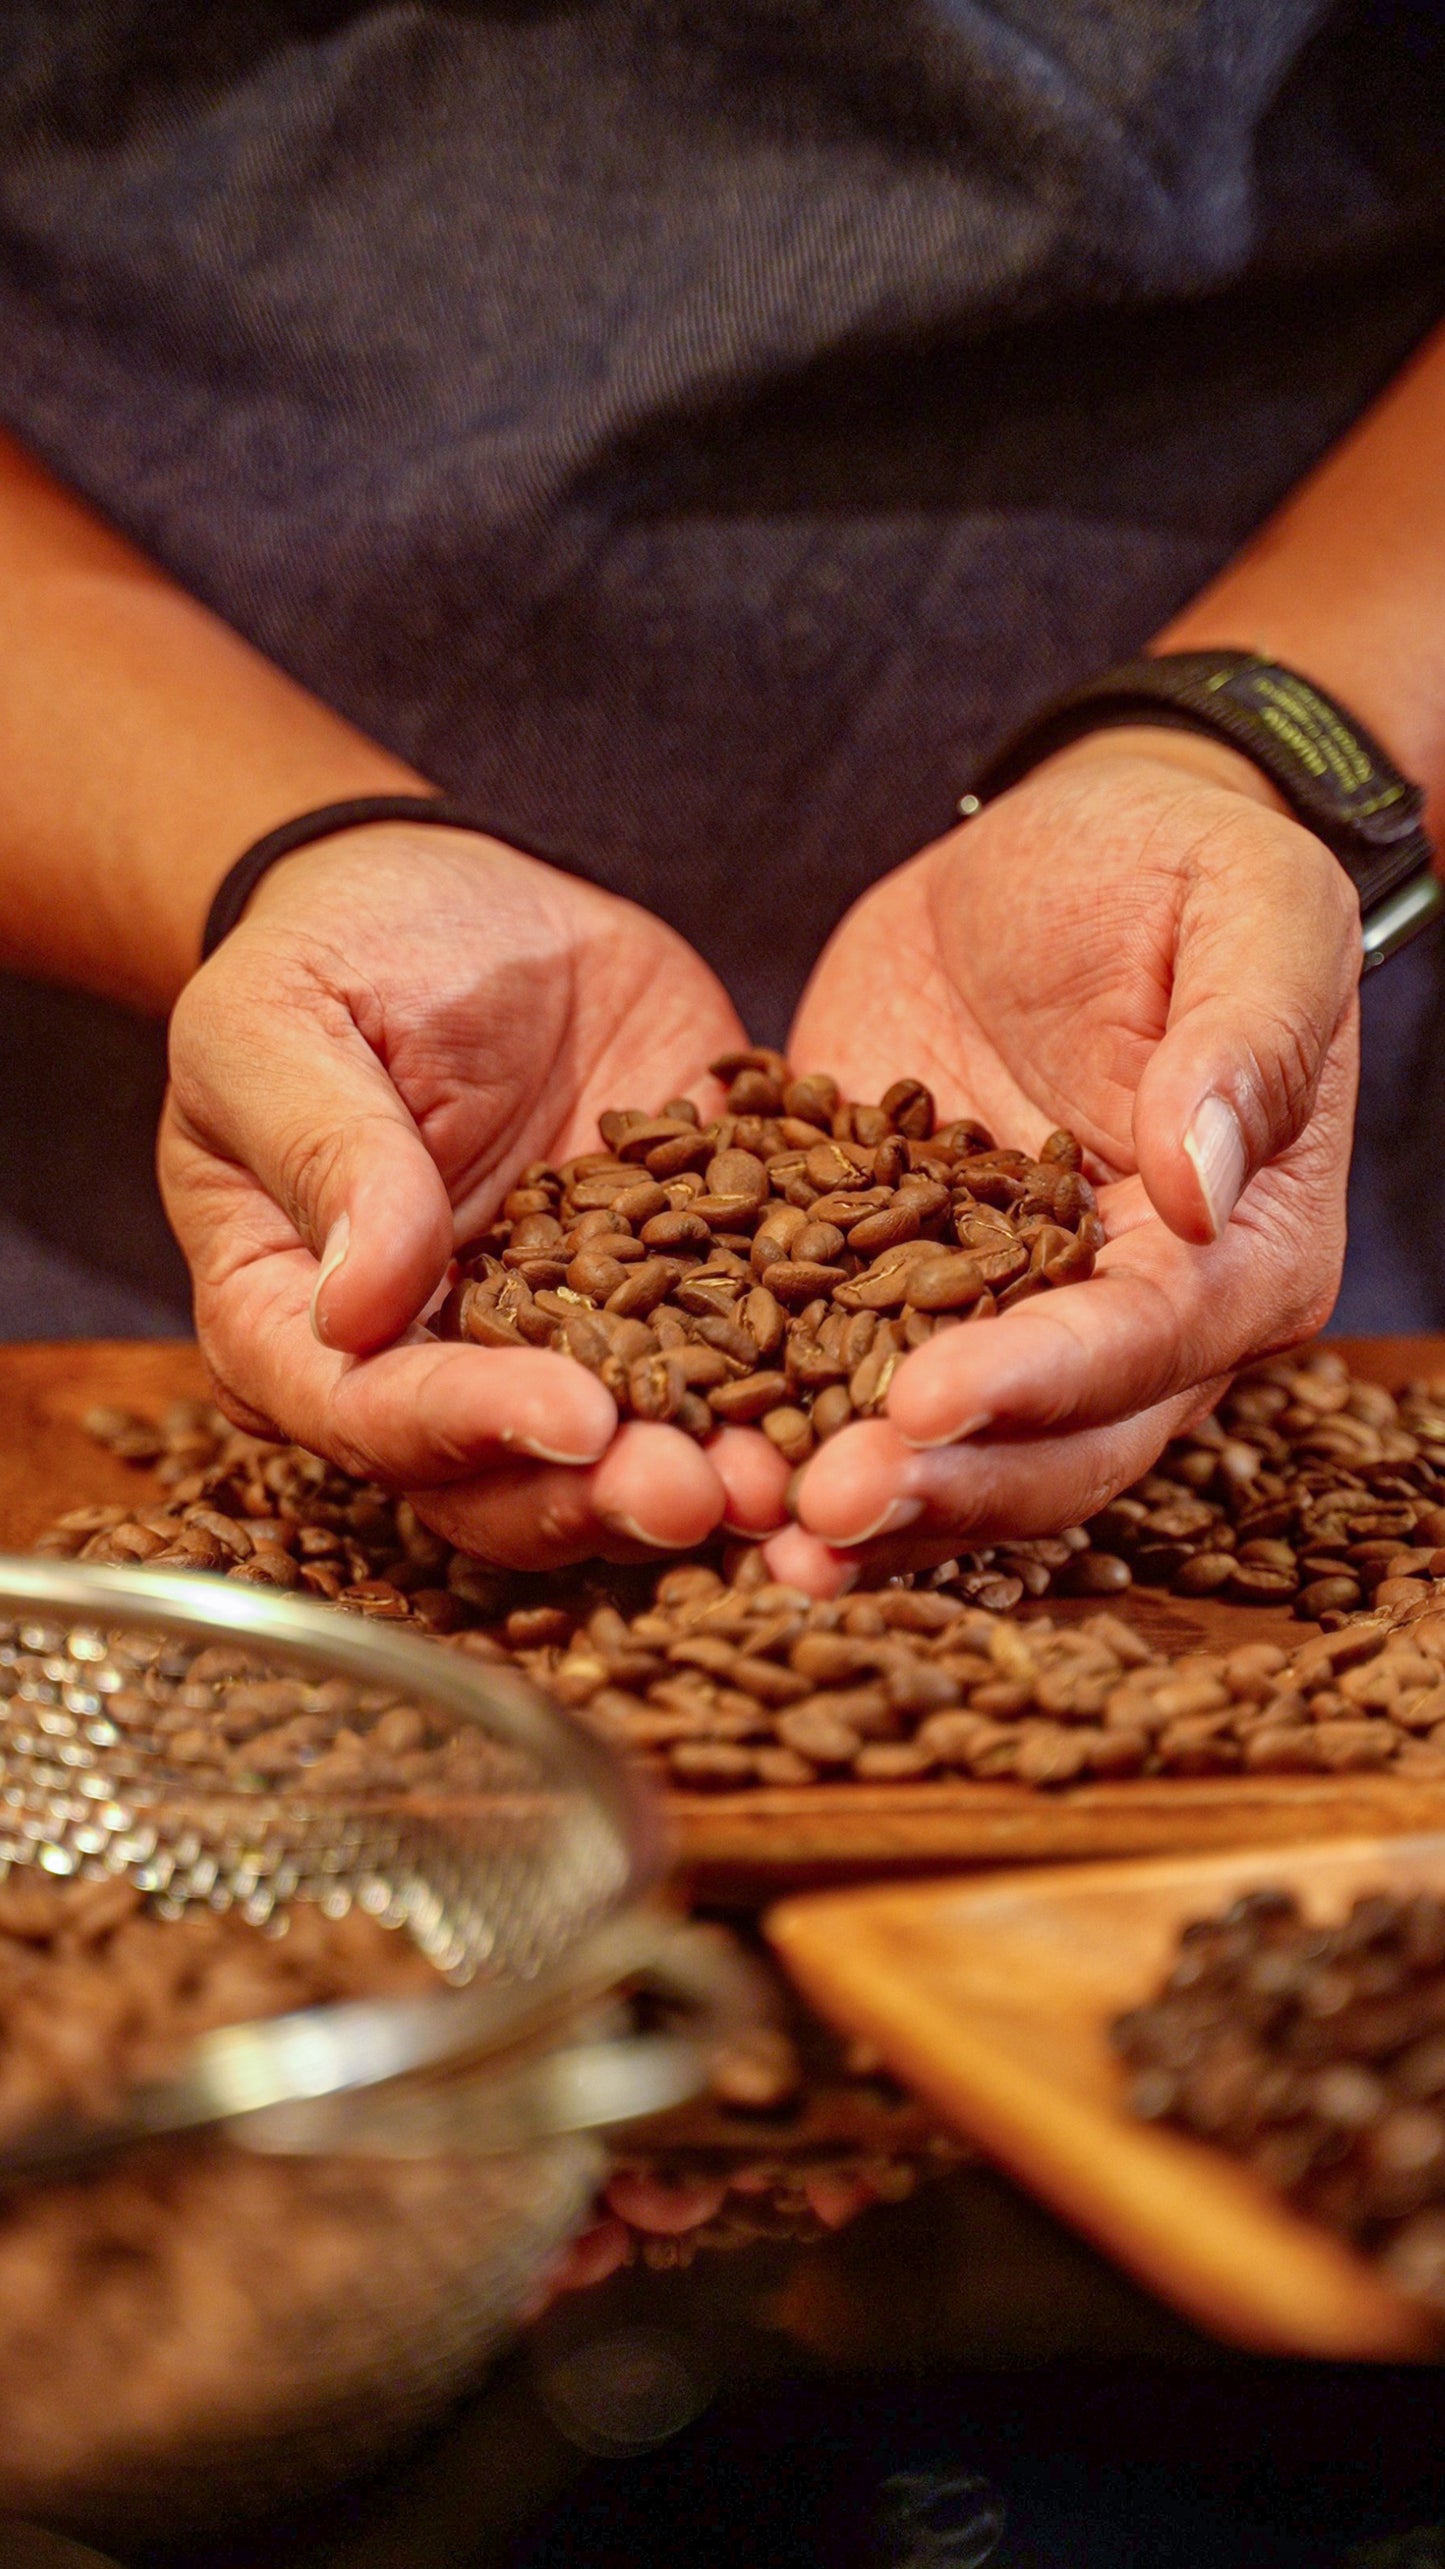
As soon as the roasting is finished, the beans need to be cooled.
Prepare a fan on the sink side of the kitchen.

Remove the beans to the cooling churn in the sink,
Cool the beans with the fan while shaking the beans in the sink.

This is my usual roasting environment.
The roasting method may vary depending on the environment of each household.
Please find your own style.
I hope my method will be helpful to you.
Thank you for reading to the end.


