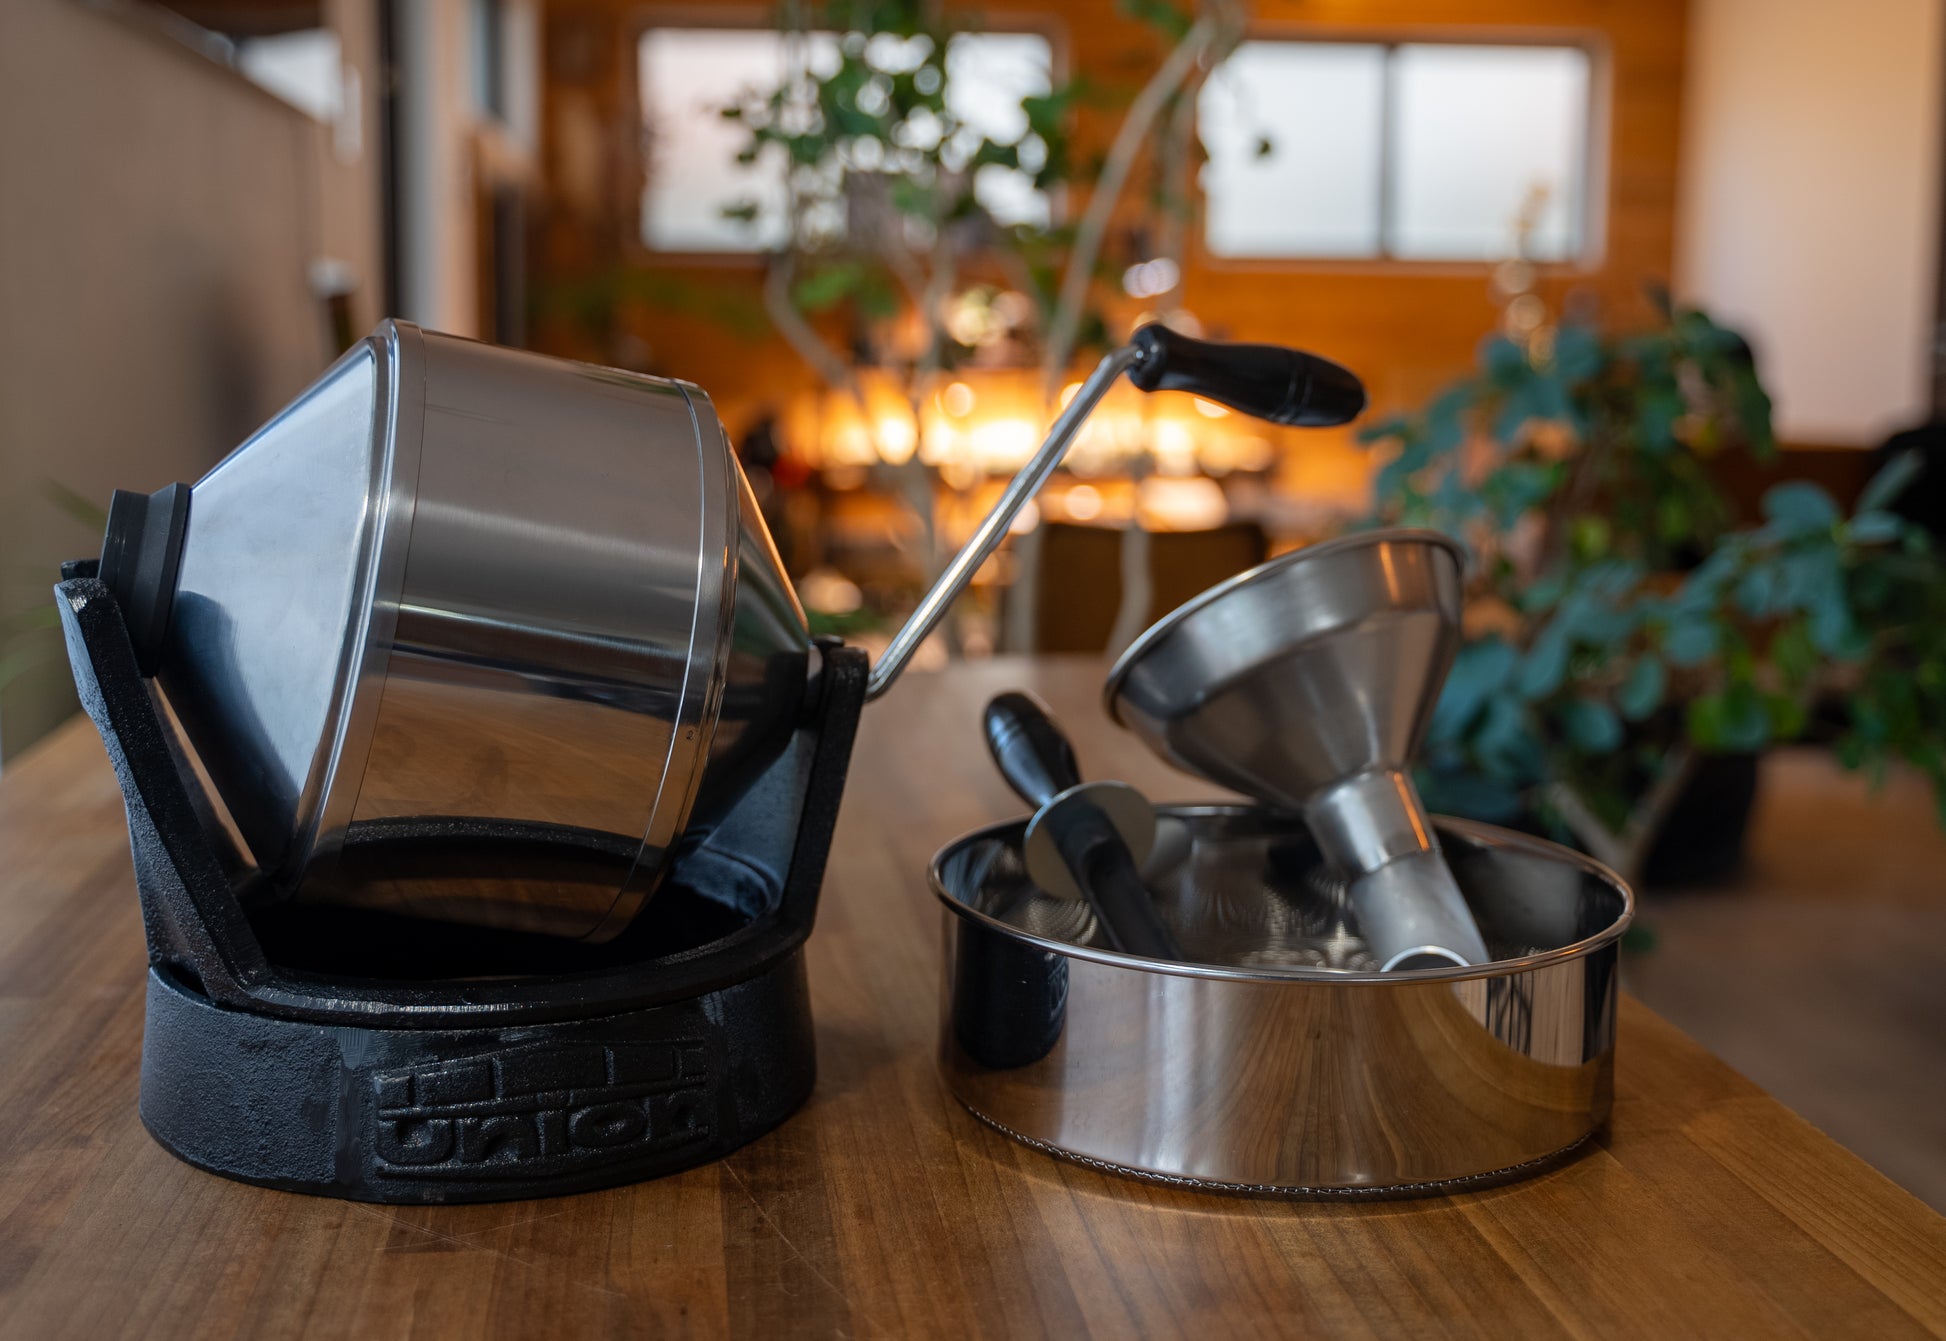
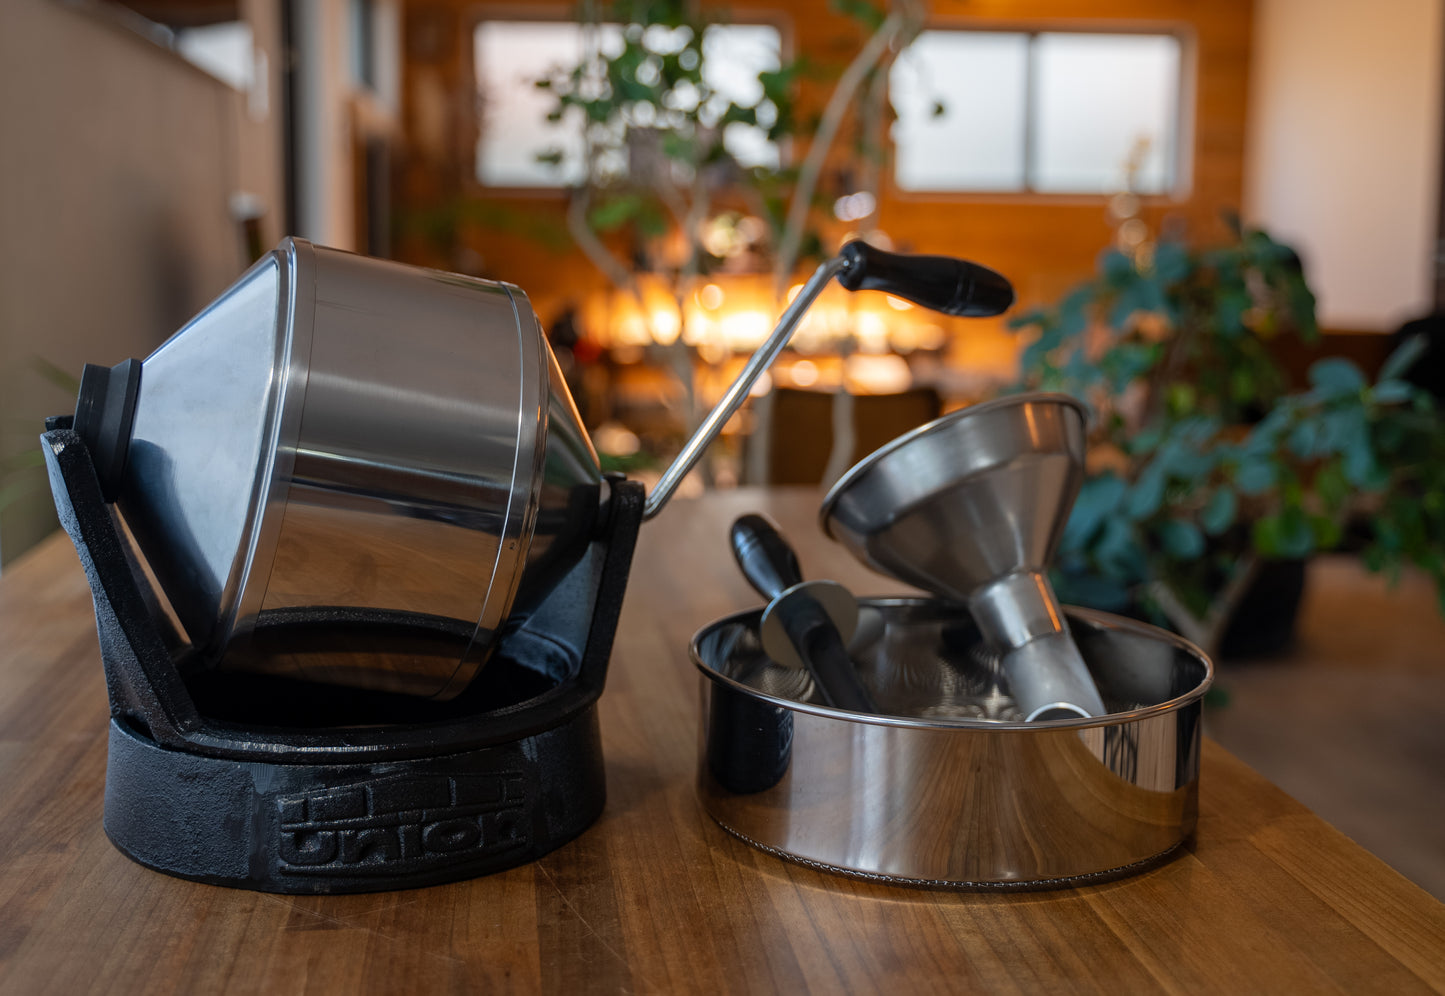
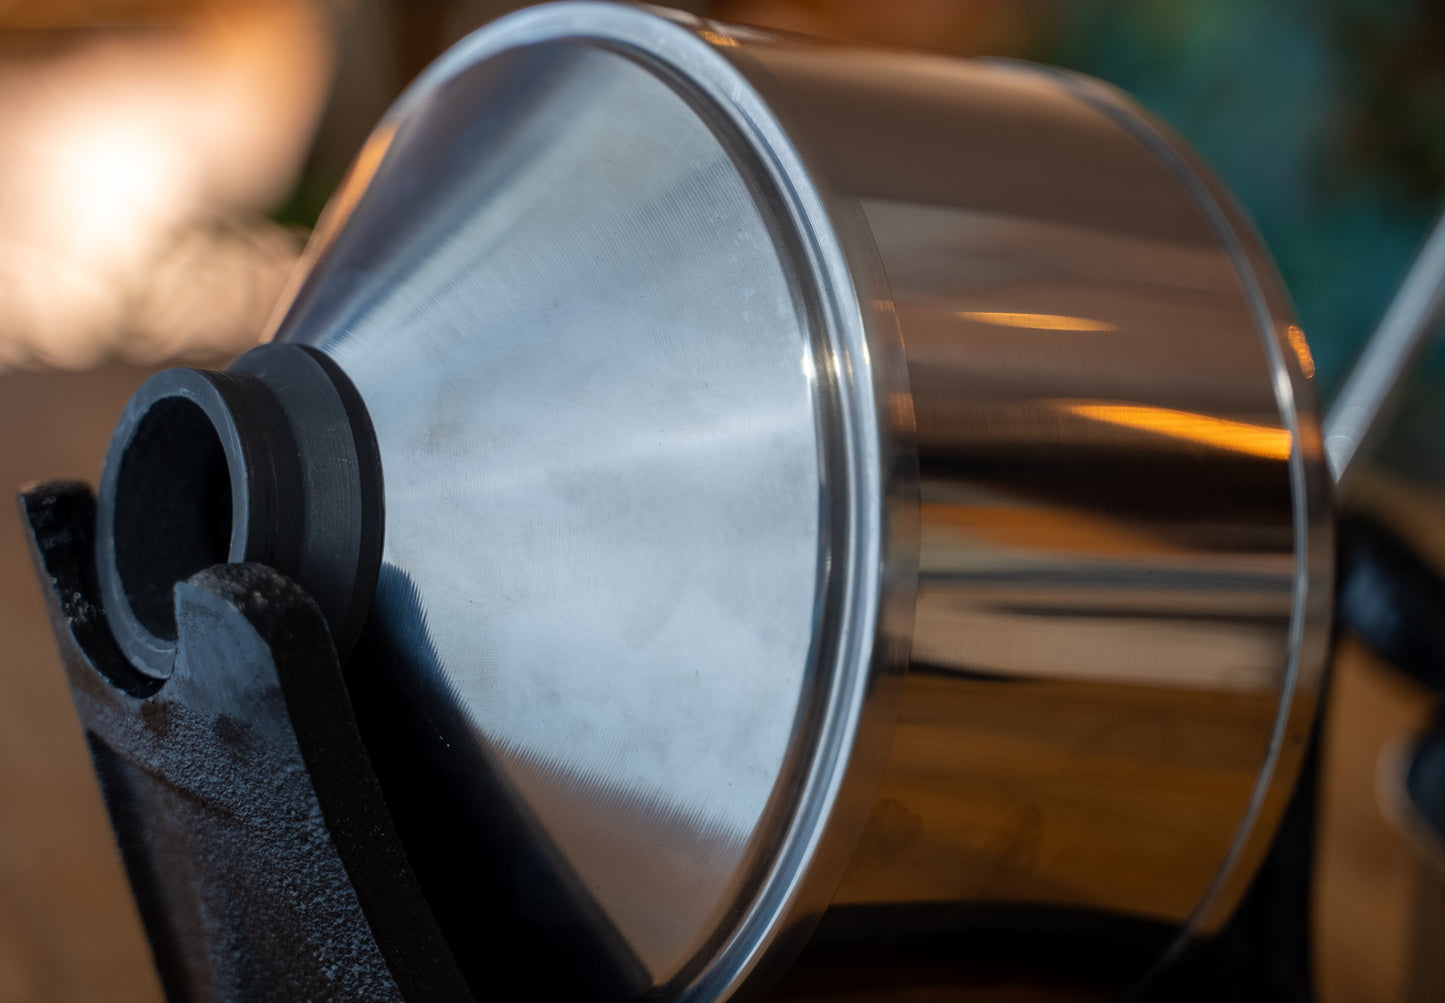
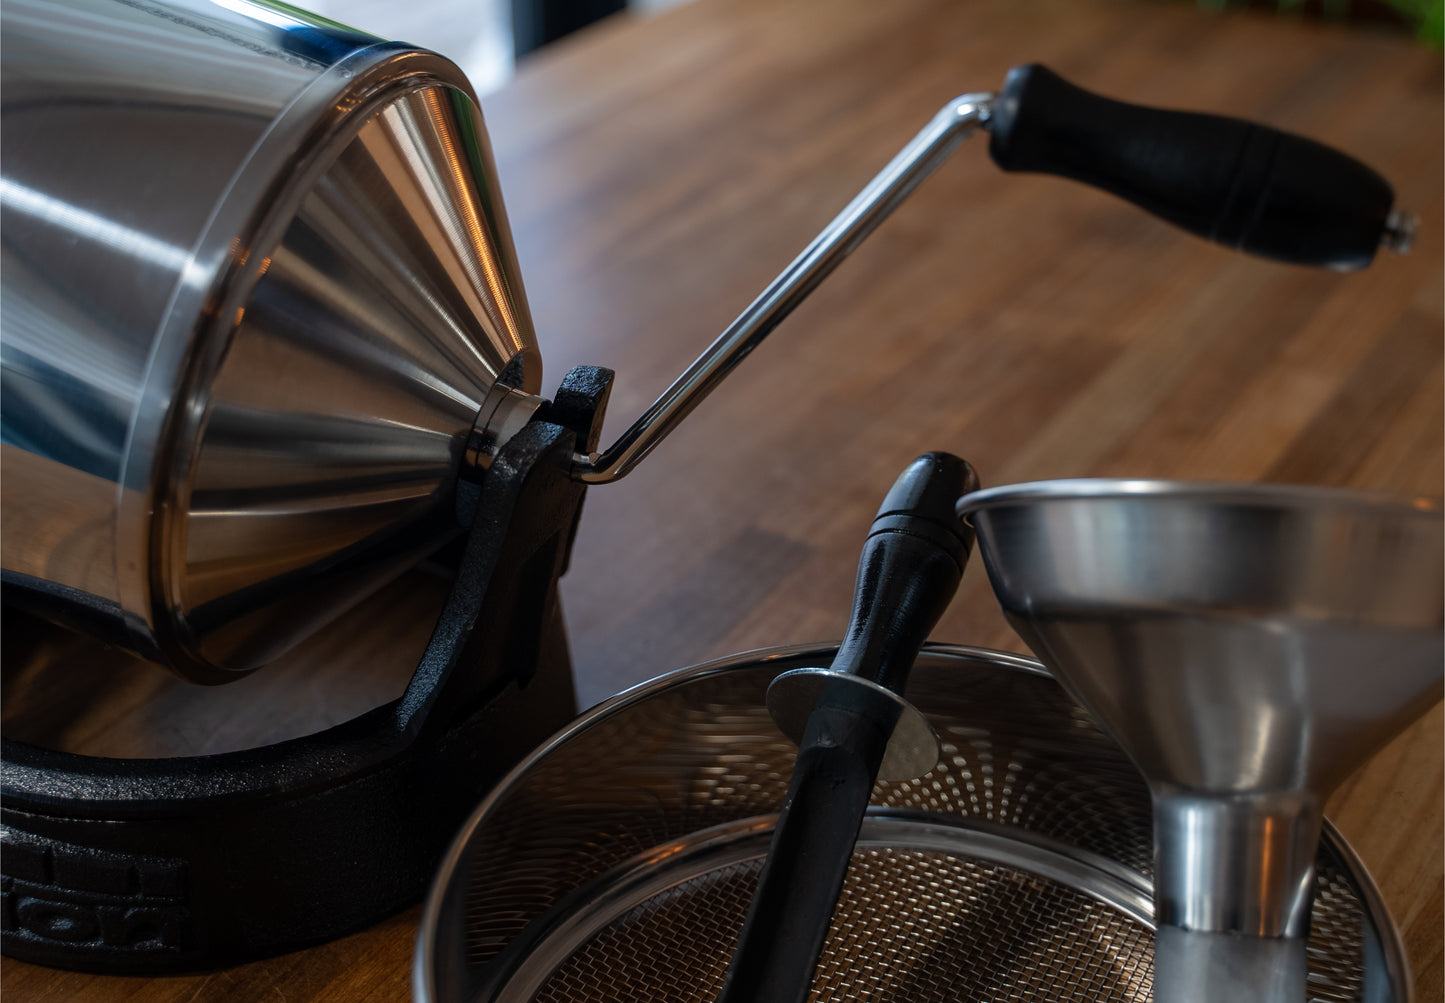
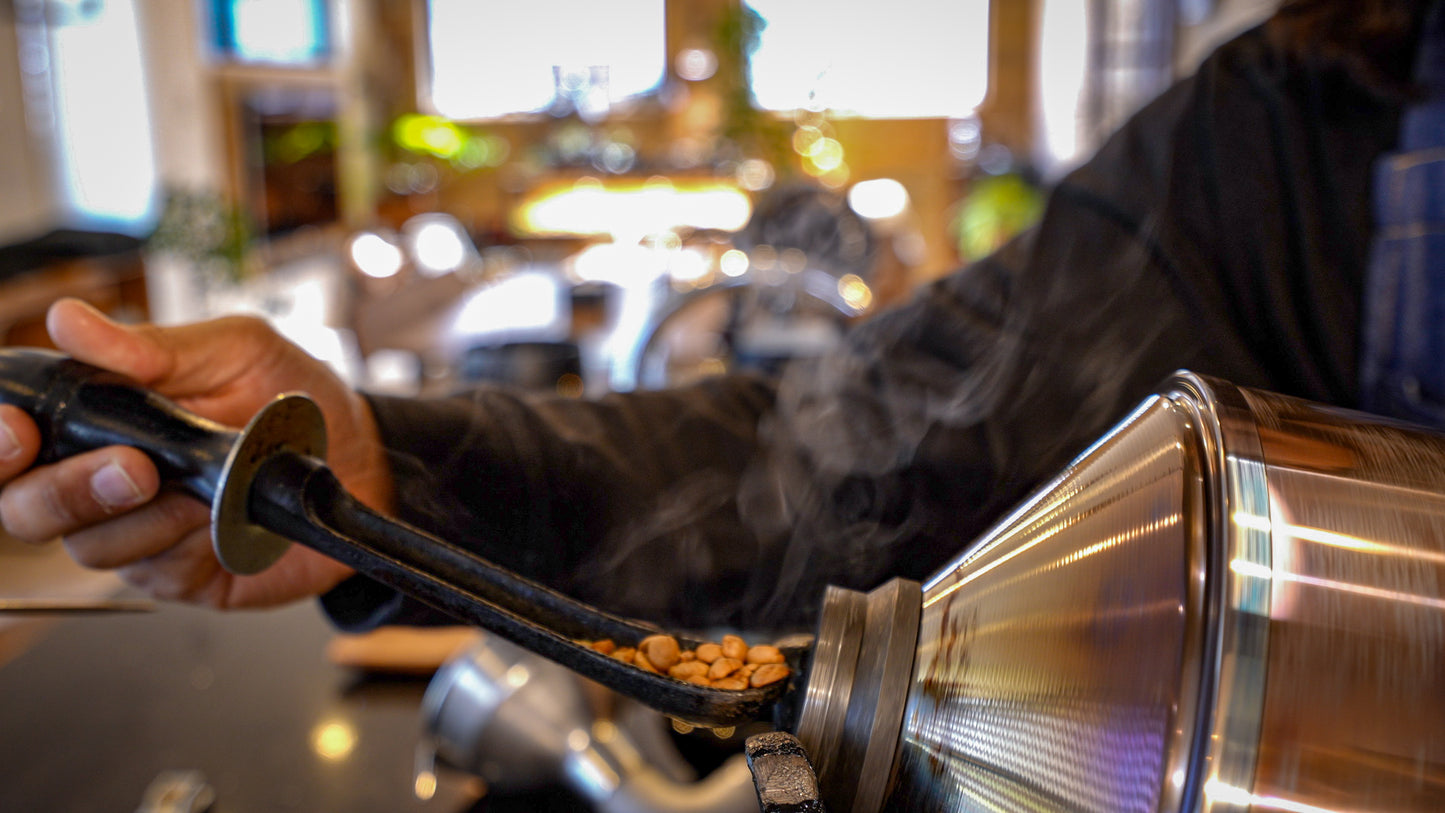
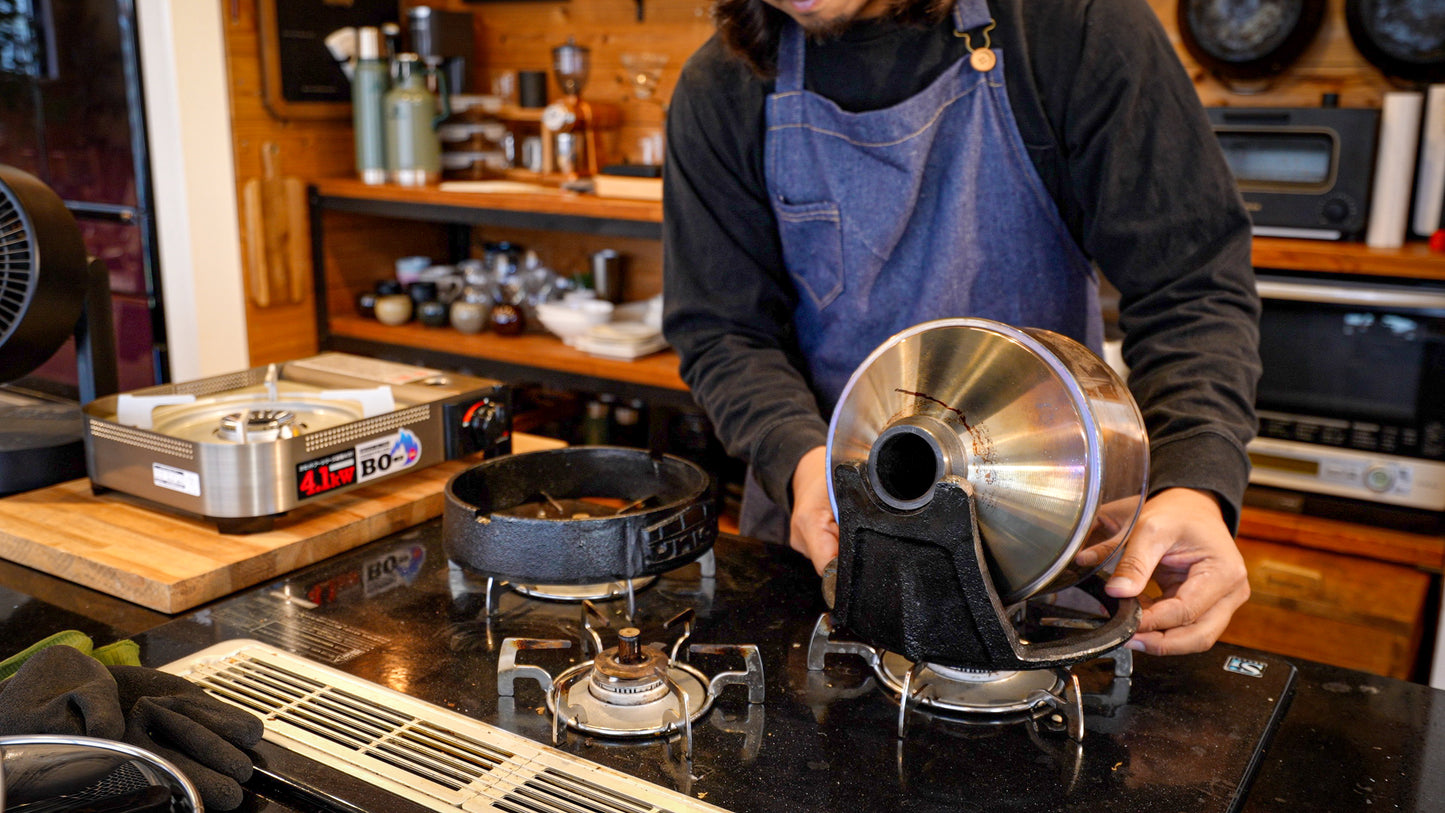
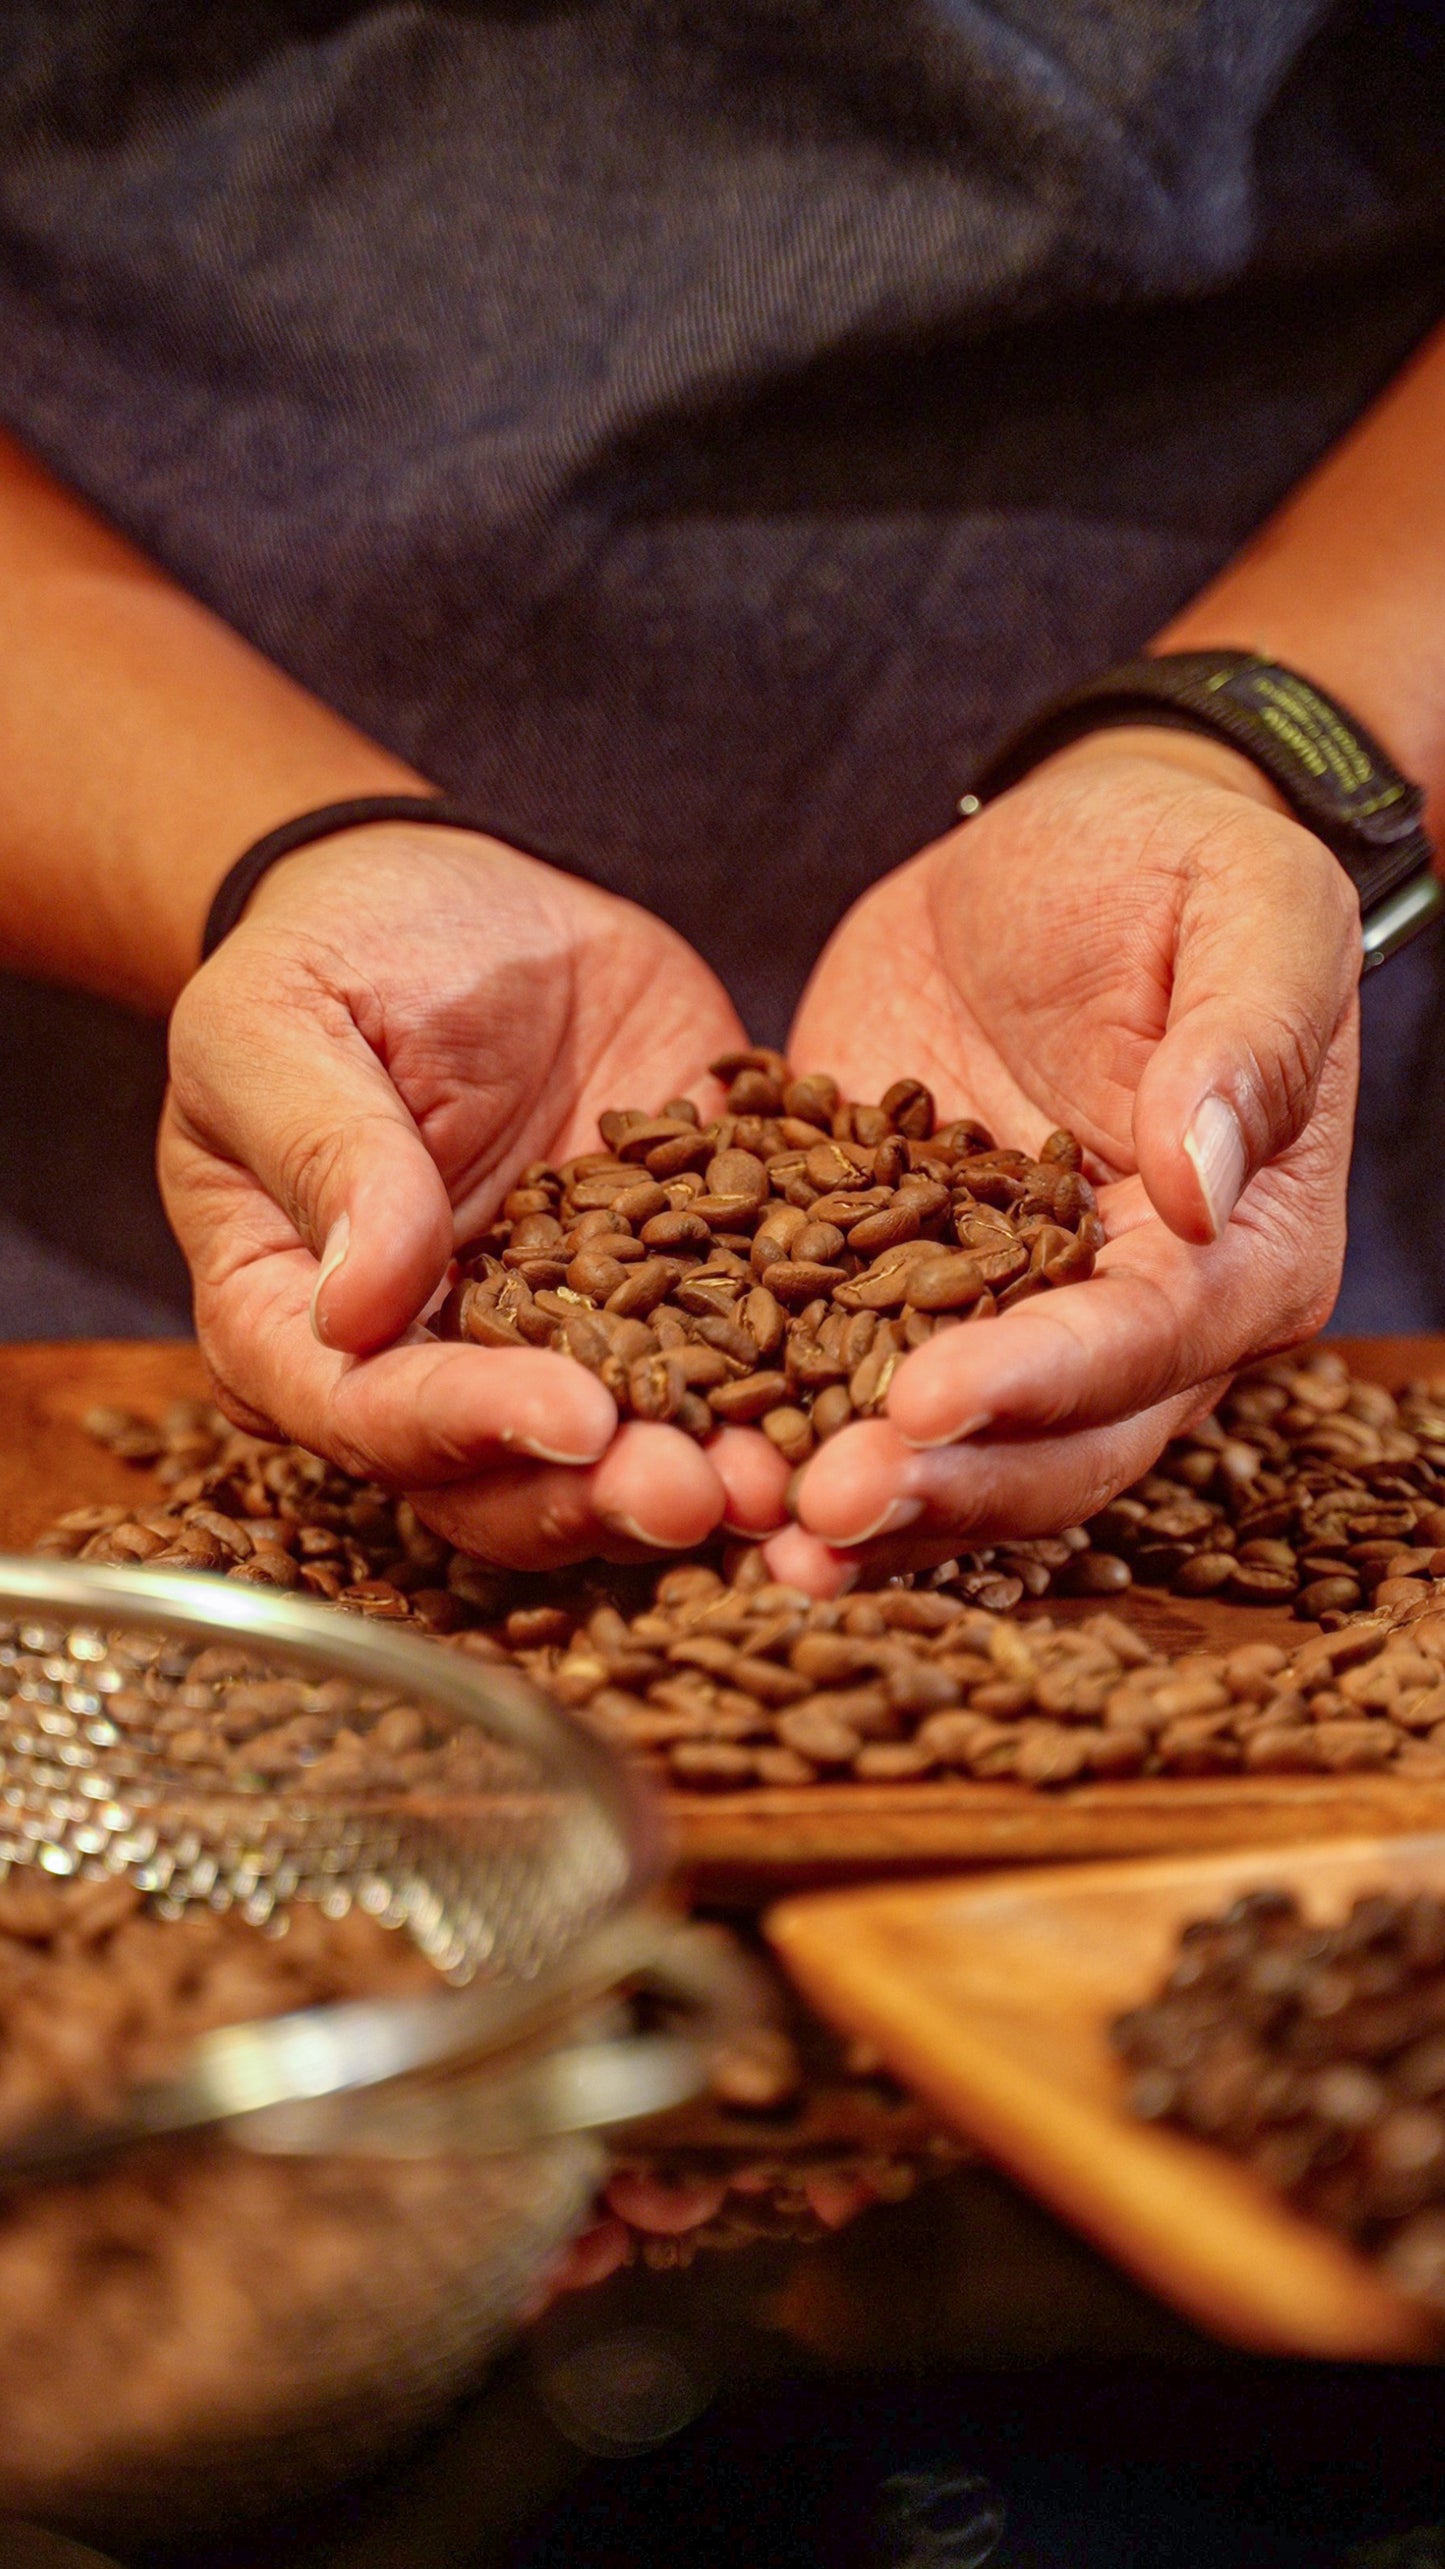
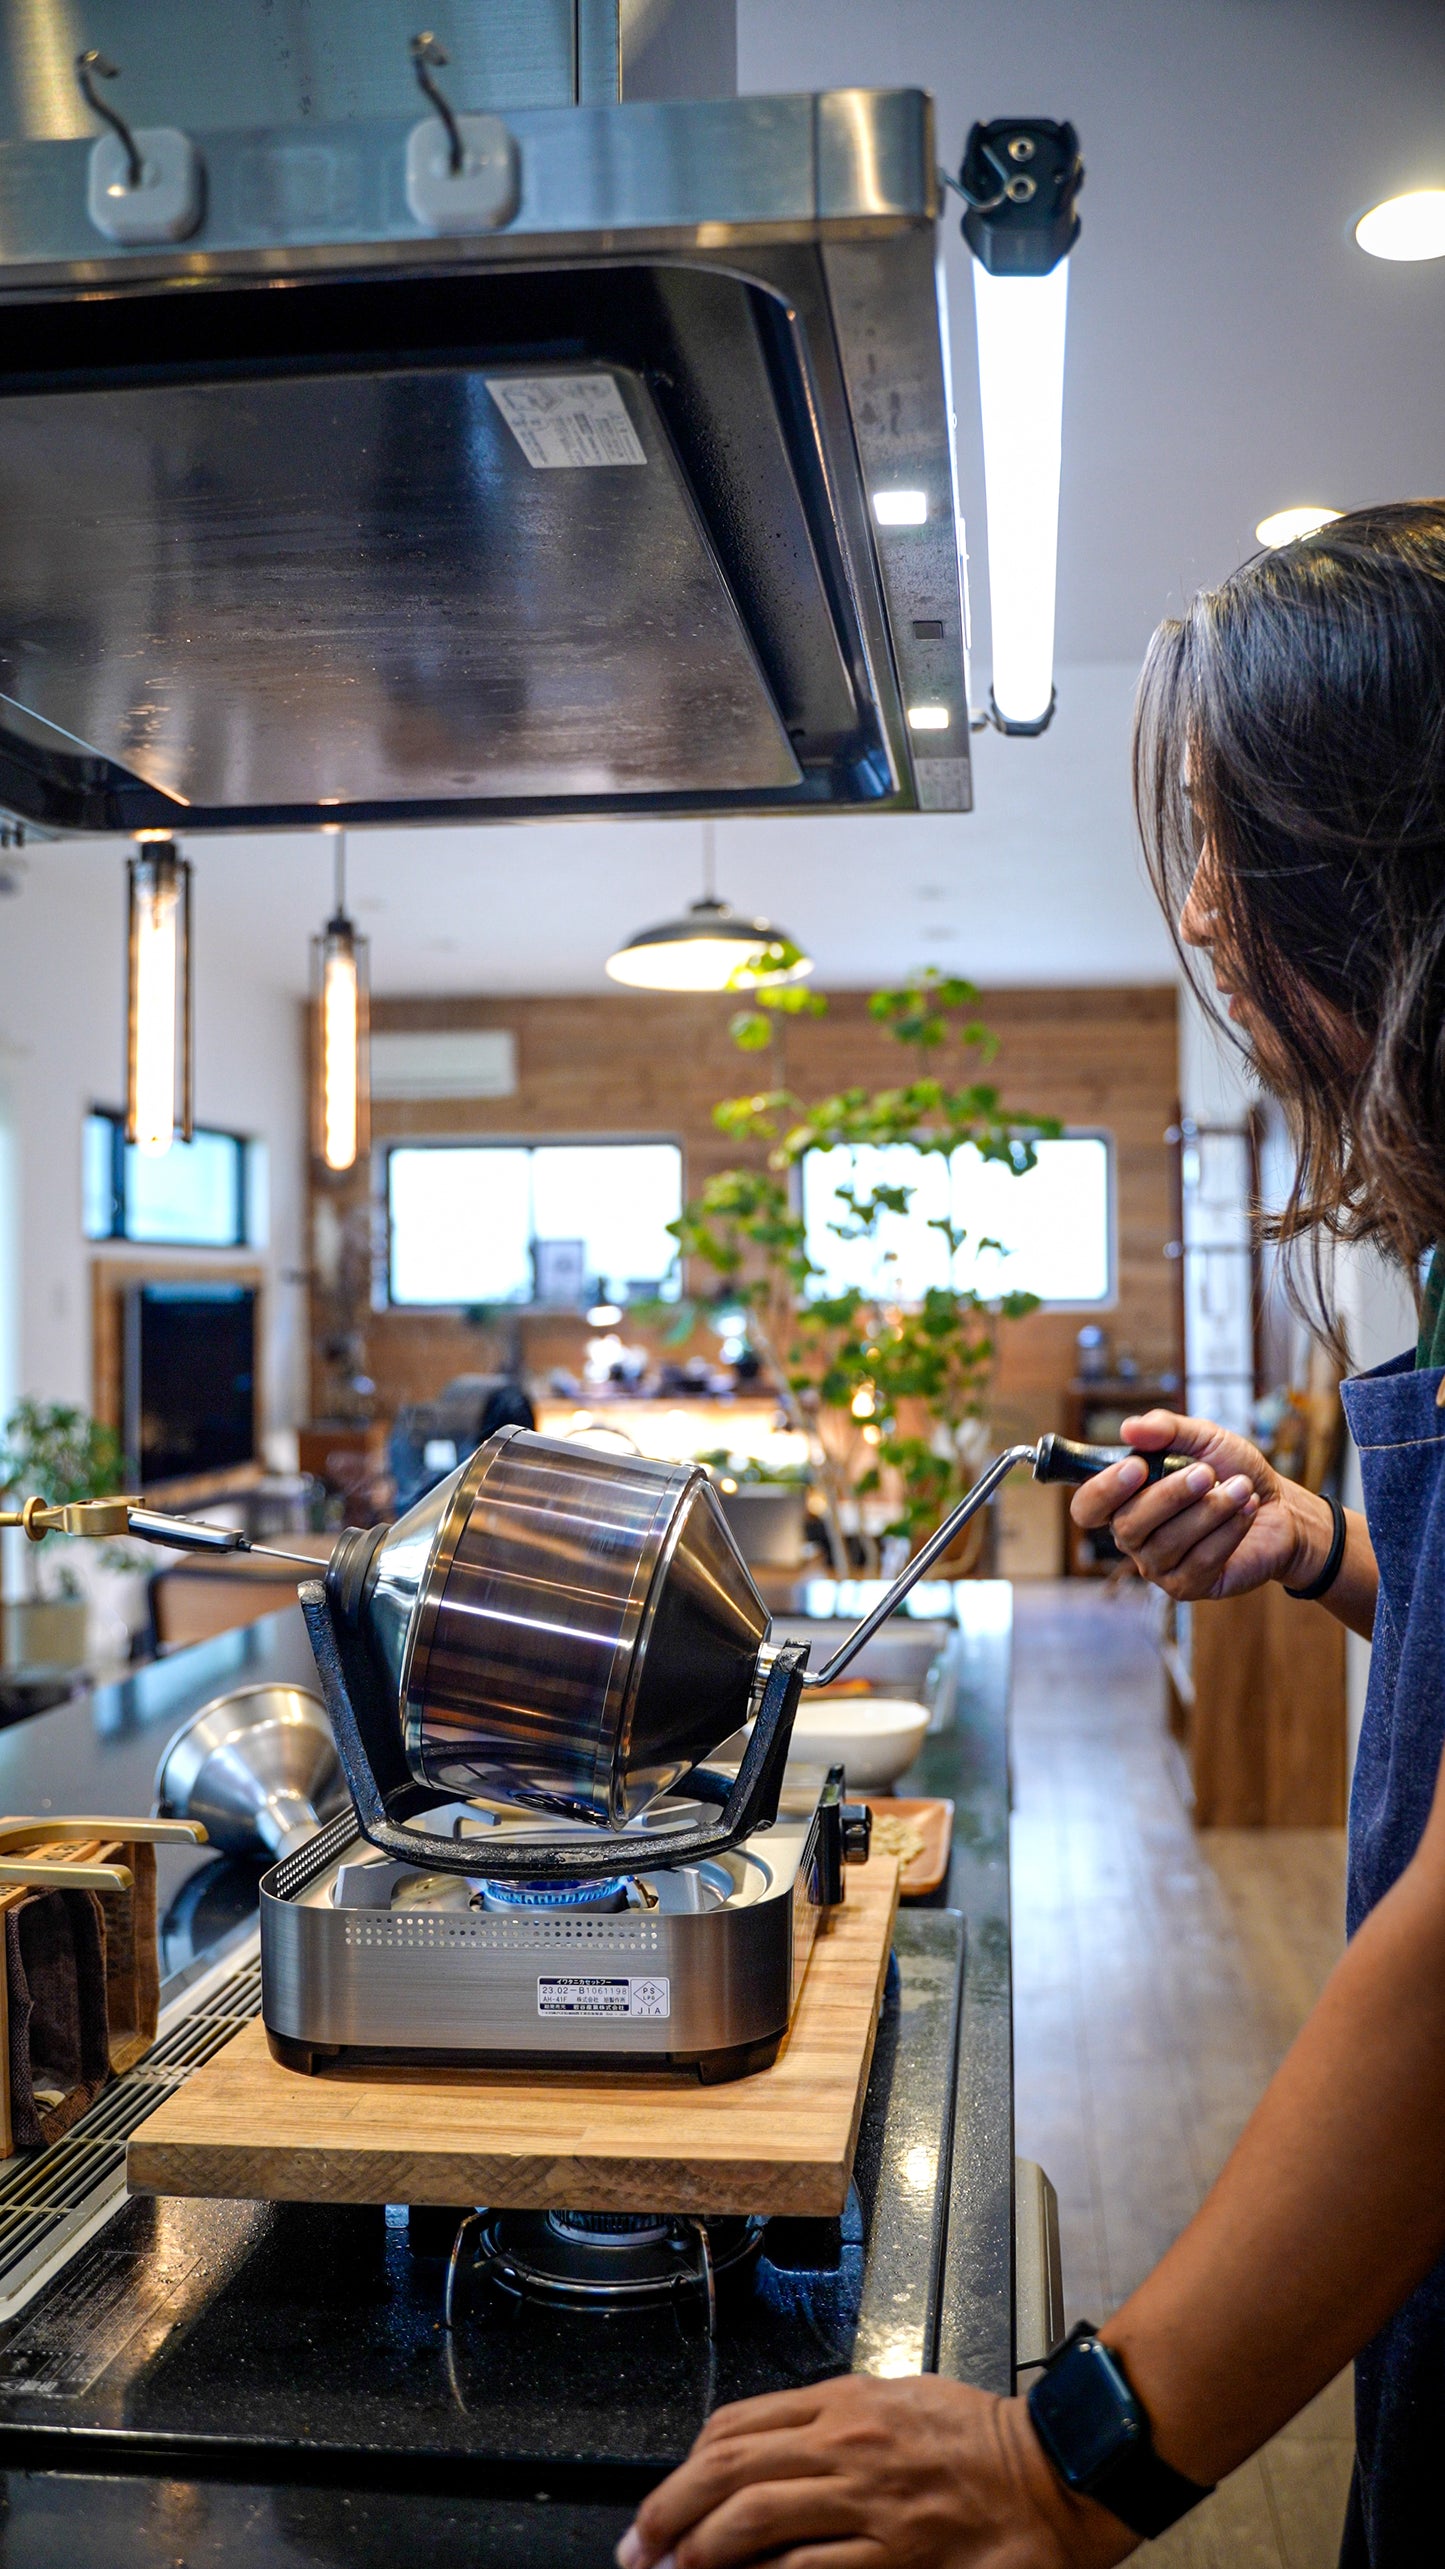
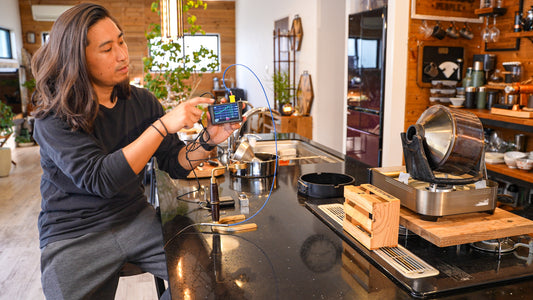
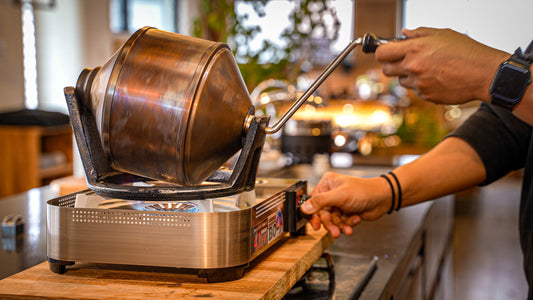
Disassembling the sample roaster is very simple.
You only need to prepare one tool to disassemble it easily.
Then, you can clean the inside of the drum.
Step 1: What to prepare

Only one tool is needed
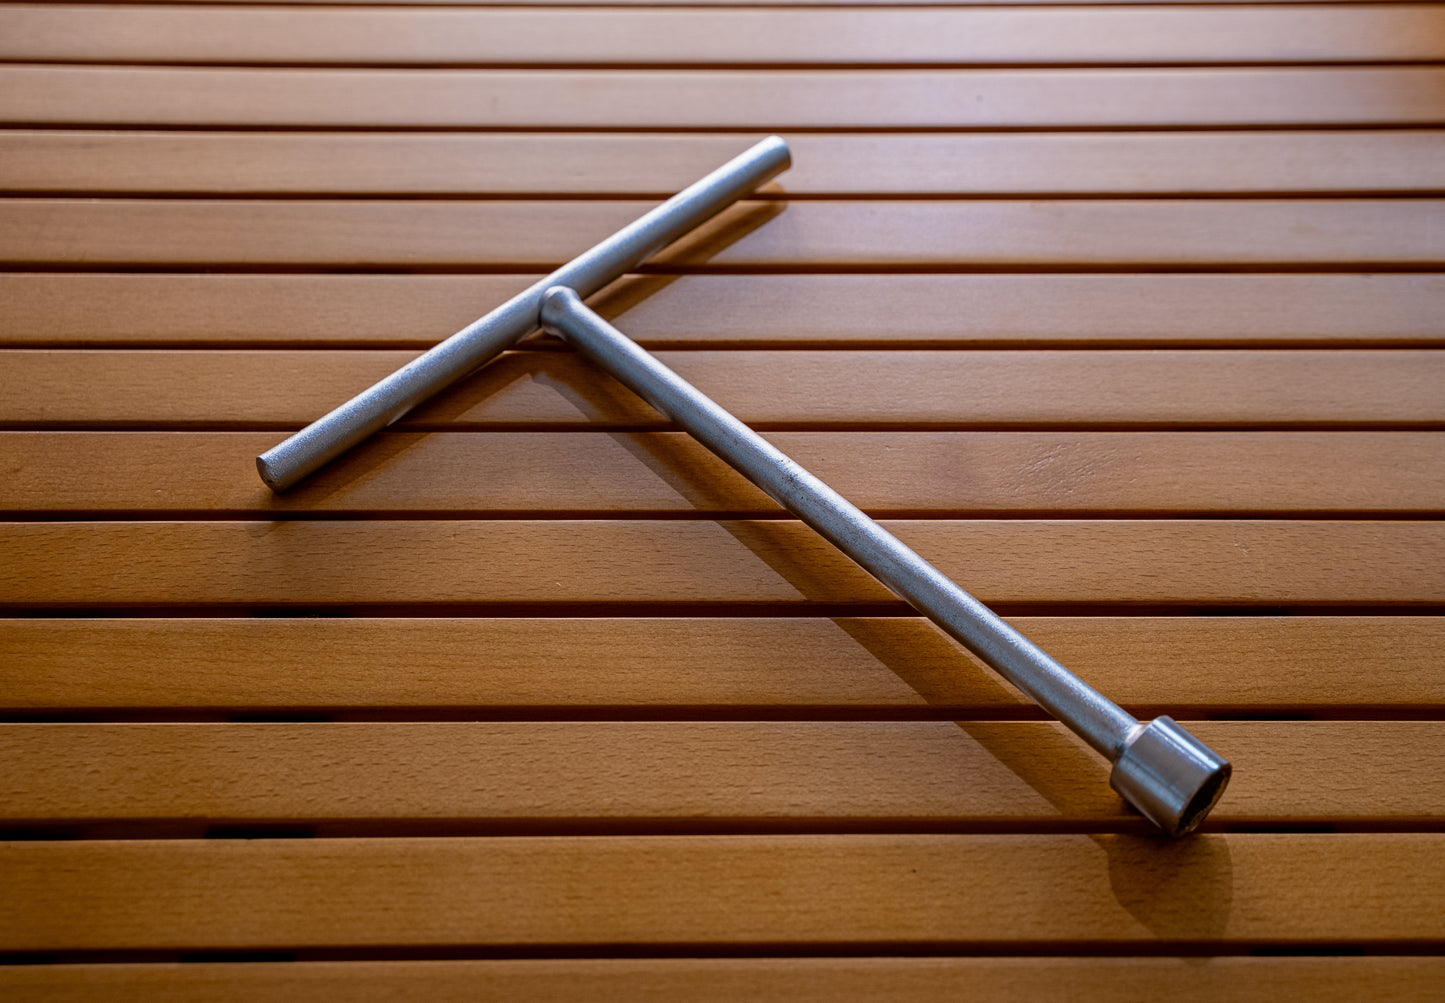
This T-shape wrench
[Socket size] 17mm [Tool length] 280mm
The length is necessary because the wrench will be placed inside the roasting machine.
About 28cm should be enough.
Step 2: Disassemble the roasting machine

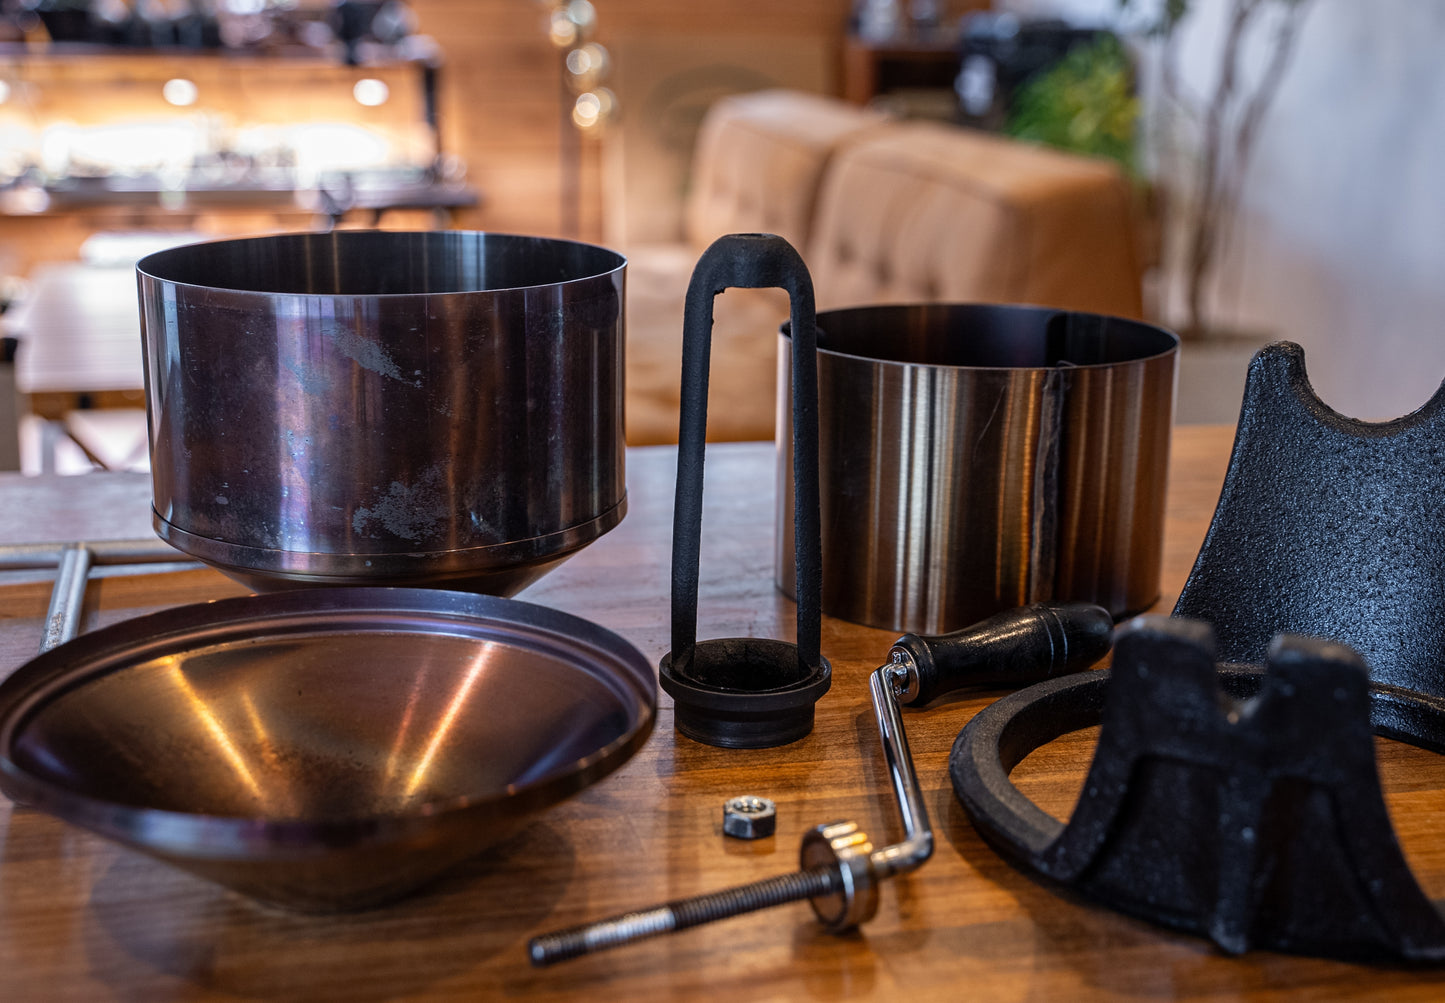
Disassembly is as simple as removing one hexagon nut inside the roasting machine

The inside of the roasting machine is fixed with a hexagon nut like this.

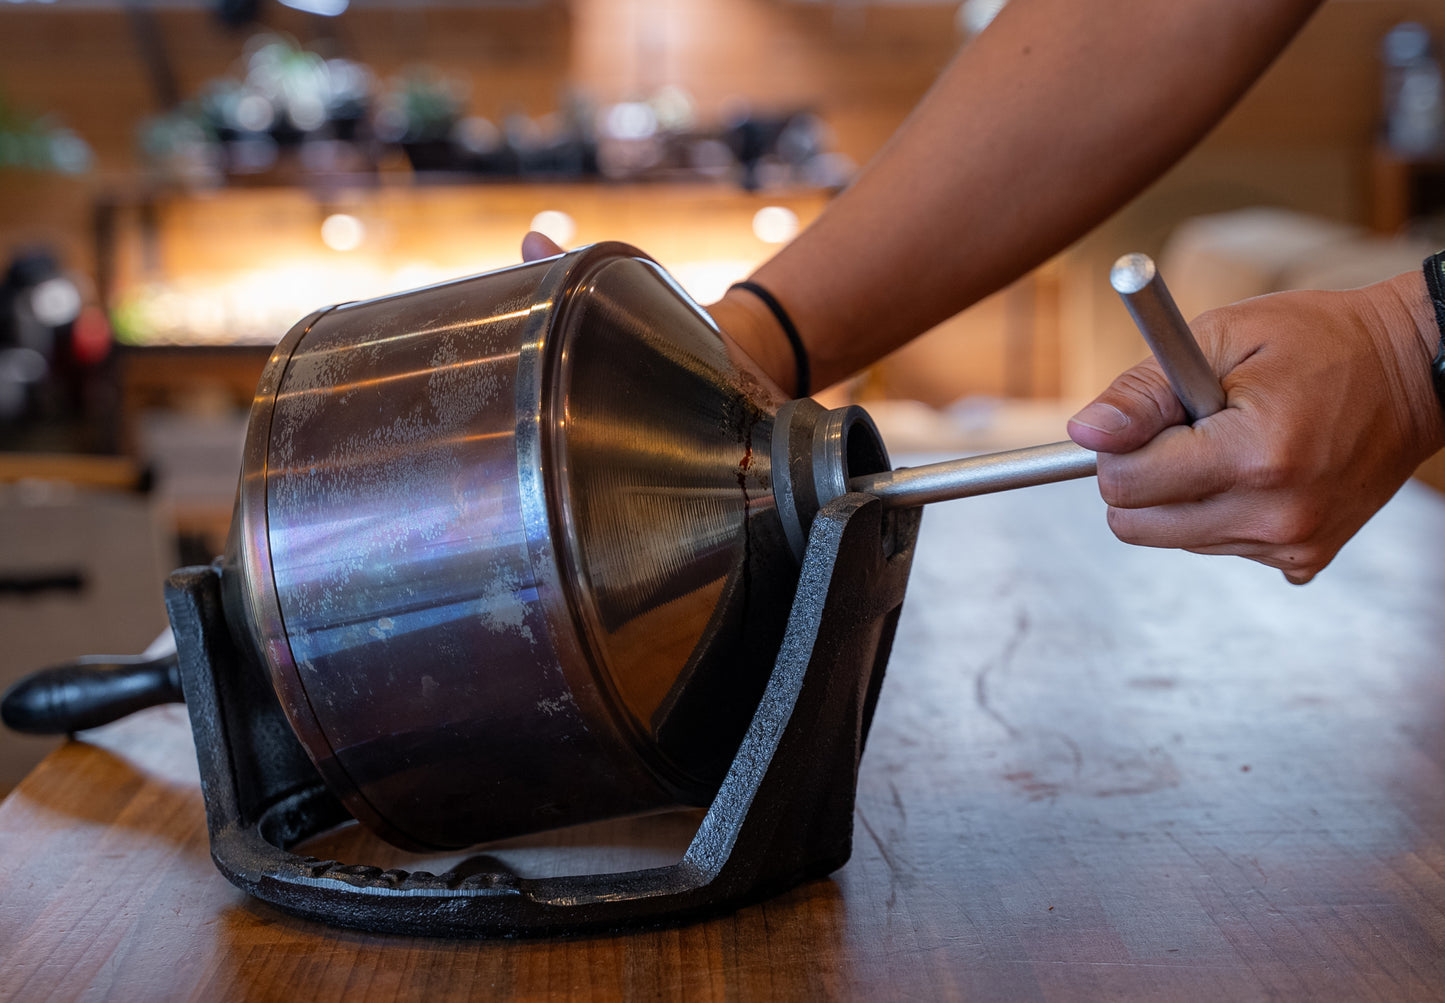
Use a T-shaped wrench to remove the nut.

When you have finished removing the hexagonal nut,
Next, turn the handle of the roasting machine to remove it.

In addition, pull out the iron parts of the opening and remove them

Finally, remove the drum lid,
The work is completed when the drum, which has two layers, is disassembled.
Step 3: Cleaning the roasting machine

After repeated roasting, some bean skins and fines will remain inside the drum.
These are removed and wiped clean.

Pulverized dust stuck to the steel parts is also removed.
In the case of this roasting machine, there is not much chaff (bean skin) left after roasting.
It seems to have been burnt inside during roasting and disappeared.
Therefore, disassembly and cleaning are occasional.
Step 4: Assemble the roasting machine

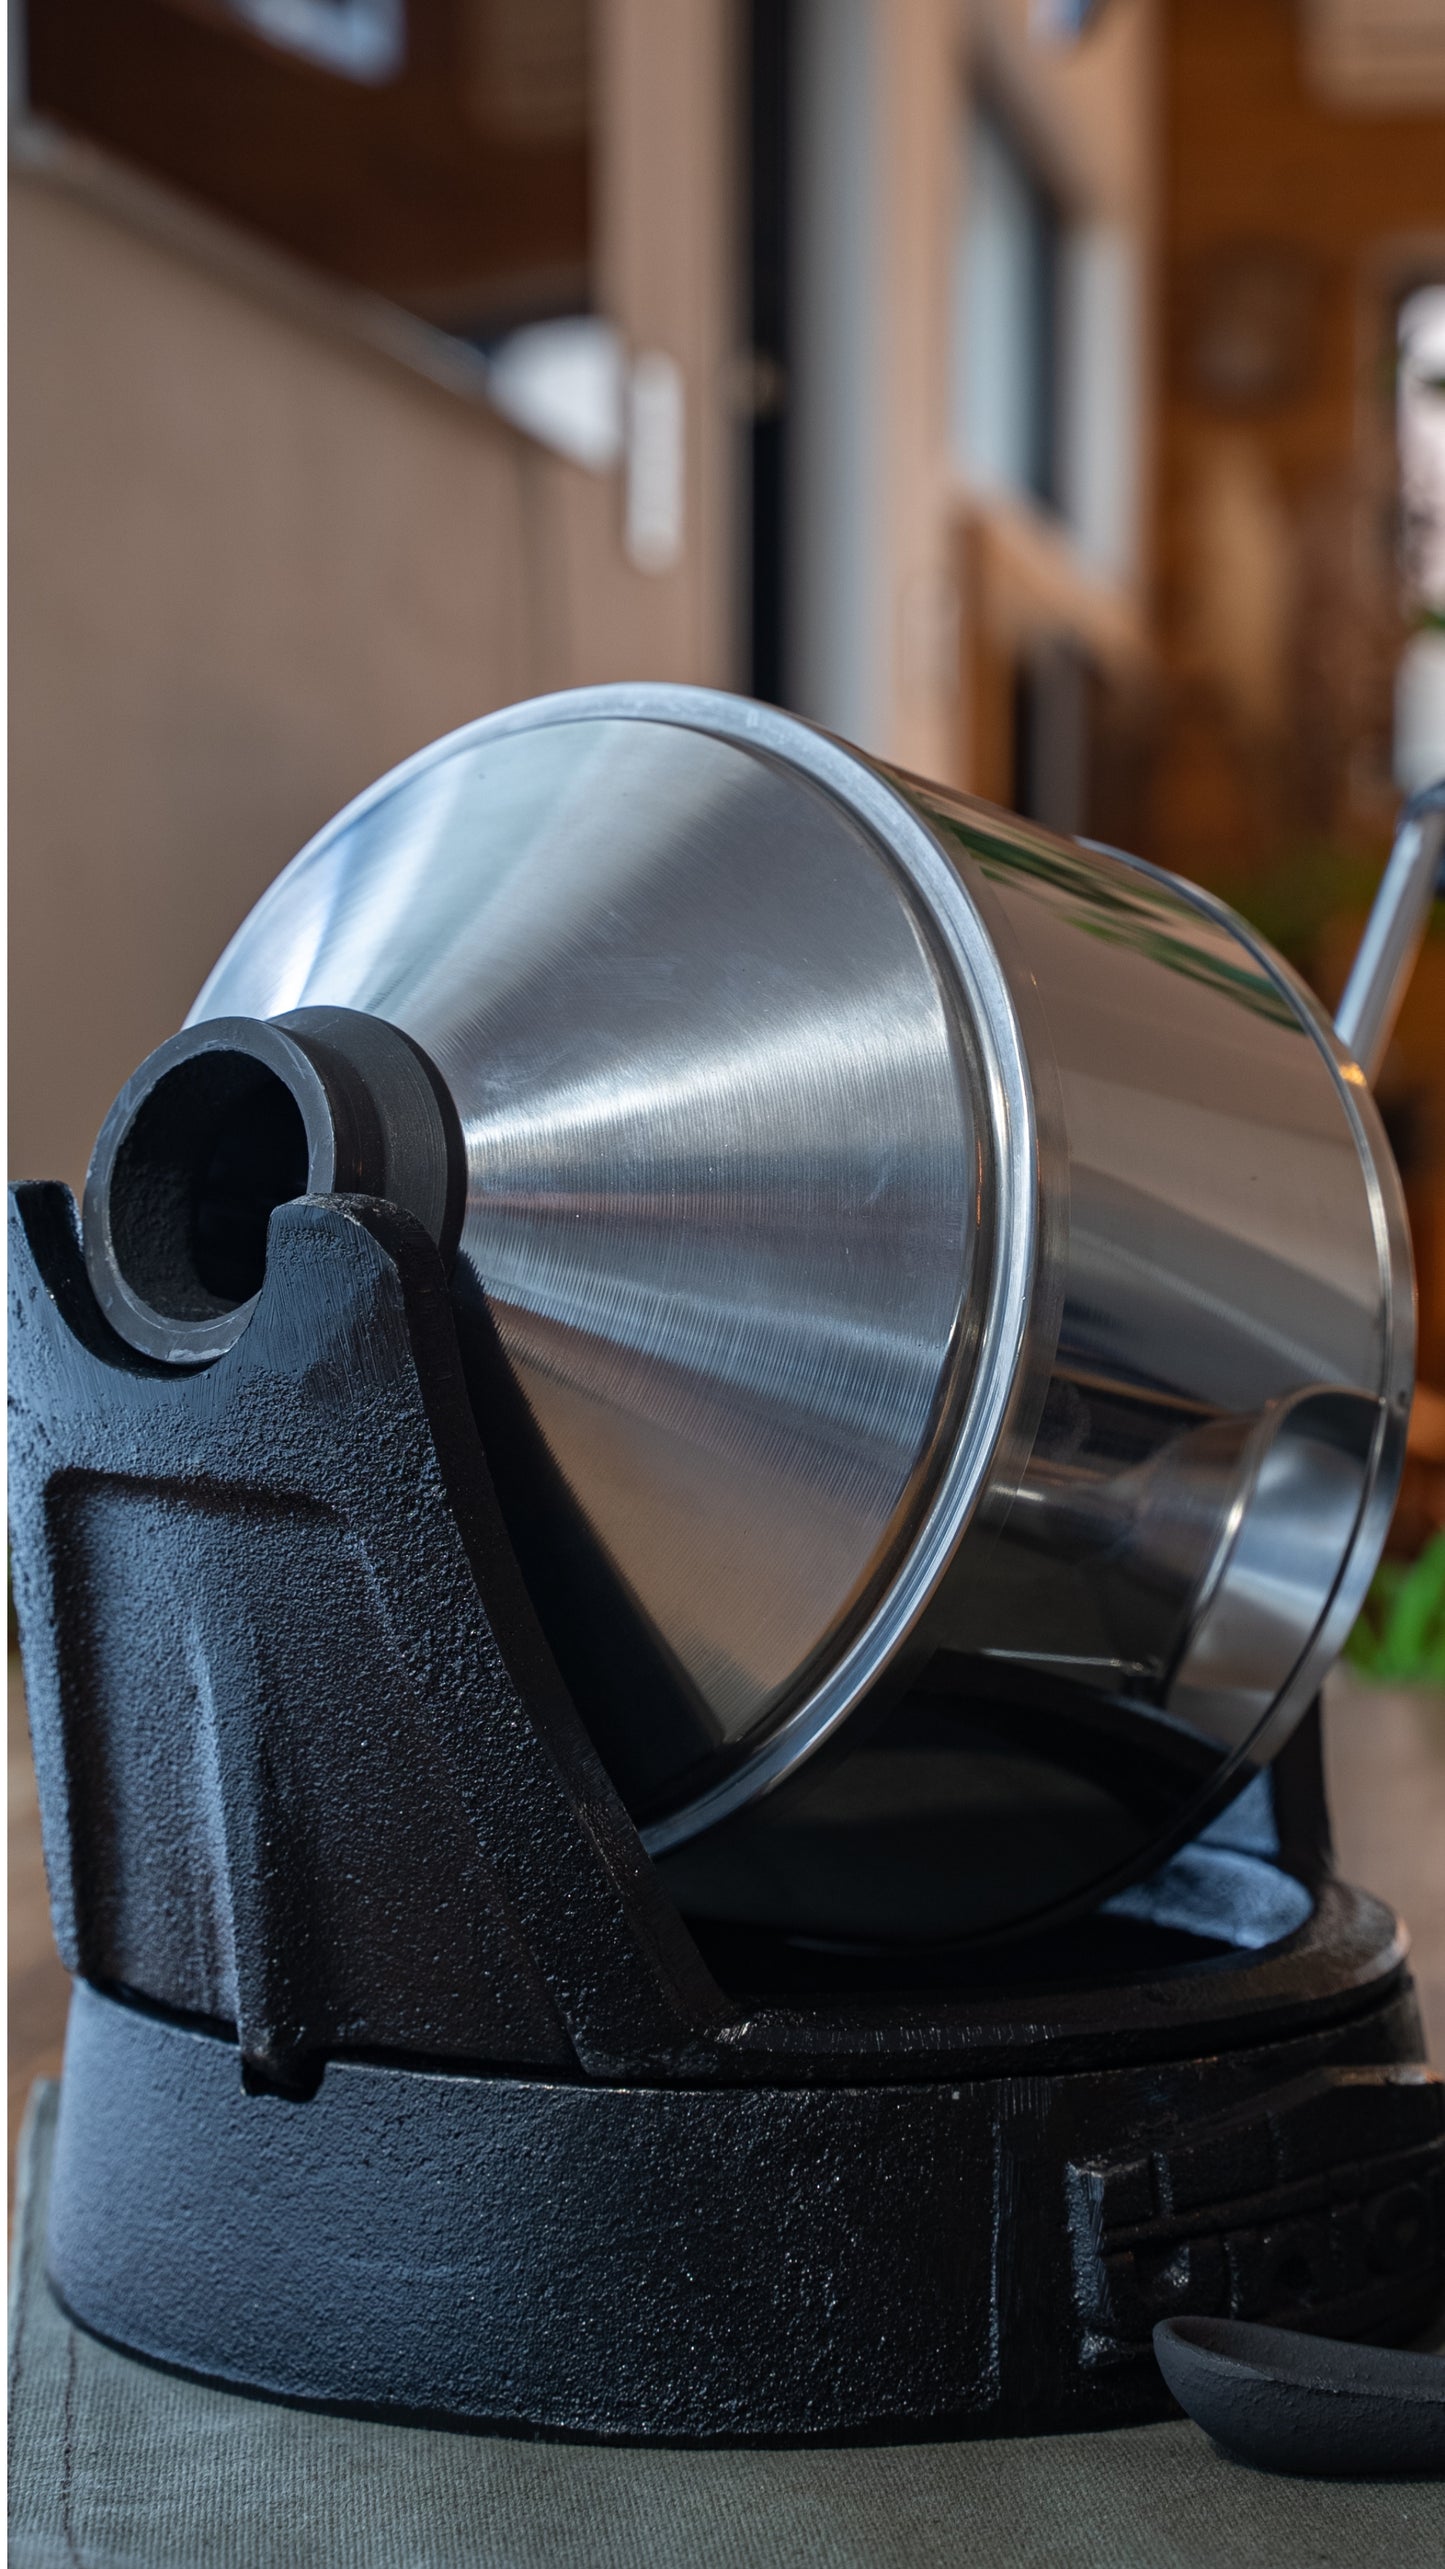
After cleaning is completed, the roasting machine is reassembled.

Assemble the drum, attach the steel parts, and turn the handle to fix it in place.

Finally, tighten the hexagon nut with a wrench to secure it in place

This completes the entire disassembly and cleaning process!
The sample roaster has a very simple structure.
The hassle-free cleaning is one of the points that make it easy to use.
Thank you for reading to the end.
Manual Roasting Machine: Union Sample Roaster


