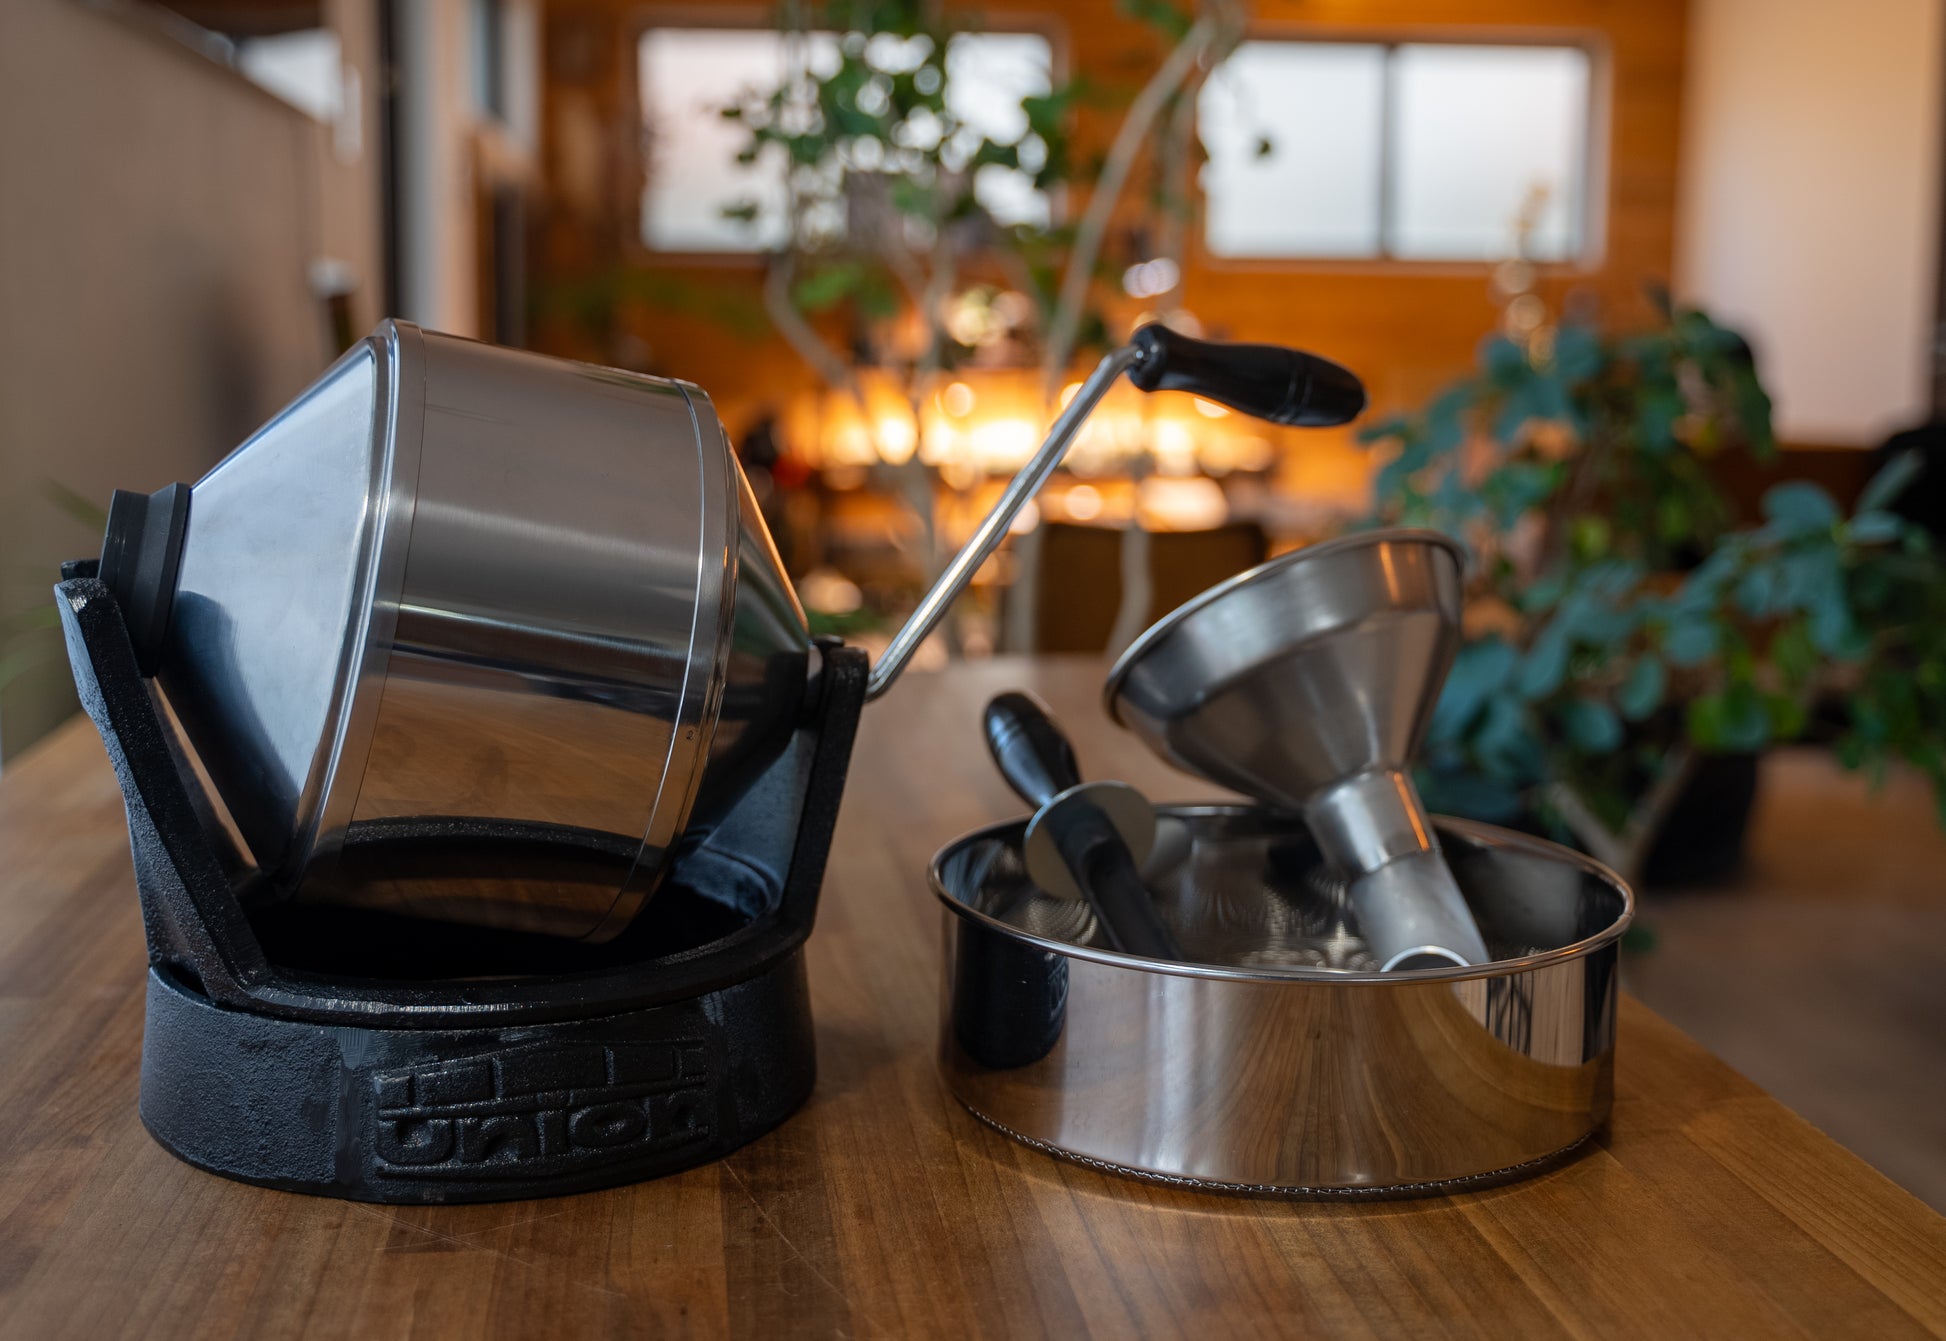
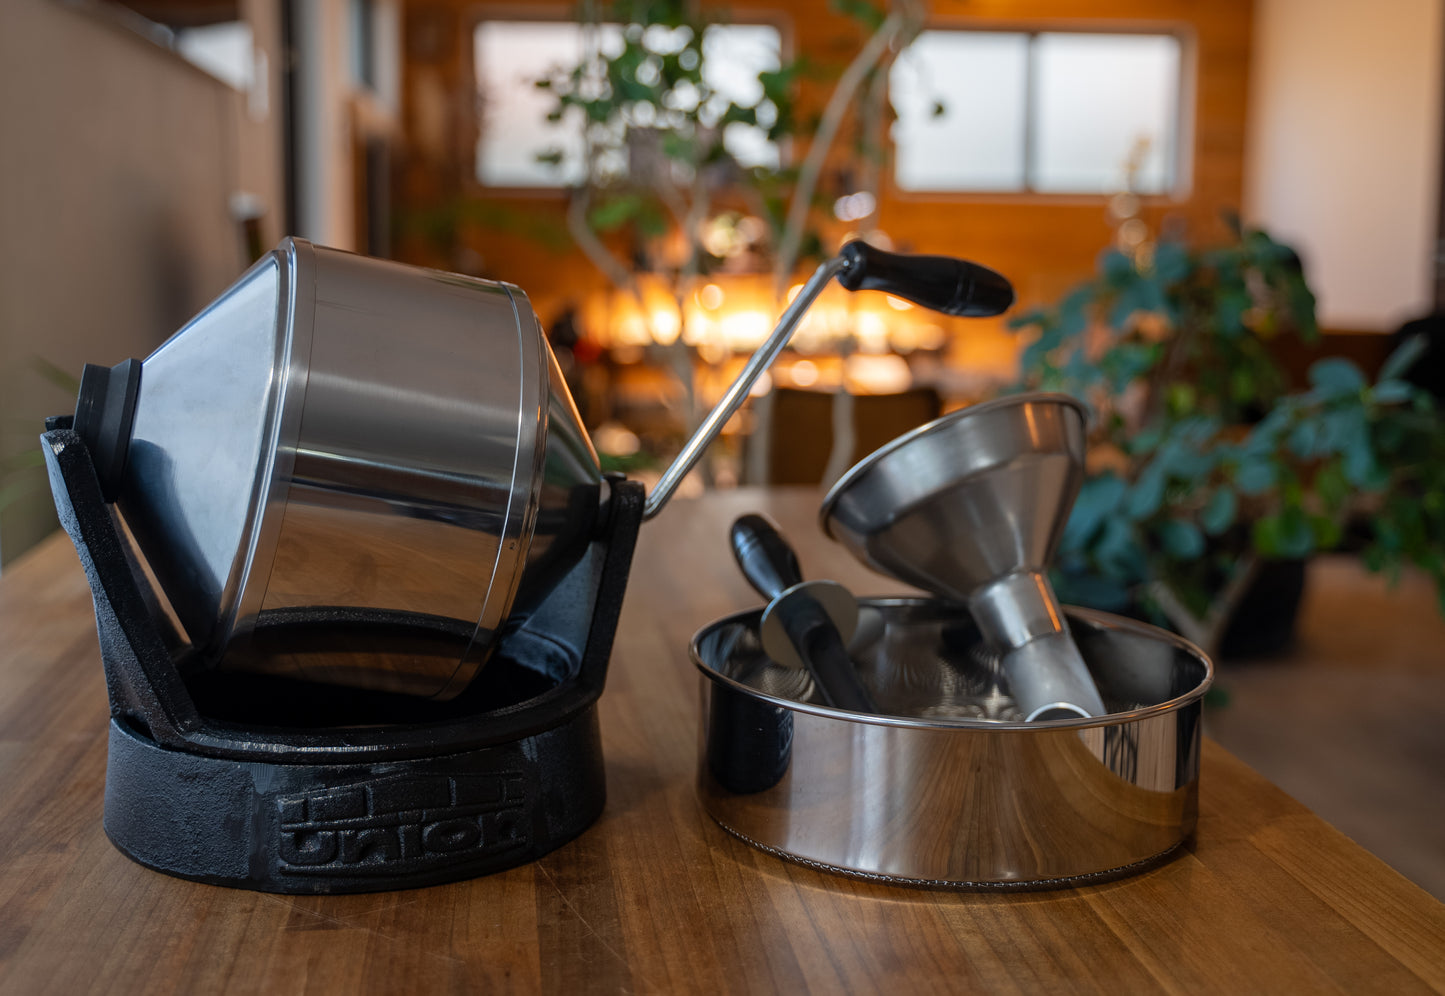
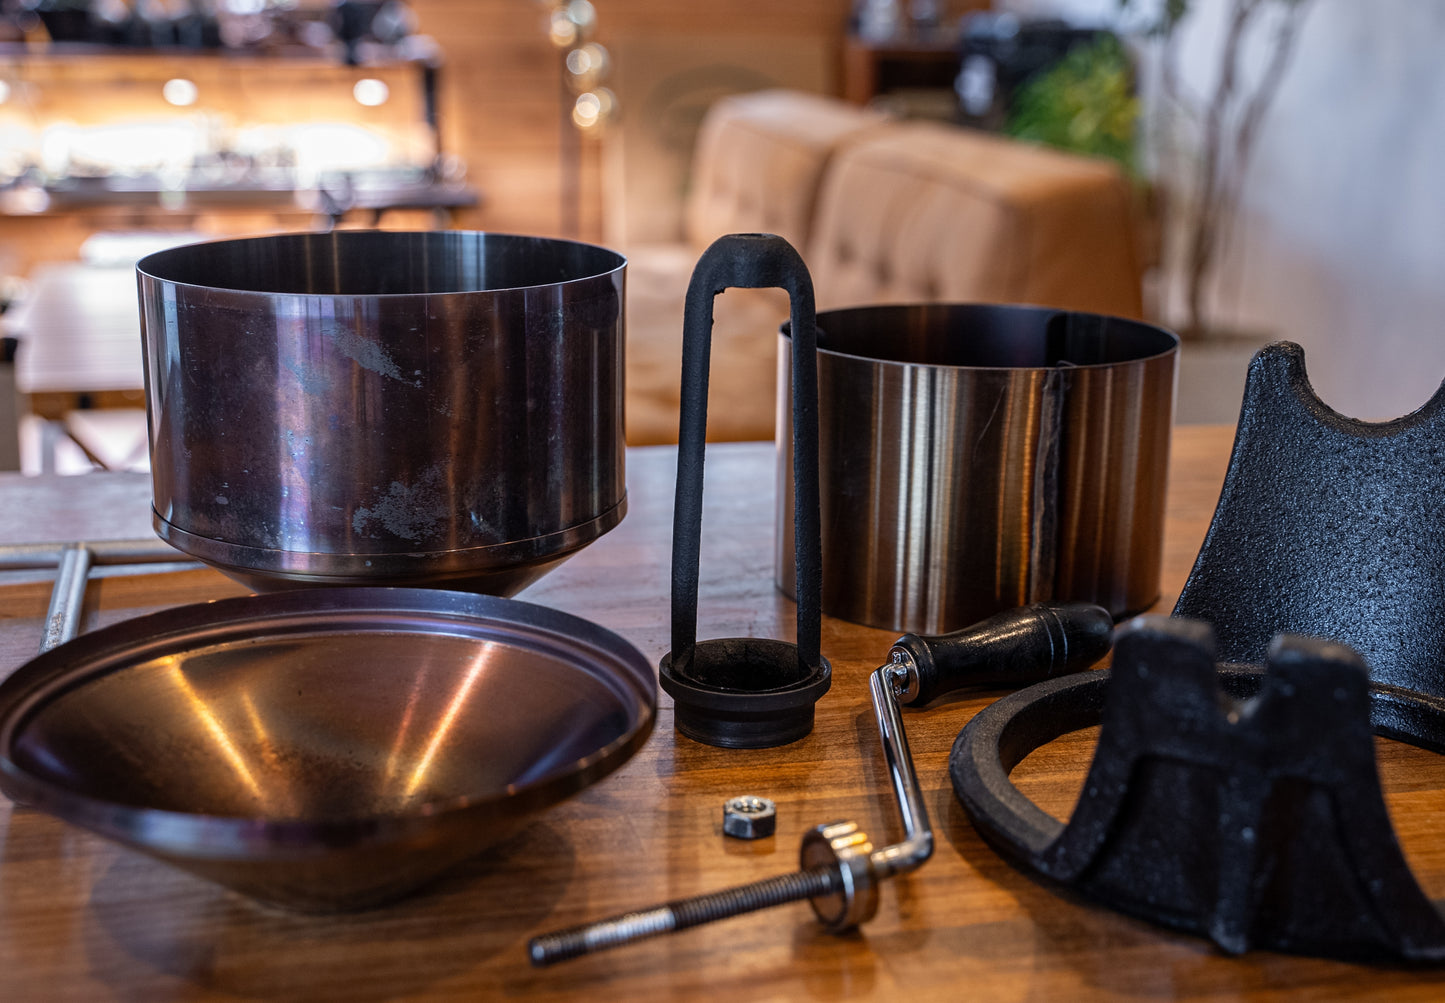
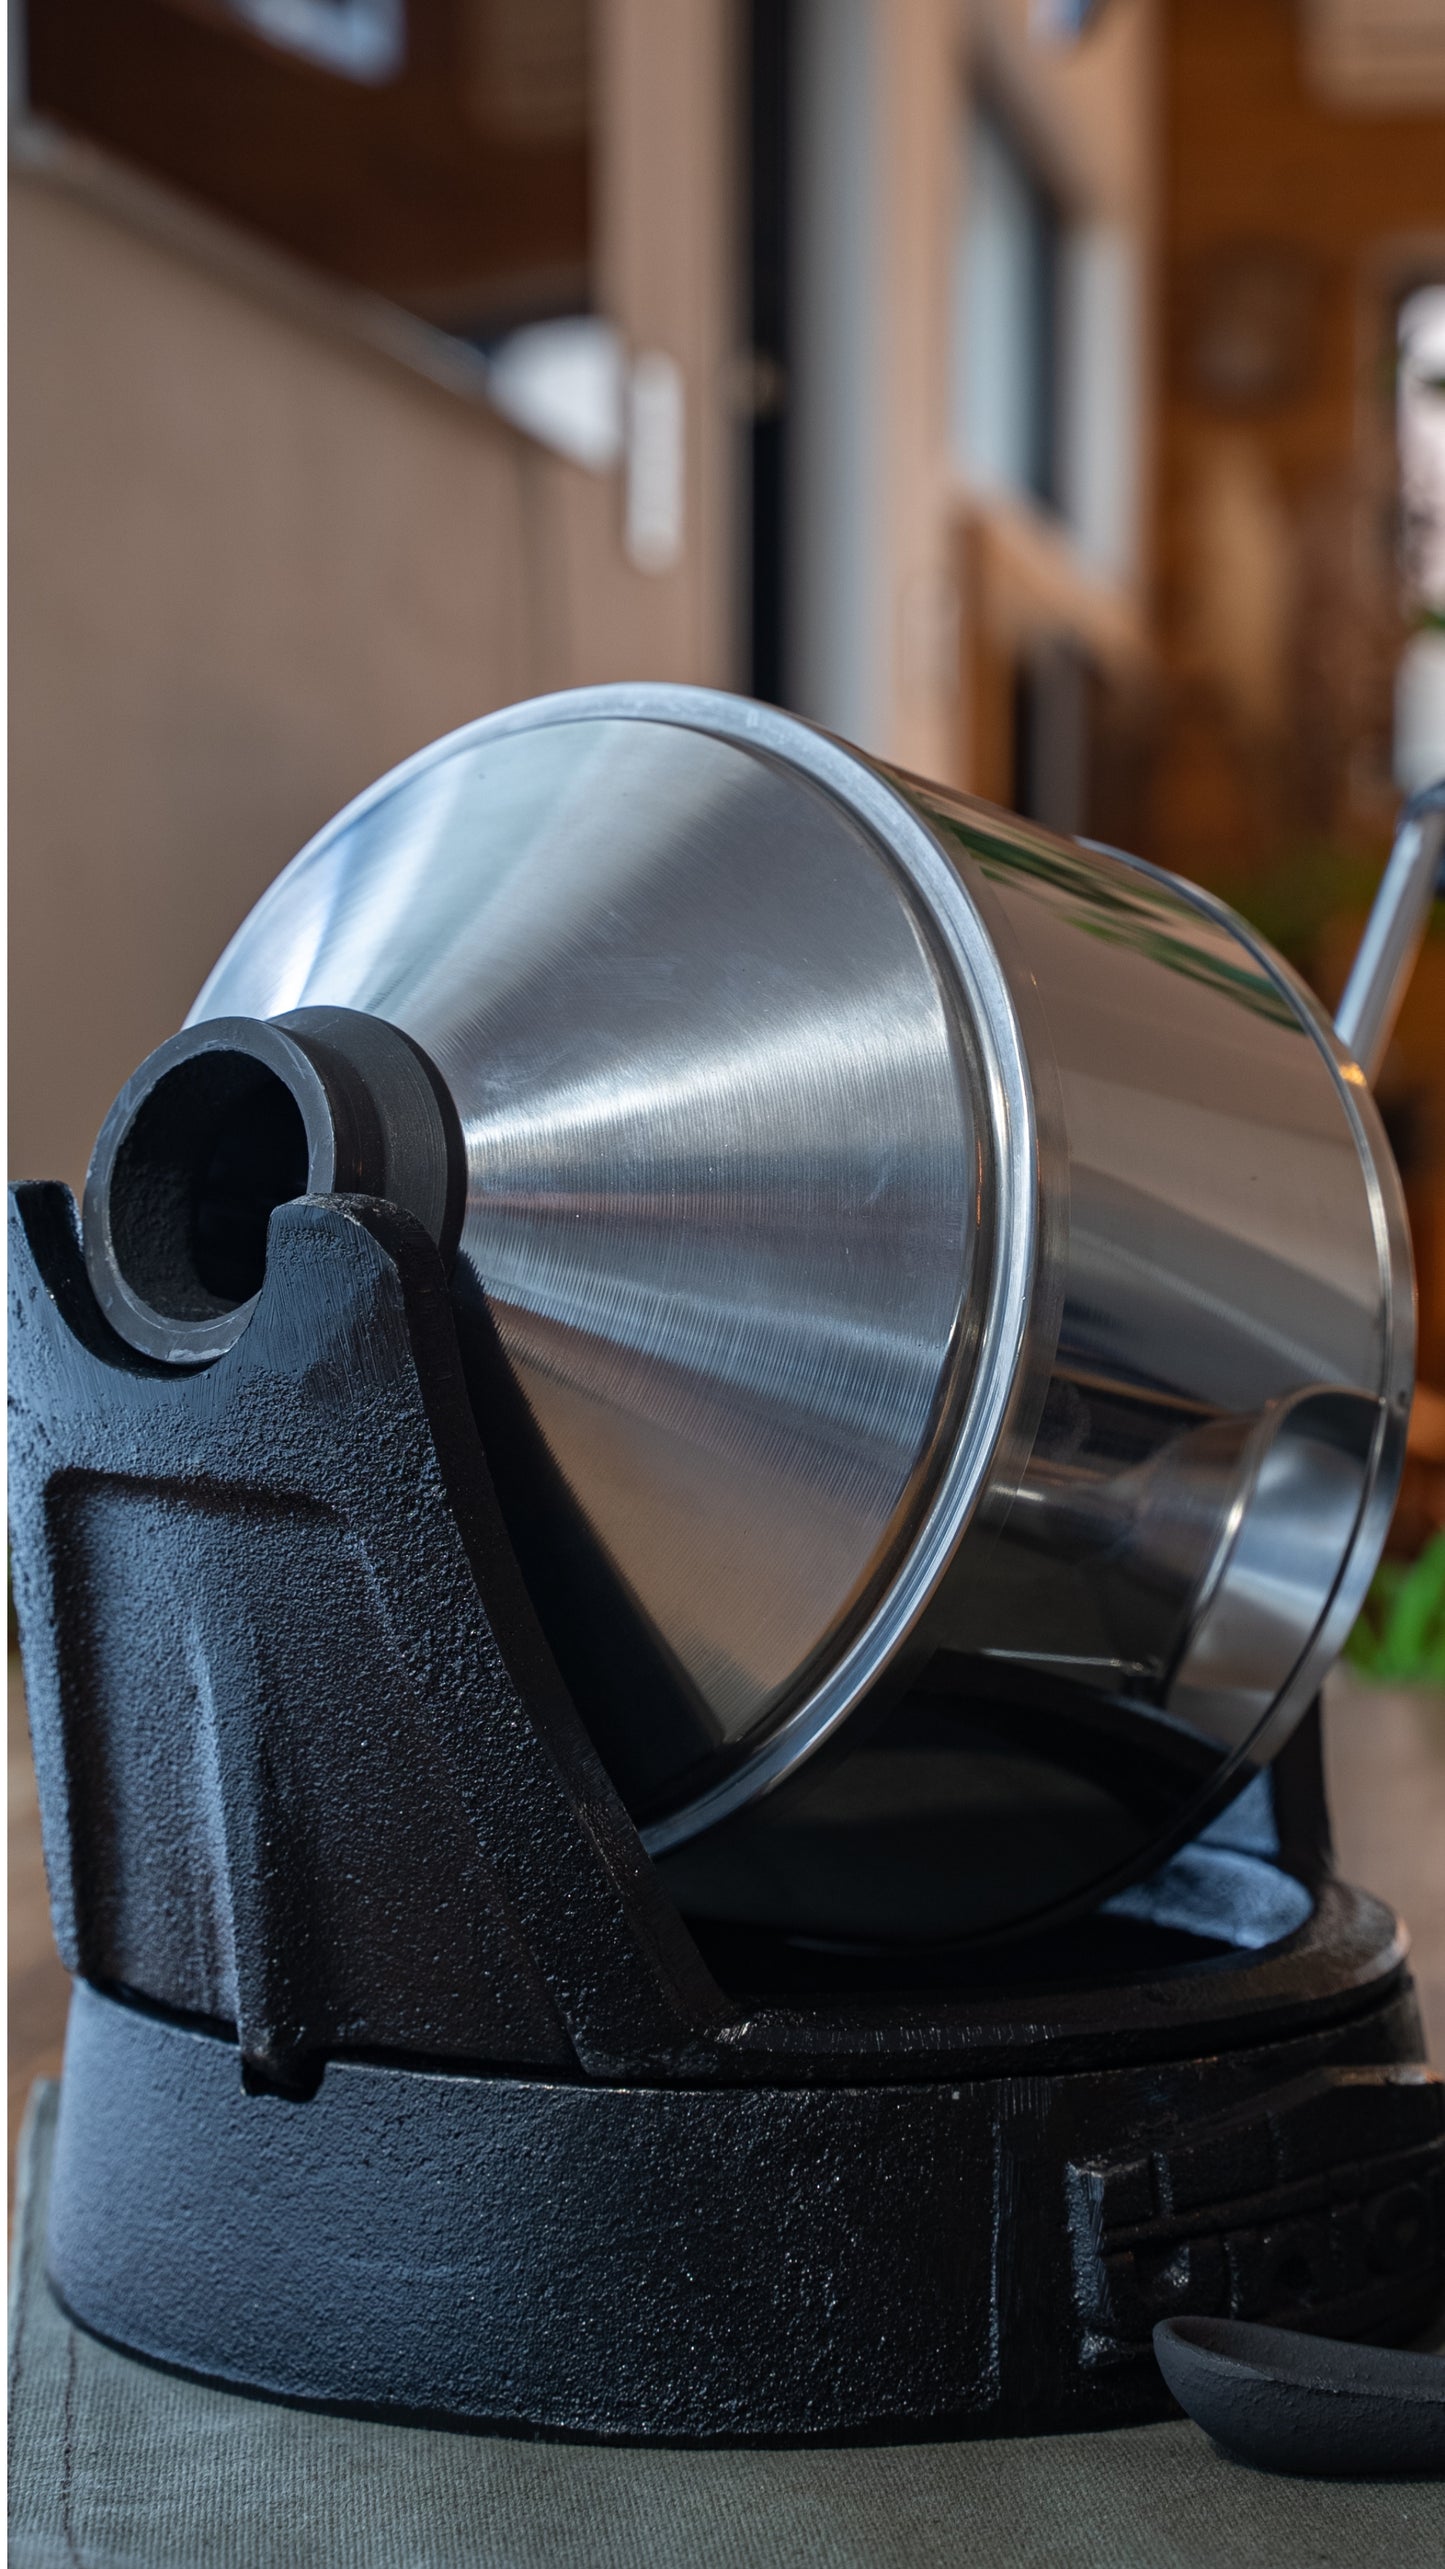
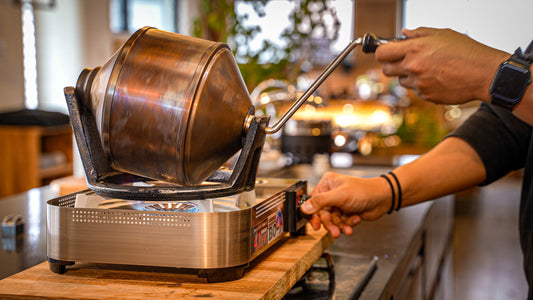
Here is a basic roasting process using a sample roaster
The method introduced here is the basic method recommended by Union, the distributor of the sample roaster.
There are various methods of roasting.
Please look at the contents of this article as one reference example.
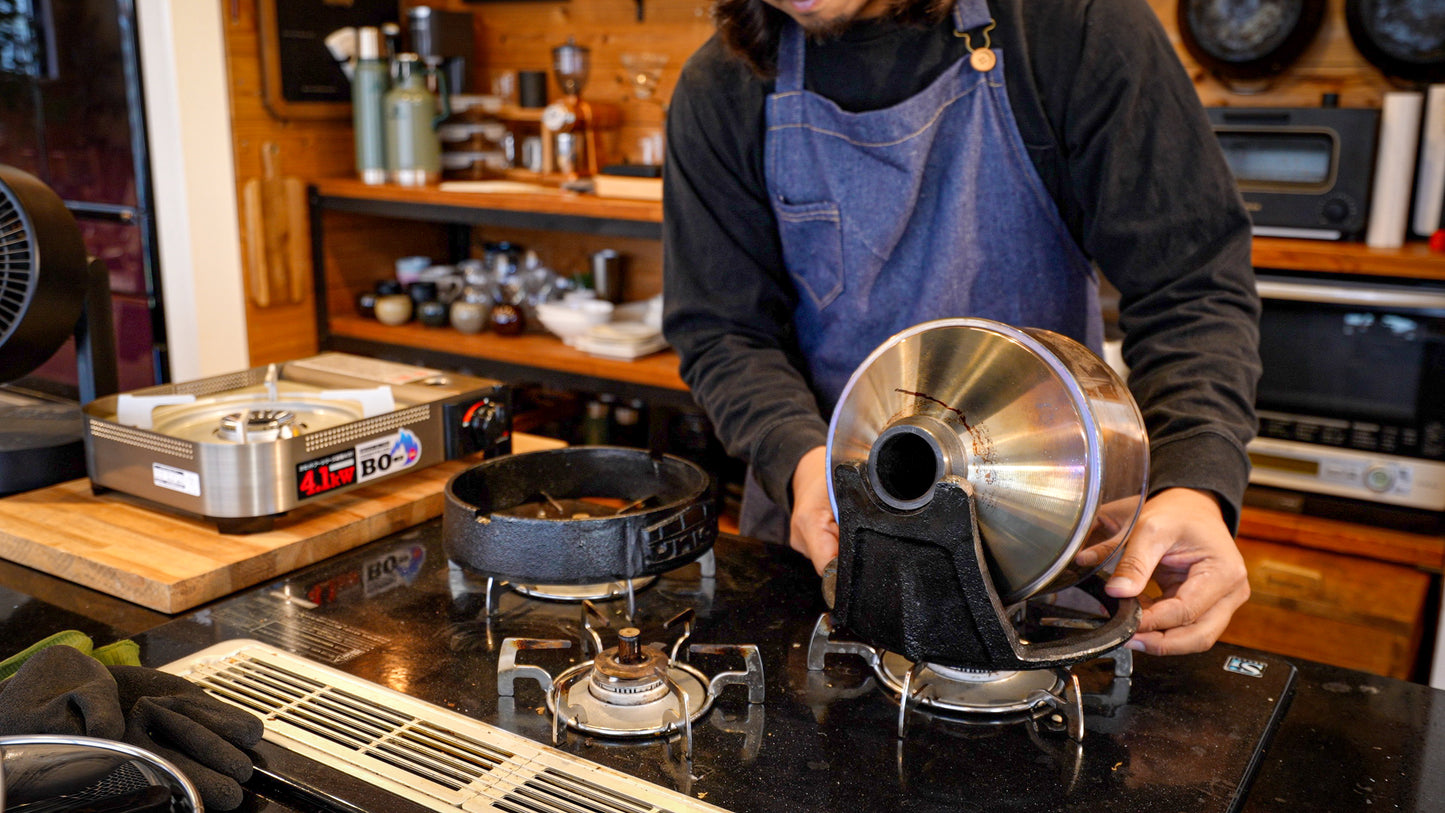
Step 1: Preheating the roasting machine

First, preheat the roasting machine by heating it once.
The roasting process is more stable when the inside of the drum is warm than when it is cold.

In this case, preheating is done up to 200°C.
After preheating to 200°C, turn off the heat.
In this case, the plan is to put in the green beans when the temperature of the roasting machine reaches 150 degrees Celsius.
Wait for a while until the temperature drops.
(There is no fixed temperature at which to start roasting, this time we will set the temperature at 150 degrees because this is the basic method.)
Step 2: Preparation of green beans

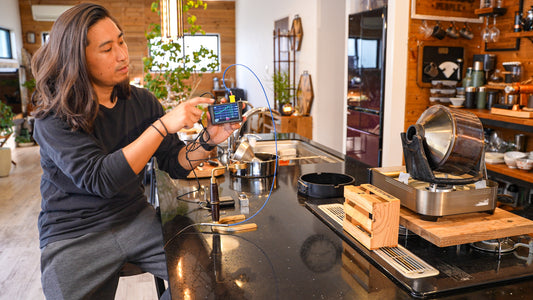
While the temperature of the preheated roasting machine is being lowered, prepare the beans.
Remove any defective beans, weigh the beans, etc.
This time can be used to do other tasks to make the roasting process more efficient.
Step 3: Start roasting

When the temperature reaches 150 degrees Celsius, the green beans are fed in!
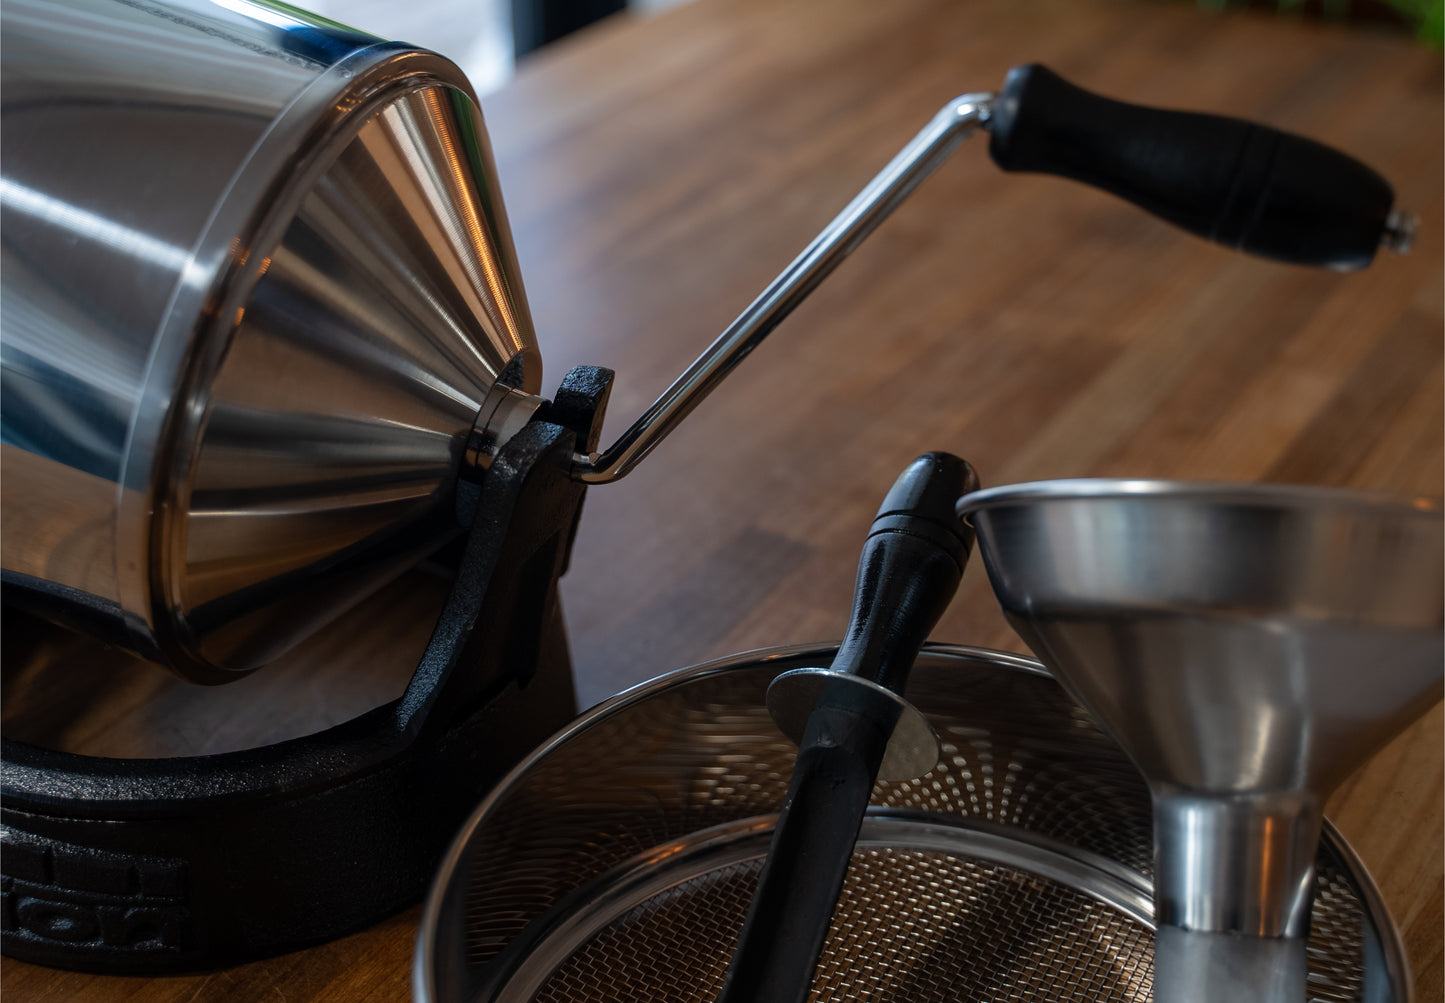
Use the accessory tool to put in the beans.
If the beans do not go in smoothly, tilt the machine and shake it to get them in.
Step4: Adjusting the heat and drum speed

Keep the heat at a constant medium heat for roasting (in this case).
The heat power depends on the gas stove used.
Since it is difficult to match the standard, it is advisable to fine-tune it to your own environment.
The heat power may also be adjusted depending on the condition of the beans and the roasting you are aiming for.
In this case, however, we will maintain the heat power at a constant level.
(Information on adjusting the heat power will be omitted this time.)

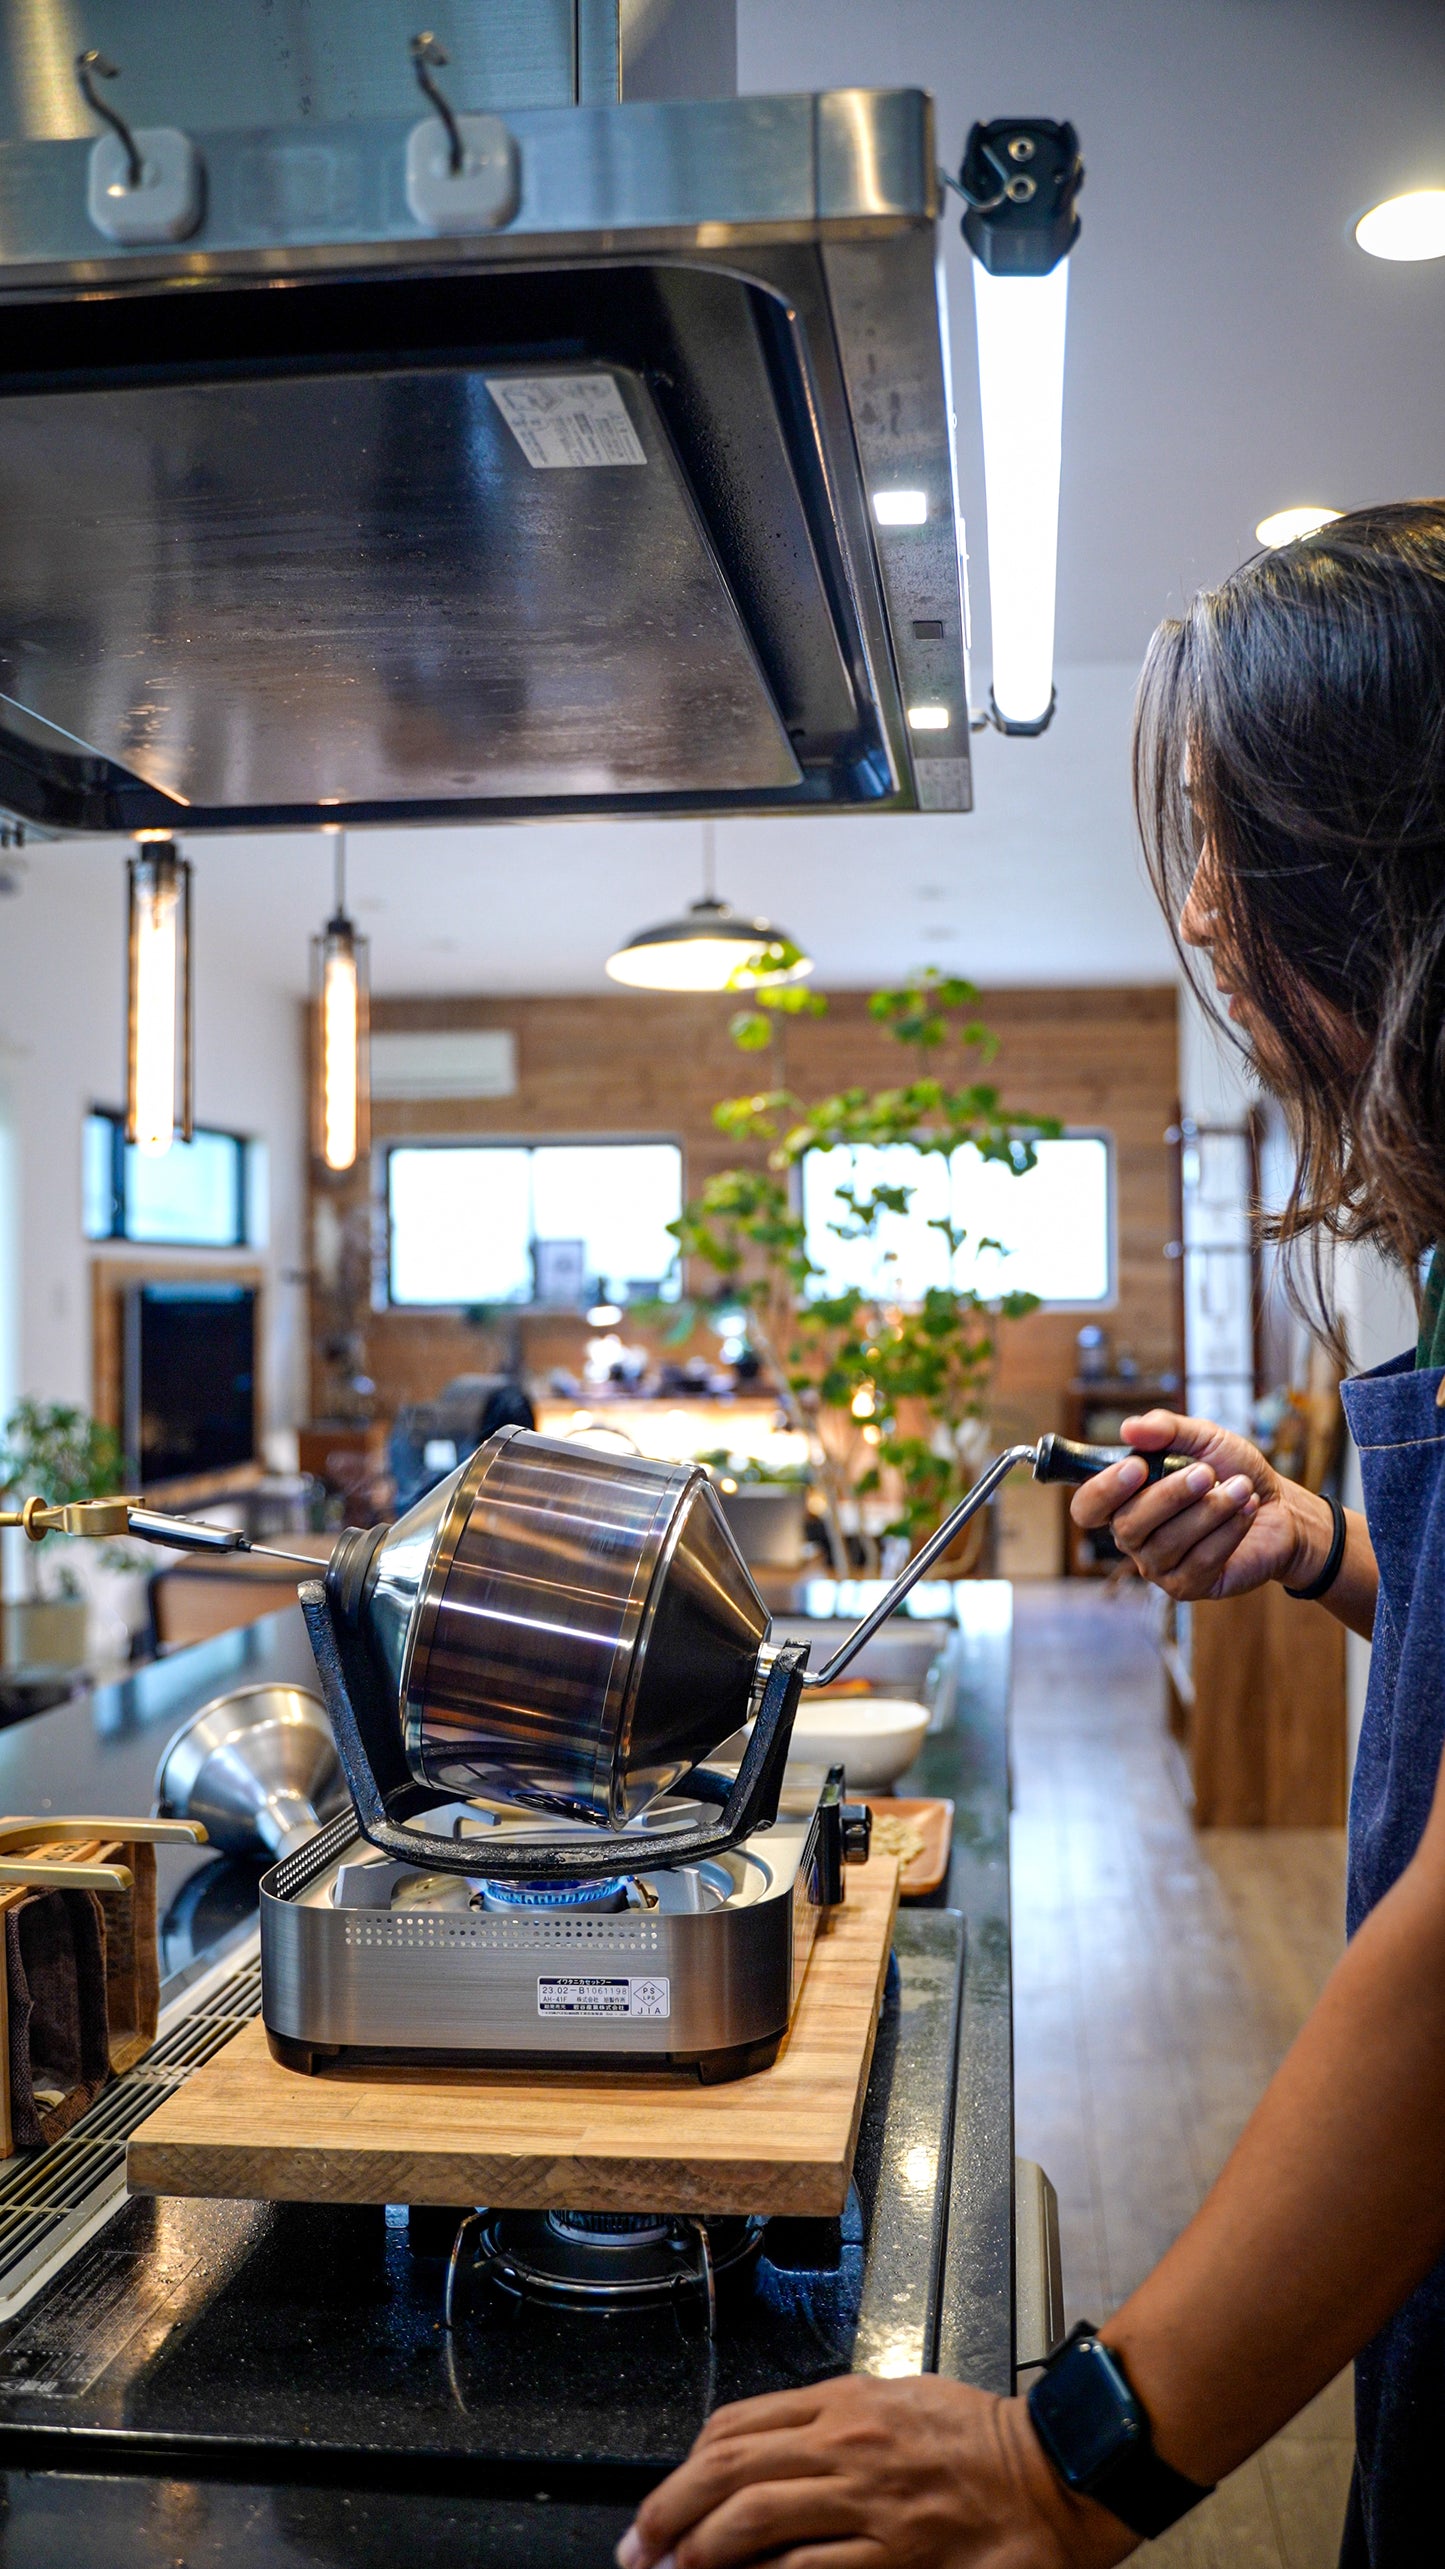
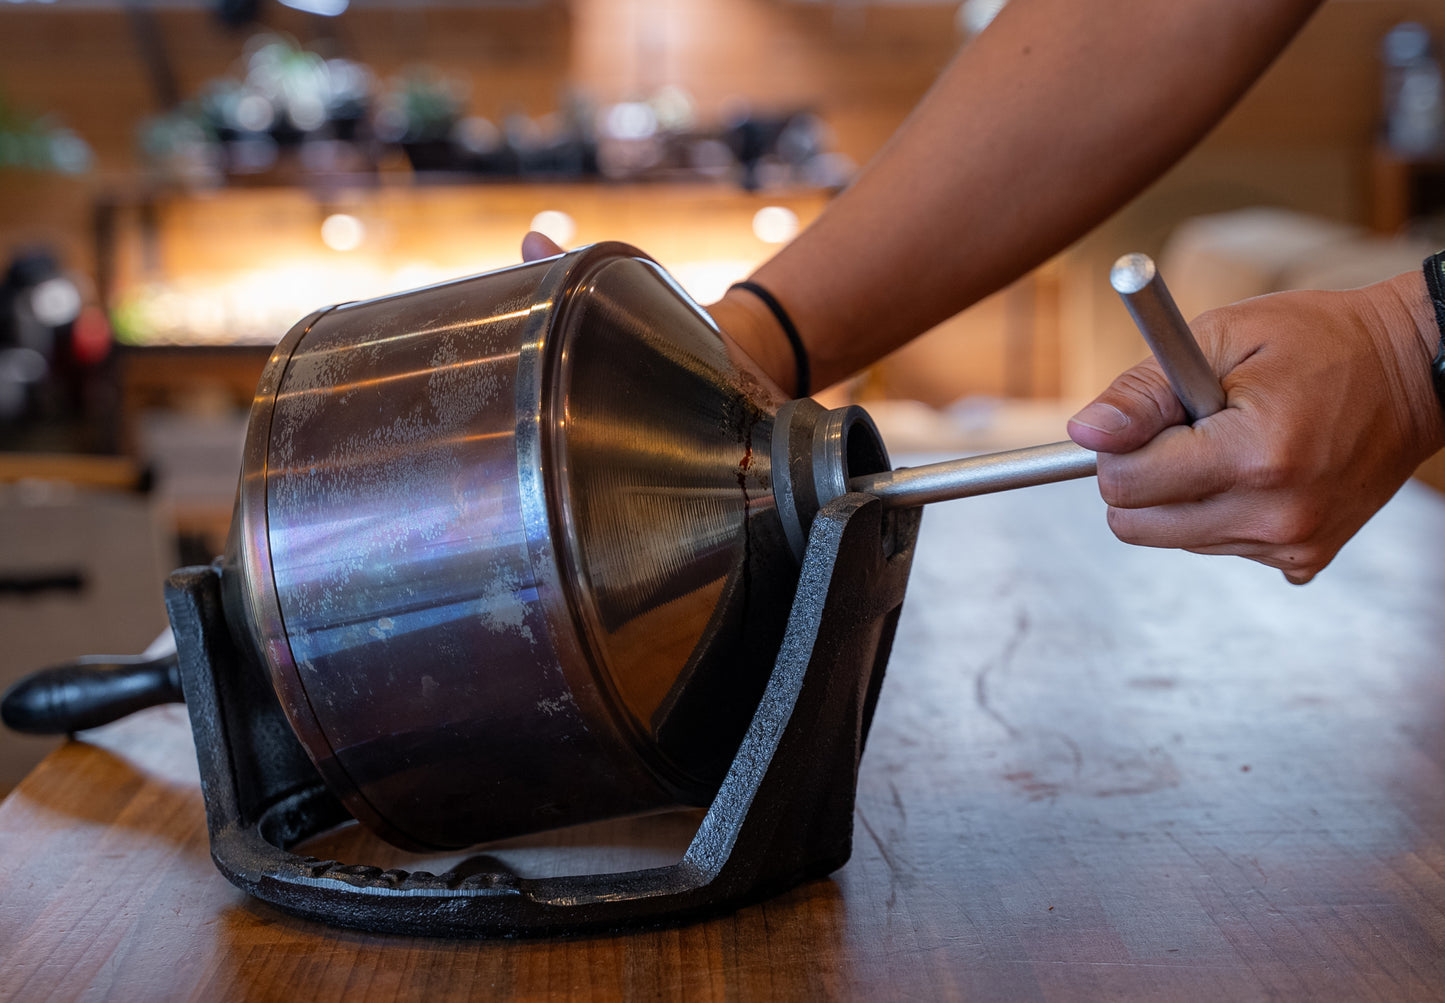
The drum is kept turning at a constant speed.
As the drum turns, the beans are stirred and the roasting process proceeds.
If you stop the drum during the roasting process, the fire will be unevenly distributed, resulting in uneven roasting.
Keep your hand on the drum as long as possible until the end of roasting.
Step 5: Change of beans and 1-haze and 2-haze
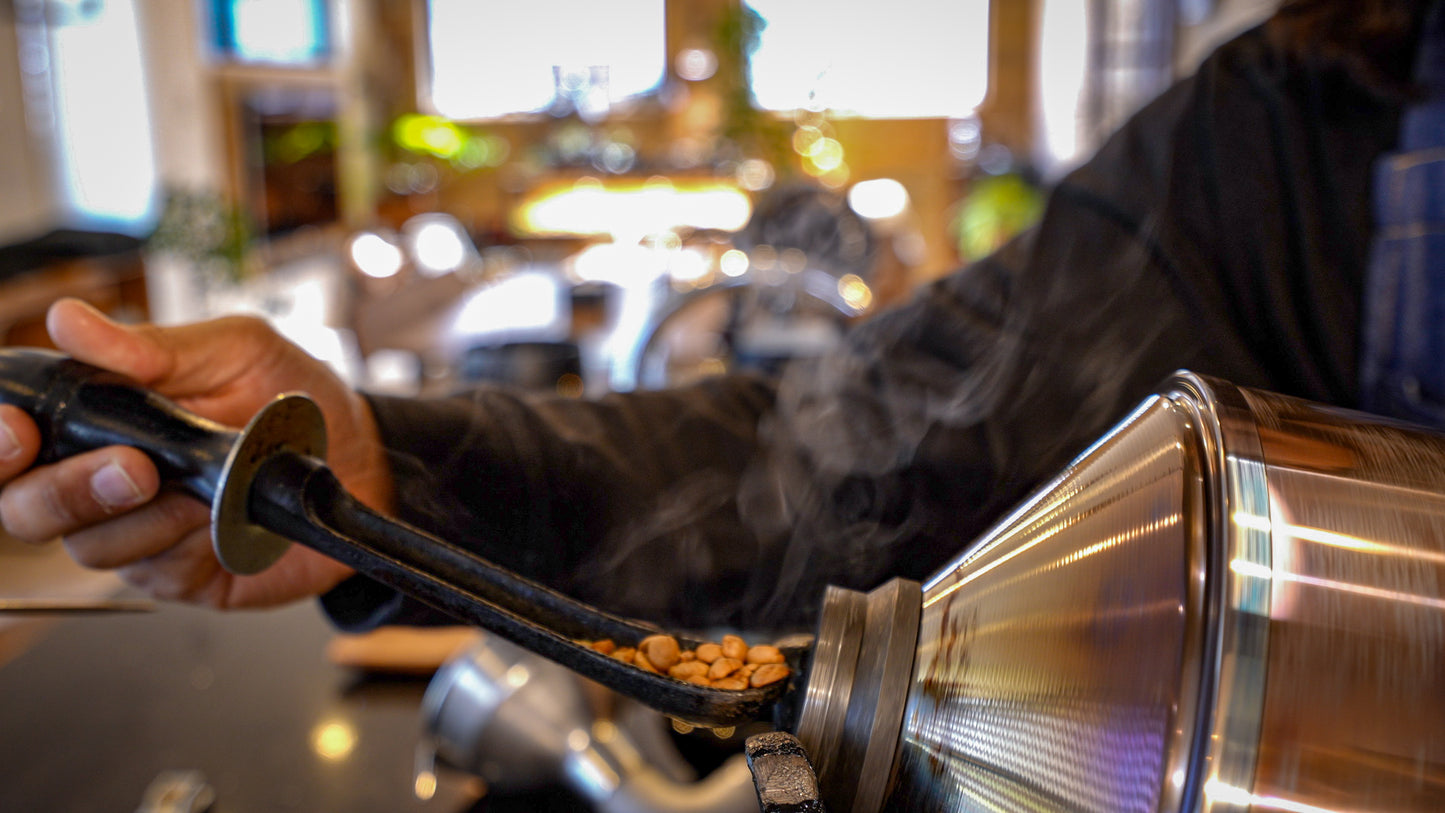
During roasting, use the test spoon provided to check for changes in the beans.
About 5 minutes after roasting
The green bean that was light yellowish green gradually changes and becomes yellowish
The moisture contained in the green bean is removed, and the color and aroma change even more.


After further roasting, the color changes from light brown to brown.

After 10 to 12 minutes, 1 clack occurs.
You can hear the sound of the roasted beans going through a "clack".
If you continue roasting, you will not hear the sound once.
After a while, the second sound will be heard again,
This is the second clack.
Compared to the first sound, the second sound is smaller and higher pitched.

This time, the roasting process is terminated when the second sound is heard,
So the fire is stopped and the roasting machine is removed.

The beans are quickly removed from the roasting pan and cooled using a fan.

The basic roasting process is now complete.

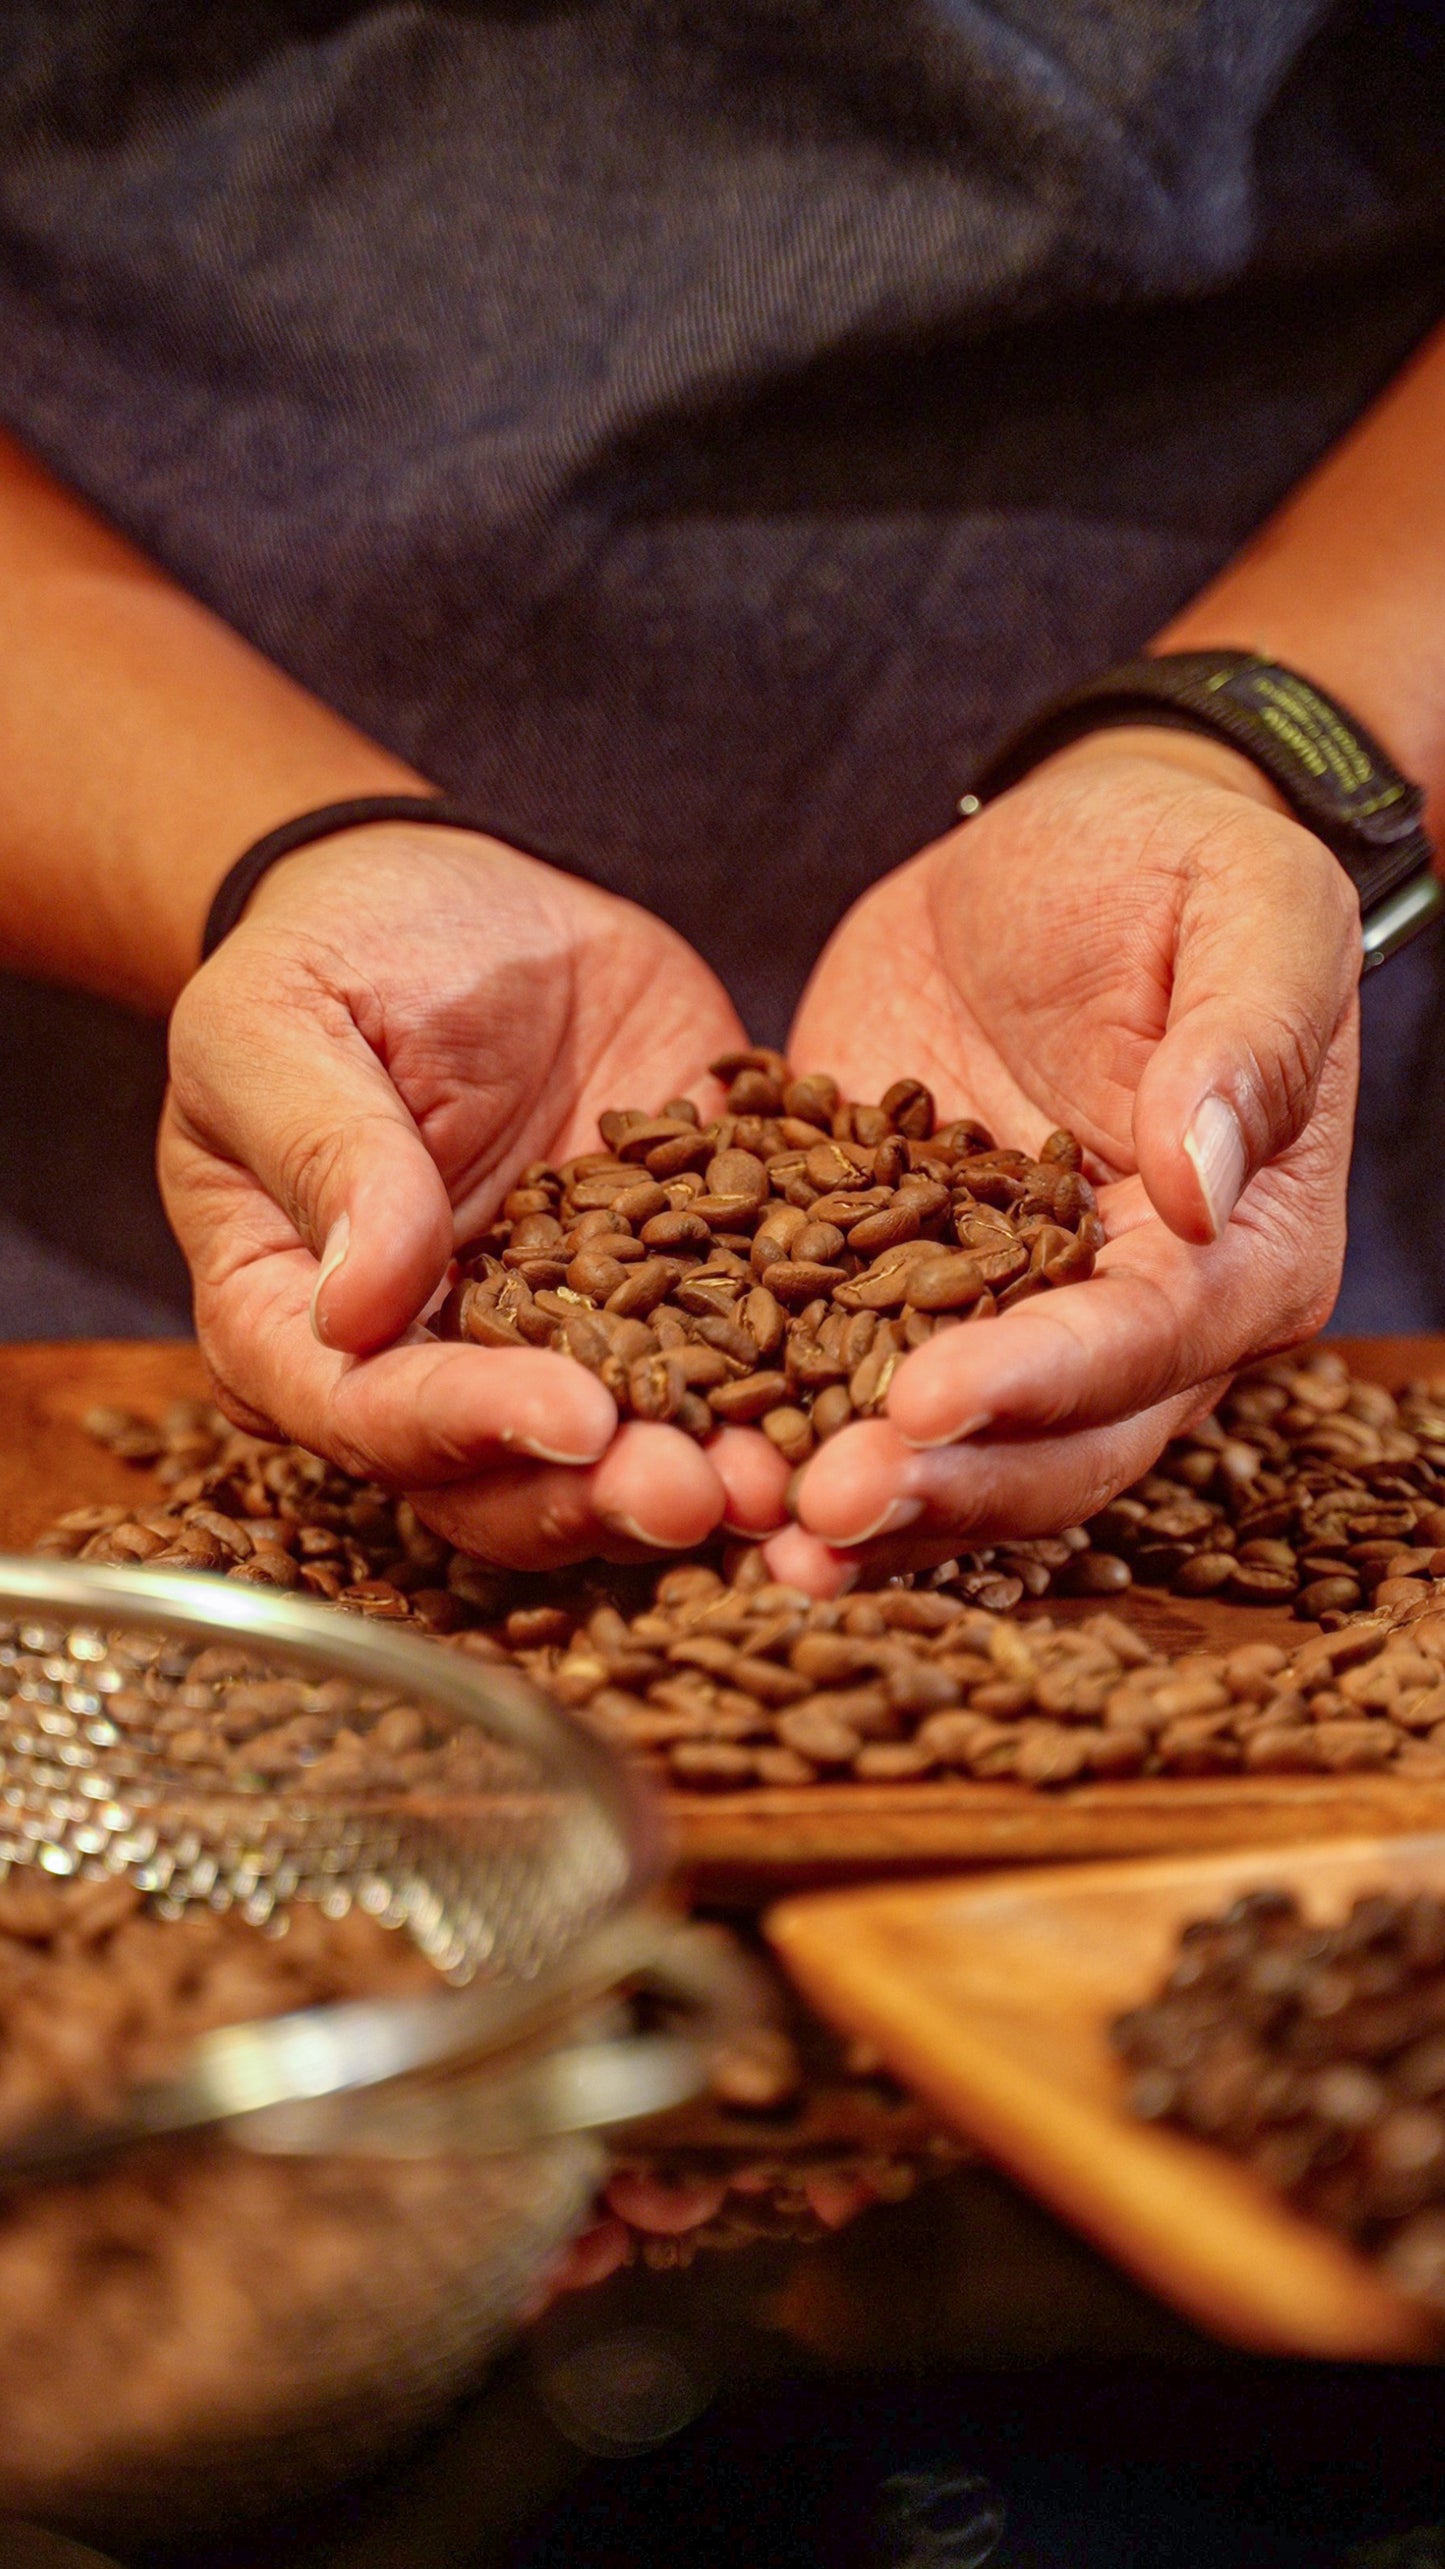
The finished beans look like this
As mentioned at the beginning of this section, roasting can be done in any way you like.
Preheating, temperature, heat control during roasting, temperature change, drum speed, green bean condition, and many other factors will affect the result of roasting in various ways.
If you try the basic method first, and then find your own way, you will be able to get the best results.
I believe that a very enjoyable and profound world of coffee awaits you!
Thank you for reading to the end!
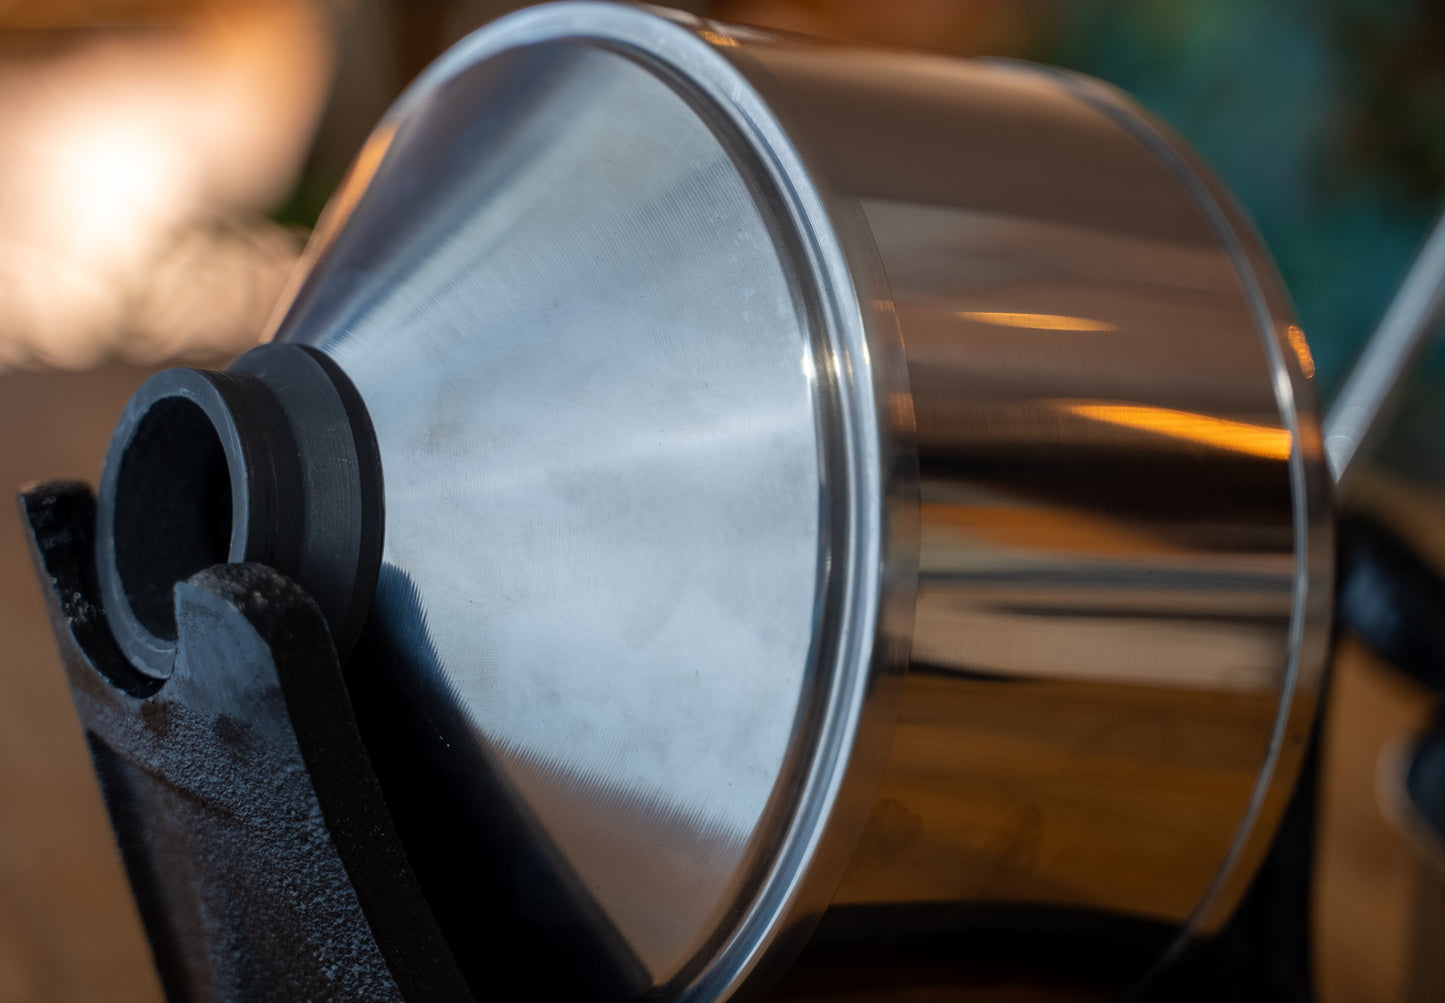
Manual roasting machine used: Sample Roaster


